You will need: wrenches "10", "13", "14", "17", "19", "21", "22", "36" (or a special wrench for the crankshaft pulley fastening nut, if you don't have such a wrench, you can use a gas wrench), socket heads "12" and "13" (or a special wrench for the cylinder head fastening bolts), screwdriver, hammer, oil filter remover.
If possible, work on a special rotary stand that provides access to the engine from all sides, since it is very difficult to fix the engine from moving when unscrewing the fastening parts tightened with a high torque.
Remove the engine from the car (see "How to replace the VAZ-2123 engine").
Removing engine mounts for this
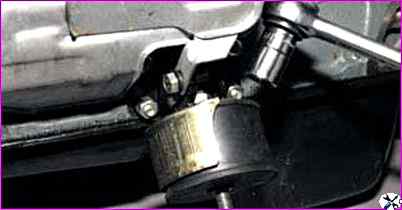
Using a 17 mm socket or open-end wrench, unscrew the nut securing the right support to the bracket
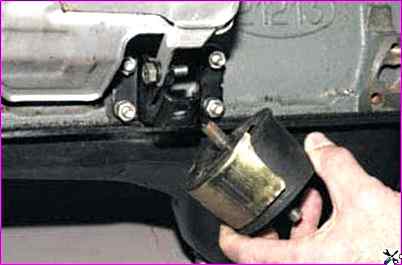
Remove the support
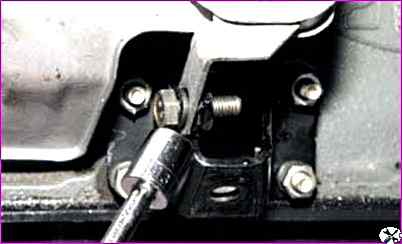
Using a 13 mm head, unscrew the bolt securing the starter shield to the bracket
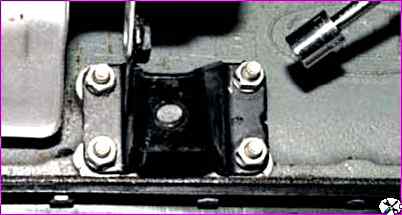
Unscrew the four nuts securing the bracket to the cylinder block
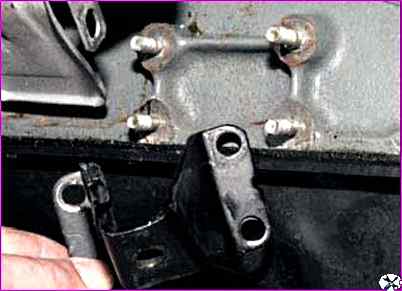
Remove the bracket from the cylinder block studs
Unscrew the four nuts and remove the left support bracket of the power plant
On the cylinder block studs for the left support bracket, mount the disassembly stand plate and secure the engine on the stand
Using a 13 key, unscrew the two nuts securing the starter shield to the exhaust manifold
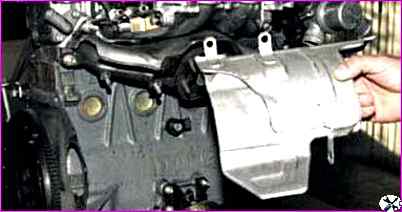
Remove the shield
After that, remove the engine components, the removal of which is described in the articles on the site without taking into account the operations for disconnecting wires, pipelines and attachments:
Remove the ignition coil, see Replacing the ignition module Niva Chevrolet
Remove the knock sensor, see Replacing the ECM sensors Niva Chevrolet
Dismantle the generator and generator bracket, see Replacing the generator Niva Chevrolet
Remove the oil filter bracket, described in the article Replacing the oil filter bracket seals of the VAZ-2123 engine
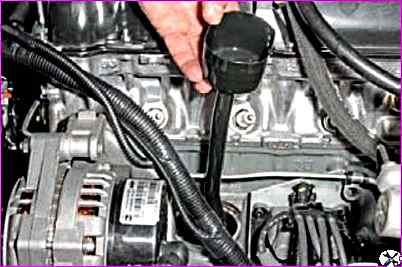
Remove the oil separator of the crankcase ventilation system, described in the article How to disassemble the crankcase ventilation system of the VAZ-21214
Dismantle the oil pump, see the article How to remove and repair the oil pump of the Niva VAZ-2121 car
Remove the coolant pump, see the article How to replace the water pump Niva Chevrolet
Remove the flywheel, see the article How to replace the crankshaft seals of the VAZ-21214 engine
Unscrew and remove the cylinder head, described in the article Replacing the cylinder head gasket Niva Chevrolet
Remove the timing chain, see the article Chain Niva Chevrolet replacement
Unscrew and remove the oil pump drive shaft, described in the article How to replace the oil pump drive gear of the VAZ-21214 engine
Next:
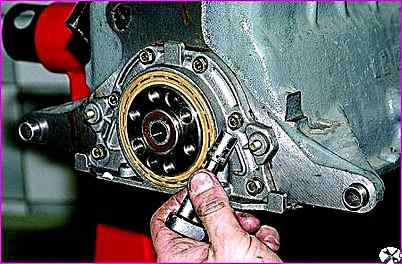
Using a 10 mm socket, unscrew the six bolts securing the crankshaft rear oil seal holder to the cylinder block.
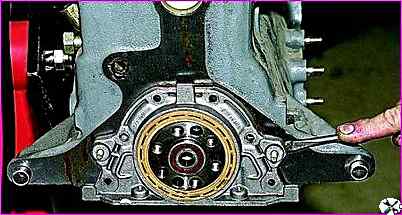
Using a screwdriver, pry the rear oil seal holder by the lugs and remove the holder together with the oil seal.
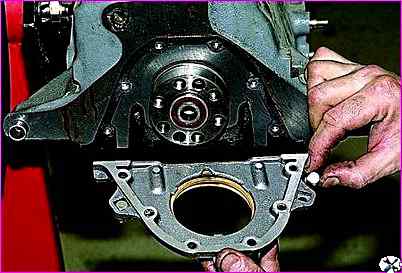
From the grooves of the oil seal holder, we remove two special bolts (with square heads) for fastening the clutch housing cover
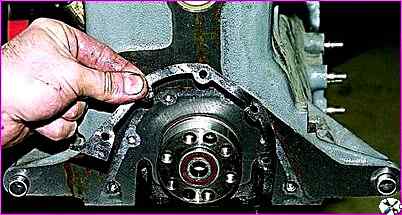
Remove the rear oil seal holder gasket oil seal
Remove the camshaft drive cover, dismantle the chain, crankshaft sprocket, oil pump drive shaft, chain tensioner shoe (see the relevant articles).
Using a 10 mm open-end wrench, unscrew the bolt securing the bracket for the oil separator drain pipe of the engine crankcase ventilation system.
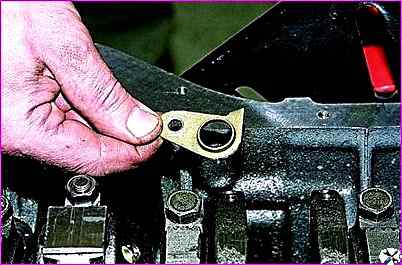
Remove the bracket.
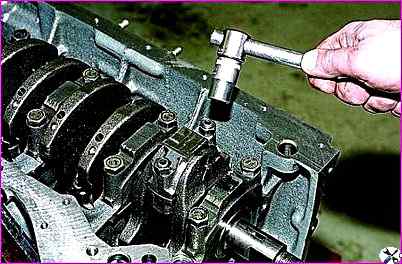
Using a 14 mm socket, loosen the two connecting rod cap fastening nuts (the piston should be at BDC)
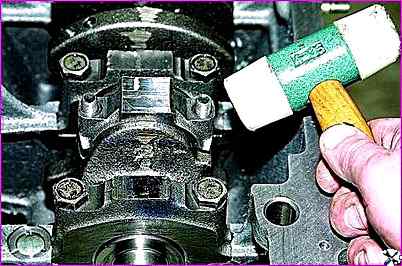
Having tapped the side surfaces of the cover with a hammer with a plastic striker
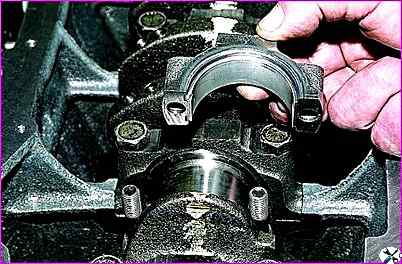
Removing the connecting rod cover
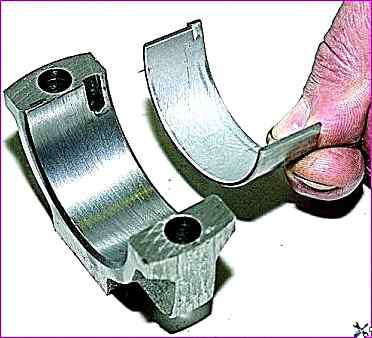
Remove the lower connecting rod bearing shell from the cover.
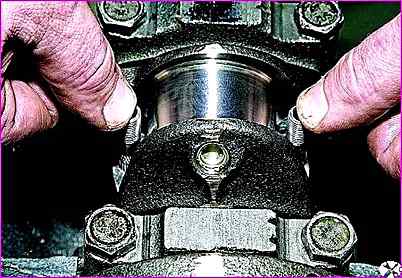
Relying on the ends of the connecting rod bolts, move the lower connecting rod head from the crankshaft connecting rod journal.
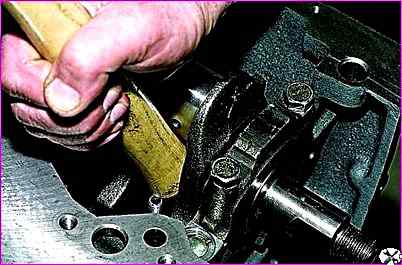
By resting the wooden handle of the hammer against the slot of the lower connecting rod head, we push the piston into the cylinder and remove the piston with the connecting rod from the cylinder
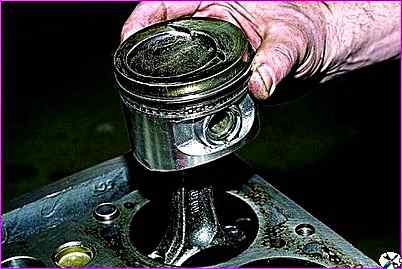
We remove the upper bearing shell from the connecting rod head.
In the same way, we extract the pistons with connecting rods from other cylinders.
We clamp the connecting rod in a vice with soft metal jaw pads.
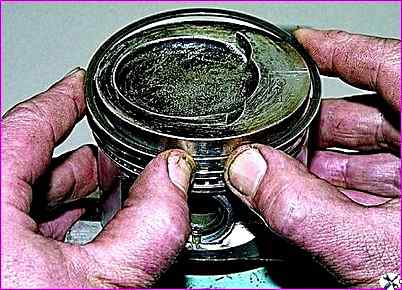
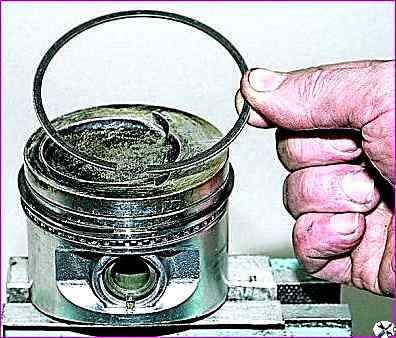
Using your fingers, carefully (without applying much force) unclench the upper compression ring lock and remove the upper compression ring.
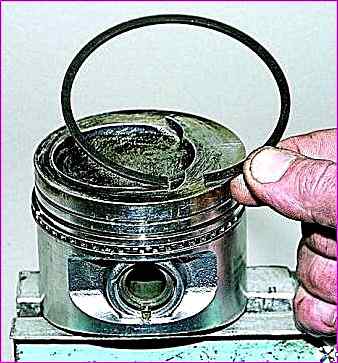
Remove the lower compression ring in the same way
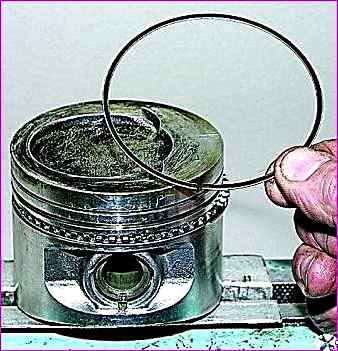
Removing two oil ring discs.
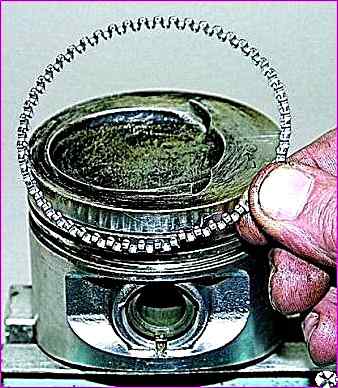
Removing the oil scraper ring expander
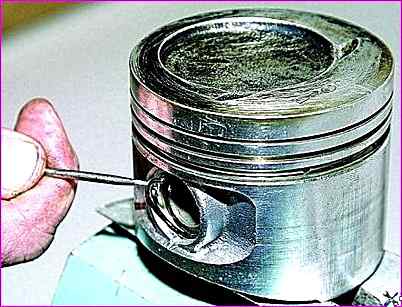
To remove the piston from the connecting rod, use a screwdriver to pry the piston pin retaining ring and remove it from the piston ring groove.
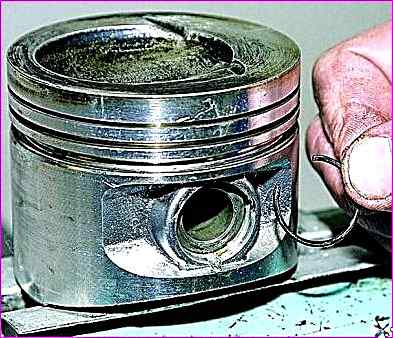
In the same way, remove the second retaining ring finger.
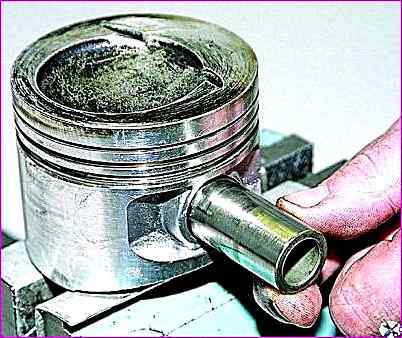
After moving the piston pin, we remove it from the hole in the piston.
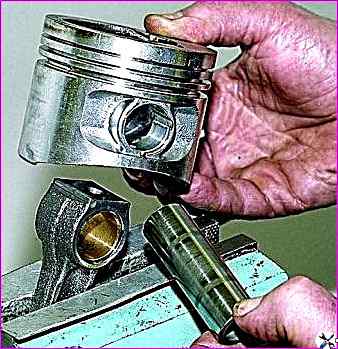
Remove the piston from the upper connecting rod head.
If some parts of the connecting rod and piston group are not damaged and slightly worn, they can be used again.
Therefore, when disassembling, mark the parts so that they can be installed in the same cylinder.
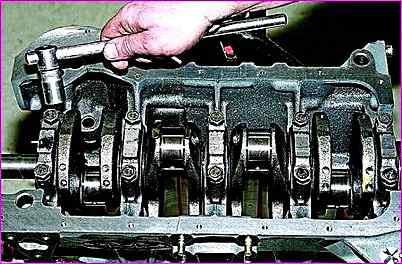
Using a 17 mm socket, unscrew the two bolts securing the crankshaft main bearing cap.
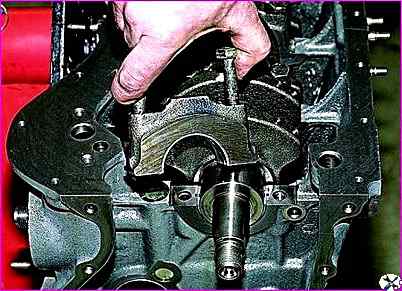
Removing the main bearing cap
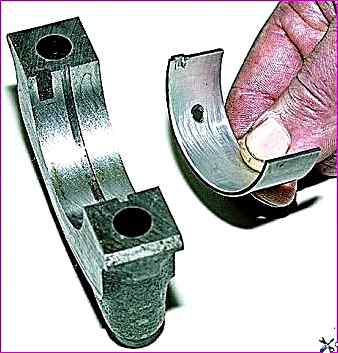
Removing the main bearing lower liner from the cap bearing.
In the same way, we remove four more main bearing caps.
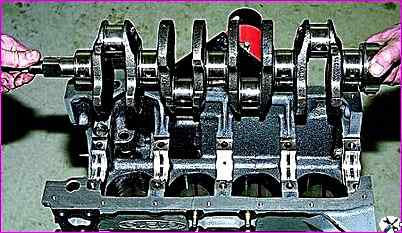
We take out the crankshaft from the cylinder block.
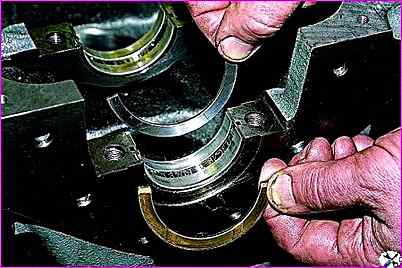
Remove the thrust half rings from the grooves of the rear support of the cylinder block
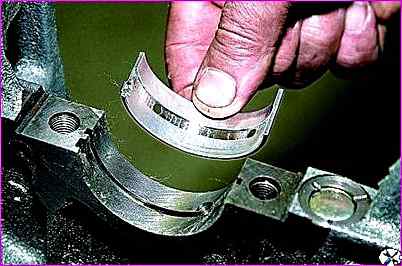
Remove the upper liners of the crankshaft main bearings from the cylinder block supports
After disassembling the engine, thoroughly wash the parts with gasoline and clean them from carbon deposits to check their technical condition.


