The engine is removed from the car upwards. To remove the engine, you will need a lifting device with a lifting capacity of at least 300 kg.
The car must be installed on a lift, inspection pit or overpass.
Before removing the engine, you must prepare a reliable support on which the engine must stand steadily.
It is more convenient to remove the engine if you remove the hood.
Before disconnecting the hoses and electrical wires, we recommend marking them so as not to mix them up during assembly.
The manufacturer recommends removing the engine after disconnecting the powertrain components: the gearbox with the clutch housing remains on the car, and when removing the engine, the front bearing of the gearbox input shaft and the hub of the driven clutch disc are removed from the input shaft.
You will need: keys "10", "13", "17" and "19" (or a head with extensions and a universal joint), screwdrivers (two), a mandrel for centering the driven clutch disc, pliers, a hoist or other lifting device, slings (strong rope).
Remove the hood.
Disconnect the wires from the battery.
Remove the decorative engine cover.
Remove the oil pan protection and engine splash guard.
Drain the fluid from the engine cooling system (see. Replacing the coolant Niva Chevrolet)
Remove the radiator of the cooling system.
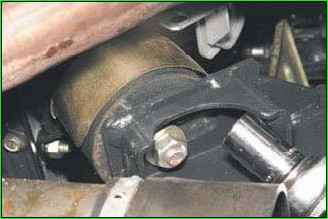
Unscrew the nuts securing the front engine mount cushions to the front suspension crossmember brackets, remove the washers installed underneath them.
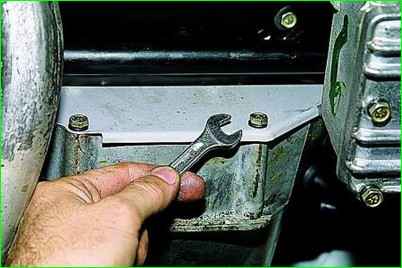
Unscrew the bolts securing the front cover of the clutch housing.
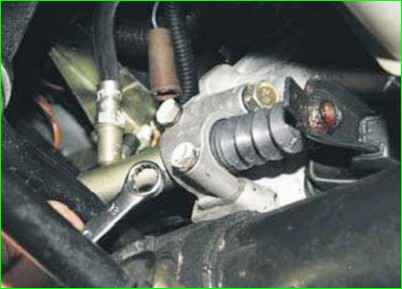
Unscrew the two bolts securing the clutch hydraulic drive slave cylinder without disconnecting the hose from it
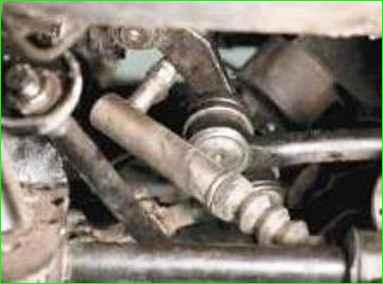
Move the cylinder to the side (for clarity, the front propeller shaft is removed).
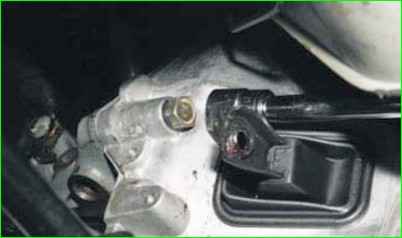
Unscrew the four bolts securing the clutch housing to the engine cylinder block.
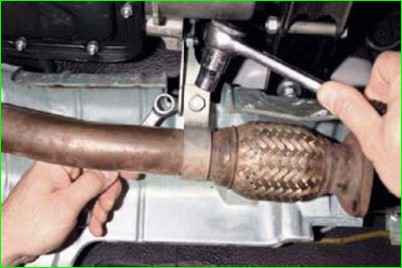
Unscrew the nut of the bolt of the clamp of the fastening of the inlet pipe, remove the bolt and disconnect the clamp from the bracket
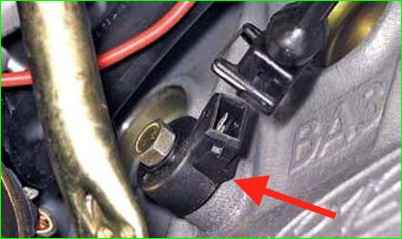
Disconnect the wiring harness connector from the knock sensor.
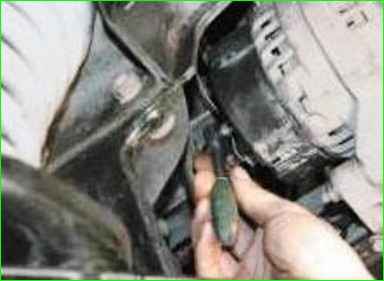
Unscrew the nut securing the wiring harness to the generator "+" terminal
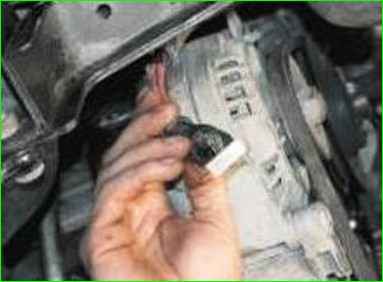
Remove the wires from the terminal and move the harness to the side.
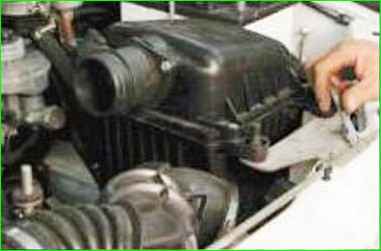
Remove the air filter together with the bracket (see. "Replacing the air filter Niva Chevrolet").
Loosen the clamp and remove the left part of the air intake pipe from the intermediate bracket.
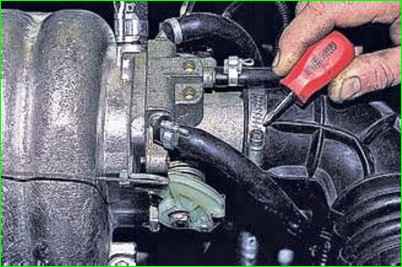
Loosen the clamp and remove the right pipe to the throttle assembly
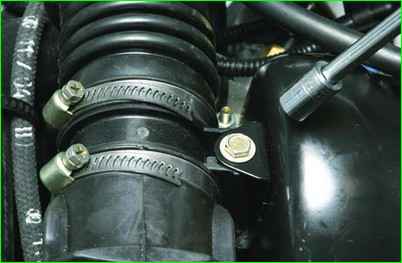
Unscrew the intermediate bracket mounting bolt and move the right part of the pipe to the side without disconnecting the crankcase ventilation hose from it.
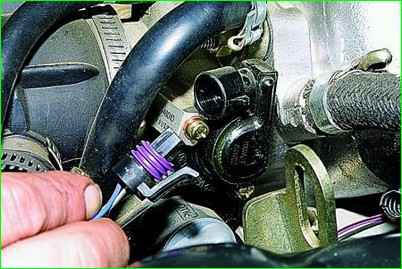
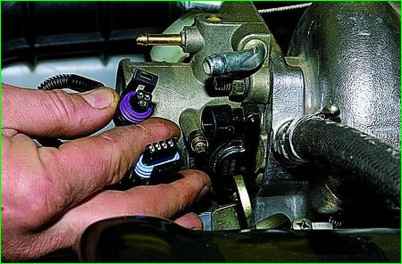
Disconnect the wiring harness blocks of the throttle position sensor, from the idle speed controller
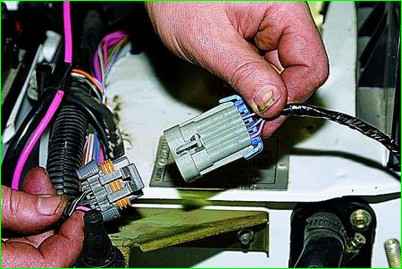
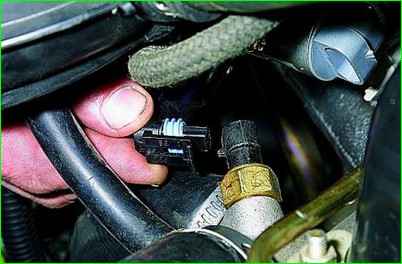
Disconnect the pads from the injector wiring harness, from the engine management system coolant temperature sensor
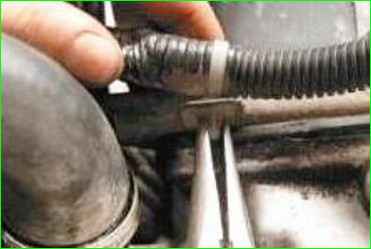
Remove the engine wiring harness holders from the bracket holes on the engine and body and move the harness to the side.
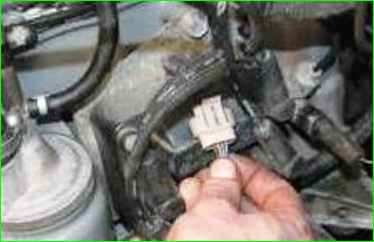
Disconnect the wiring harness connector from the ignition module.
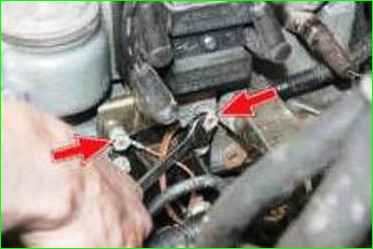
Unscrew the nuts securing the terminals of the "ground" wires to the ignition module bracket and disconnect the wires.
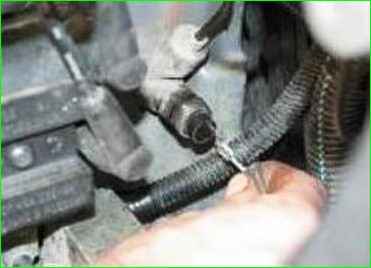
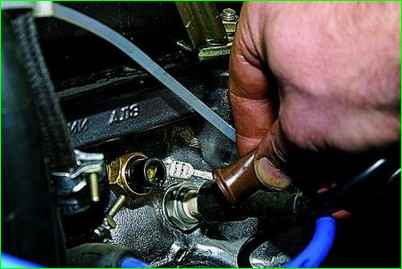
Disconnect the wires from the oil pressure warning light and the coolant temperature gauge sensor.
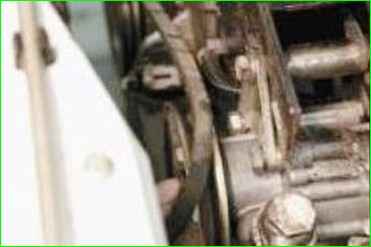
Remove the belt from the power steering pump pulley.
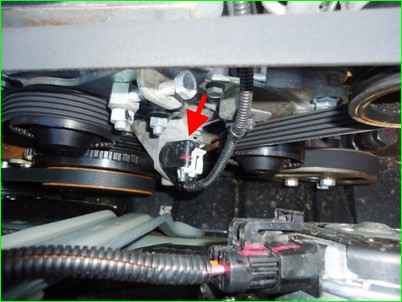
Disconnect the wiring harness connector of the crankshaft position sensor.
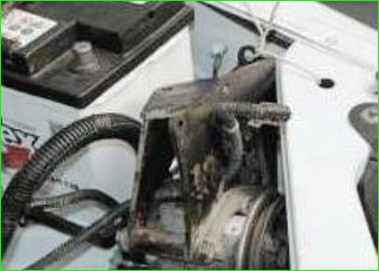
Unscrew the bracket mounting bolts power steering pump to the engine, move the bracket together with the pump (without disconnecting the hoses) away from the engine and secure it to the body in any way possible (for example, by securing it with wire).
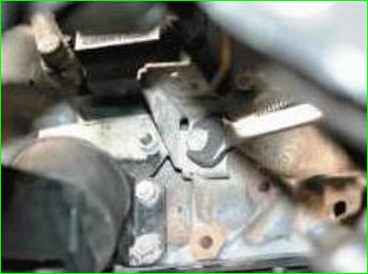
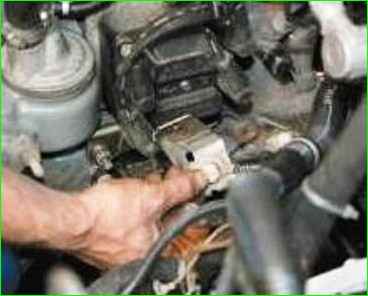
Unscrew the bolt securing the engine ground wire and disconnect the wire along with the bracket.
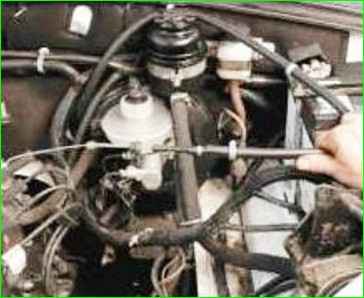
Disconnect the throttle cable from the throttle assembly sector and the bracket on the receiver and move it to the side.
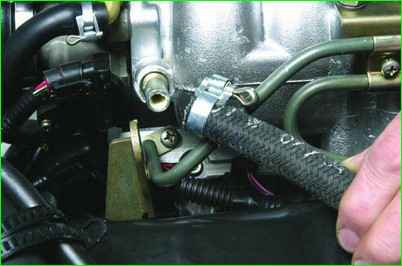
Loosen the clamp and remove the brake booster hose from the intake pipe.
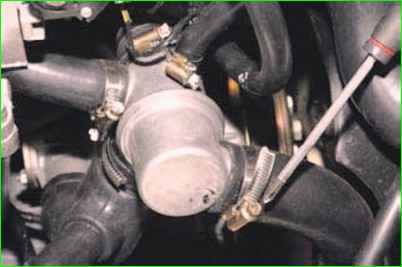
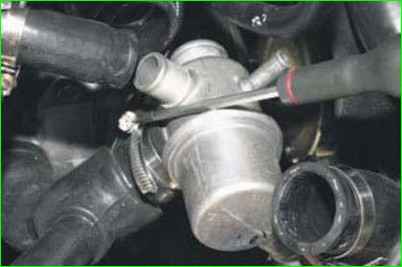
Loosen the mounting clamps and disconnect the upper and lower radiator hoses from the engine cooling jacket and thermostat pipes.
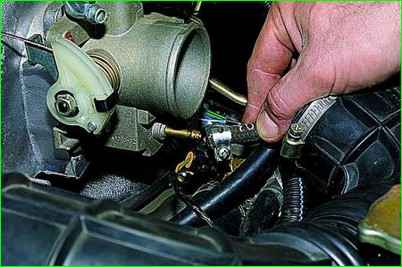
Loosen the clamp and disconnect the purge hose from the throttle assembly pipe.
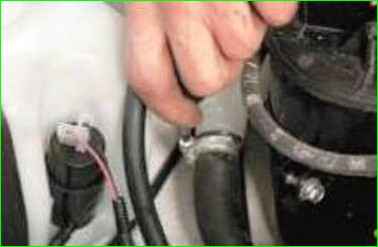
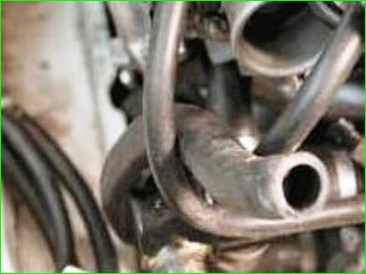
Loosen the clamp securing the hose to the expansion tank pipe, remove it from the pipe and secure it to the engine.
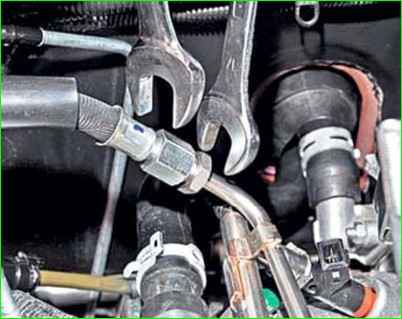
Disconnect the fuel supply and drain lines
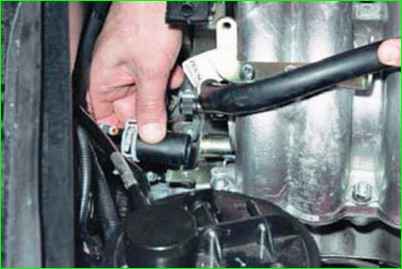
Loosen the fastening clamps and disconnect the heater radiator hoses from the pipes.
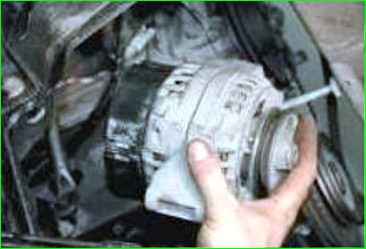
Remove the generator, as it interferes with removing the engine.
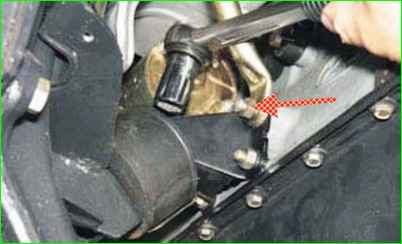
Unscrew the bolt of the lower mount of the front strut of the intake pipe and move it forward so that it does not interfere with removing the starter.
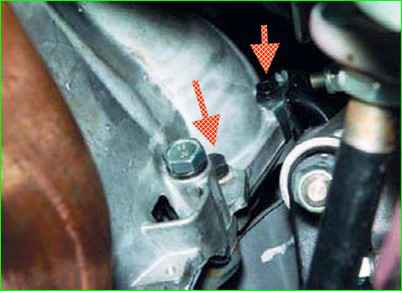
Unscrew the starter mounting bolts, remove it from the socket in the cylinder block without disconnecting the wires, and secure it in any way possible to the lower arm of the front suspension.
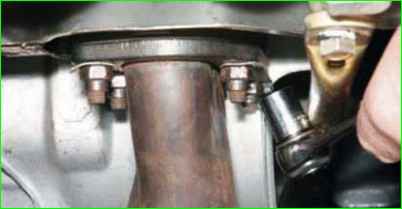
Unscrew the nuts securing the inlet pipe to the exhaust manifold, remove the washers and move the inlet pipe away from the engine.
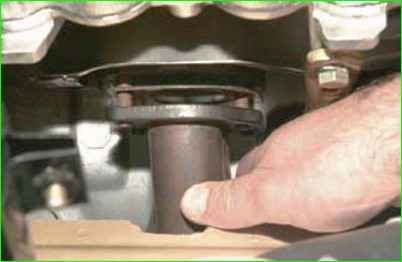
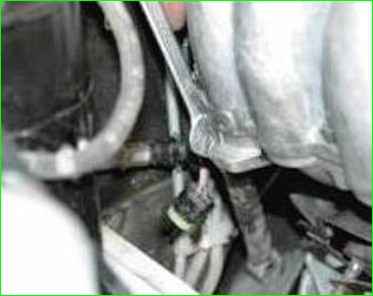
Unscrew the upper mounting bolt rear intake manifold strut and remove the strut.
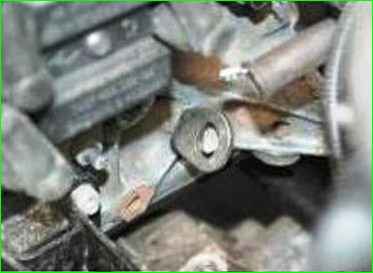
It is convenient to use one of the transport eyes installed on the upper clutch housing mounting bolts to secure the lifting mechanism sling.
Remove the eye from the bolt and secure it in place of the bracket the engine "mass" wire with its mounting bolt, as shown in the photo.
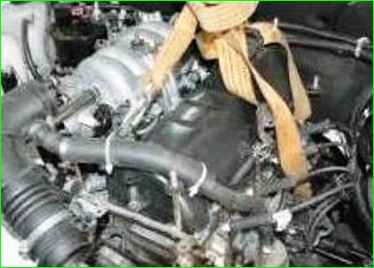
Using the standard and newly installed eyes, secure the lifting mechanism sling to the engine.
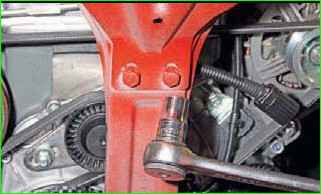
Unscrew the bolts securing the front panel reinforcement of the engine compartment frame and remove the reinforcement.
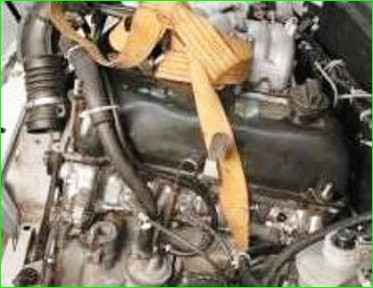
Lift the engine until the studs of the front engine mount cushions come out of the holes in the crossmember brackets and insert a wooden block of suitable size (approximately 60-70 mm thick) between the clutch housing and the anti-roll bar
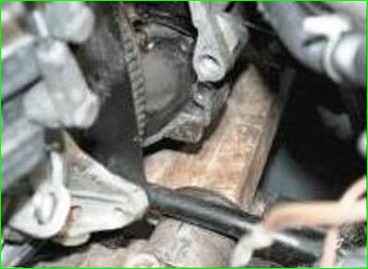
Lower the engine slightly so that the block is clamped between the clutch housing and the stabilizer, and move the engine forward, moving it away from the clutch housing.
In this case, the front bearing of the input shaft and the hub of the driven clutch disc will be removed from the input shaft of the gearbox.
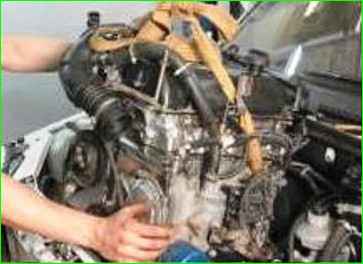
After the input shaft has completely exited the driven disk hub, carefully lift the engine and remove it from the engine compartment
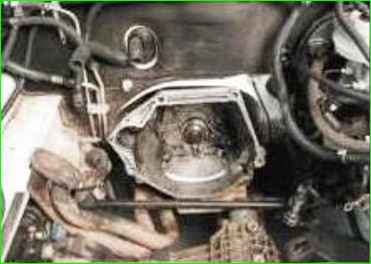
This is what the fixed gearbox looks like after removing the engine.
Install the engine in the sequence, reverse removal, taking into account the following:
- - before installing the engine, be sure to check how the driven clutch disc is centered by inserting a mandrel into its hub and into the front bearing of the input shaft;
- - when putting the hub of the driven clutch disc on the input shaft of the gearbox, be extremely careful, otherwise the hub of the driven disc may be damaged if the suspended engine is skewed;
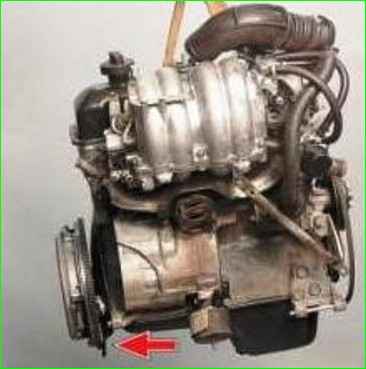
- when installing, pay special attention to the fact that the lower edge of the front shield The clutch housing (shown by the arrow) was placed behind the middle steering rod.


