When the vacuum booster fails, the force on the brake pedal increases significantly, which negatively affects vehicle control.
If the force on the pedal during braking has noticeably increased, check the brake booster on a stationary vehicle
With the engine not running, press the brake pedal 5-6 times.
Keeping the brake pedal depressed, start the engine.
The brake pedal should move forward.
If this does not happen, check the tightness of the vacuum hose on the inlet pipe fitting and on the check valve.
If necessary, depending on the defect, tighten the hose clamp, replace the clamp or hose.
To check the check valve, disconnect the vacuum hose from the valve.
Remove the valve from the housing amplifier.
Put a rubber bulb on the larger diameter nipple (which the valve is inserted into the amplifier) and squeeze it. This should release air through the valve.
Release the bulb. If it remains compressed, then the valve is working properly.
Otherwise, replace the valve. If you don't have a bulb, you can blow out the valve with your mouth.
If the valve and hoses are in good condition and the connections are tight, then the vacuum booster is faulty.
Removing the brake booster
Do not disconnect the brake pipes from the master cylinder to prevent air from getting into the hydraulic brake system.
Unscrew the two nuts securing the master cylinder to the brake booster (see the article - "Removing the Master Brake Cylinder").
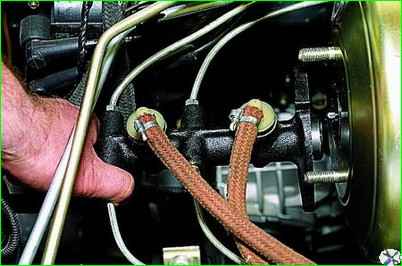
Remove the cylinder from the studs and move it down, carefully bending the brake pipes so as not to damage them.
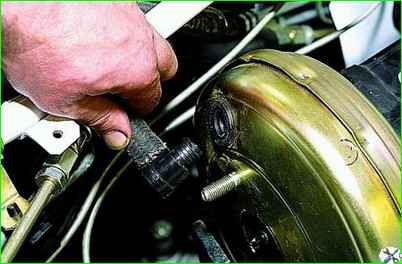
Remove the check valve from the rubber seal in the hole in the booster housing.
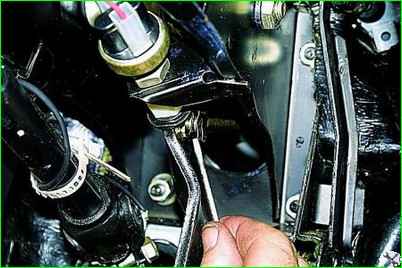
In the cabin, use a screwdriver to pry off the lock washer of the pin securing the vacuum booster pusher to the brake pedal. (Steering column covers removed for clarity).
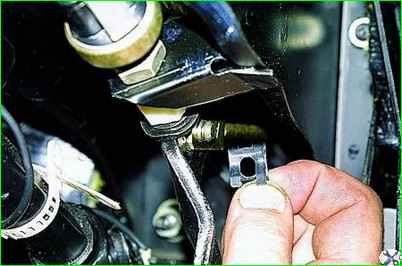
Removing the lock washer
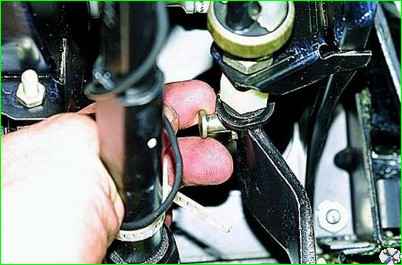
Remove the pushrod mounting pin from the pedal.
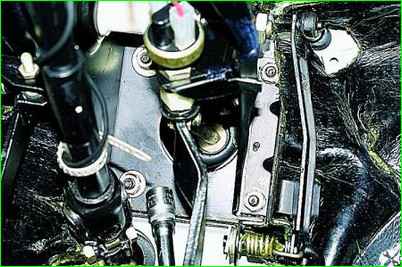
Using a 13 mm socket, unscrew the four nuts securing the vacuum booster brackets and pedal assembly to the front body panel.
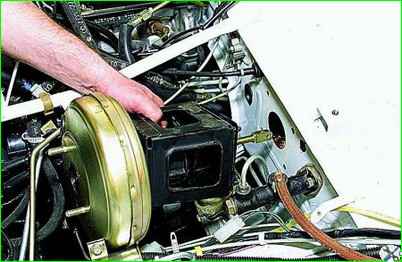
We remove the booster pushrod from the hole in the front shield and remove the vacuum booster assembly with the bracket from the engine compartment
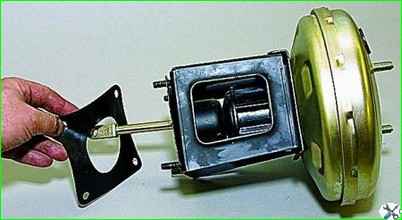
We remove the rubber gasket
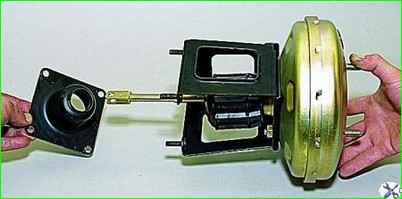
Removing the seal cup
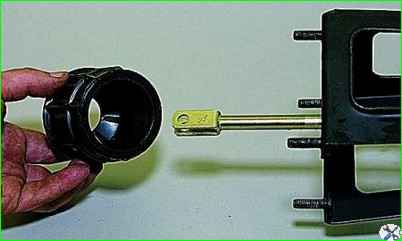
Remove the seal.
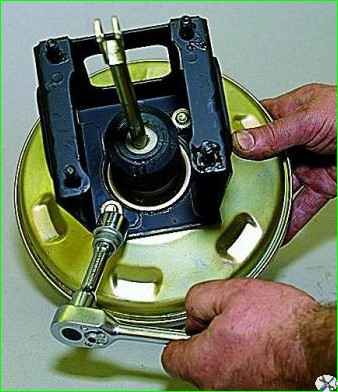
Using a 17 mm socket, unscrew the two nuts securing the vacuum booster to the bracket
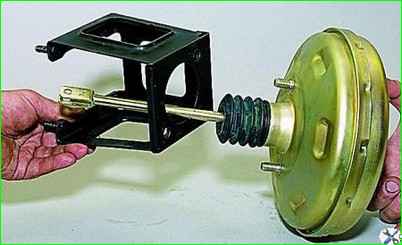
Disconnect the bracket and the booster.
Install the brake booster in the reverse order.
When installing the check valve, wet it and the seal with a penetrating liquid such as WD-40.
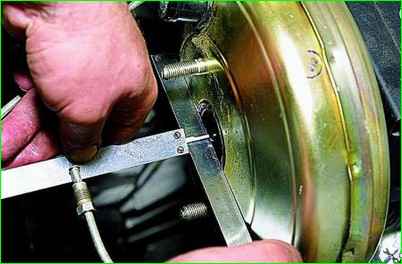
The protrusion of the head of the adjusting bolt of the vacuum booster relative to the plane of fastening of the flange of the master brake cylinder should be 1.25–0.2 mm. (The brake master cylinder has been removed for clarity.)
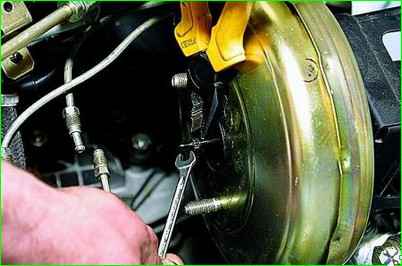
To adjust the protrusion of the bolt head, hold the end of the rod with pliers and turn the bolt with a 7 mm wrench
With the engine off, adjust the free travel of the brake pedal.
To do this, in the passenger compartment, use a 19 mm wrench to loosen the lock nut of the brake light switch, holding it with a 14 mm wrench.
Turning the brake light switch (with the wires), we install it so that its buffer rests against the pedal stop, and the free pedal travel is 3-5 mm.
In this position, tighten the lock nut.
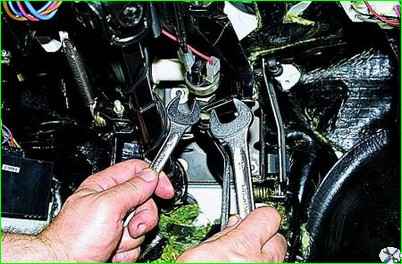
To remove the brake light switch, disconnect the wires from it
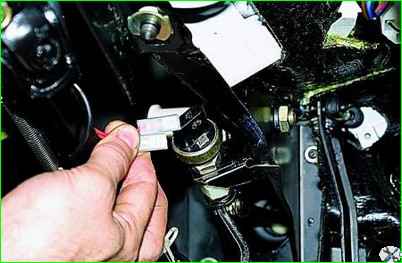
with a 19 key, unscrew the buffer and remove it.
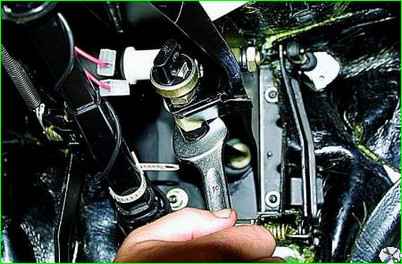
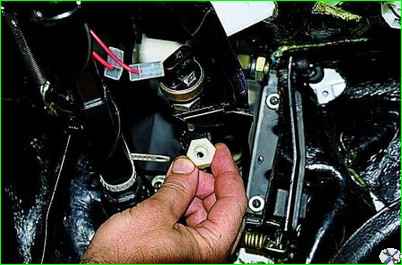
After loosening the lock nut, use a 14 mm wrench to unscrew the brake light switch from the pedal assembly bracket
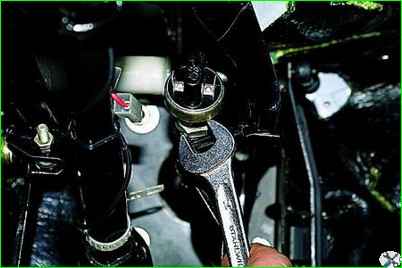
Remove the switch
Install the brake light switch in the reverse order and adjust the free play pedals


