The hood covers the top of the engine compartment located in the front of the car
The hood consists of an outer panel and internal reinforcements connected to each other.
It is attached to the body with two loops.
The hood opens forward and is fixed in the open position with a special stop.
The hood is equipped with a lock that keeps it in the closed position.
The lock is unlocked from inside the body with a special handle installed under the instrument panel and connected to the lock by a cable drive.
Removing the car hood
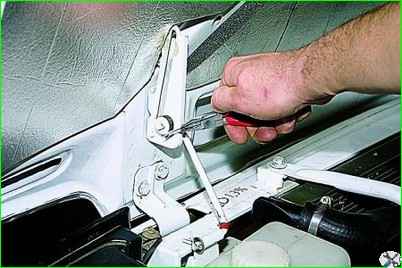
Using pliers, remove the cotter pin from the hole in the hood latch stop.
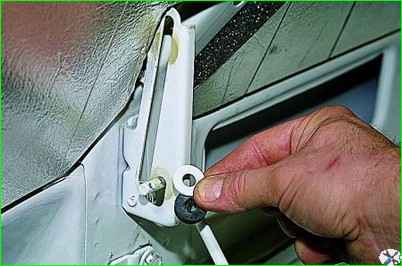
Remove the metal and rubber washers.
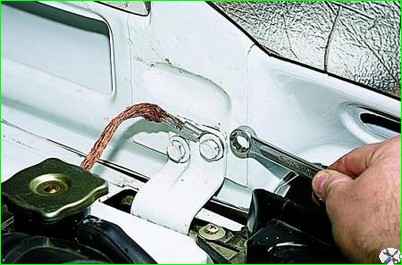
Use a 13mm wrench to unscrew the right hinge bolt
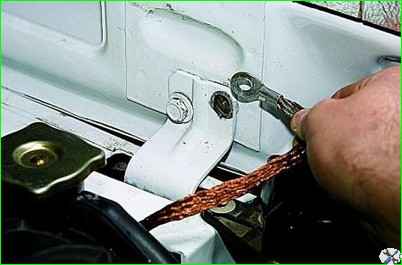
Remove the “mass” wire of the hood.
Holding the hood, unscrew the second bolt of the right hinge.
In the same way, unscrew the bolts of the left hinge and remove the stop of the clamp from engagement with the bracket
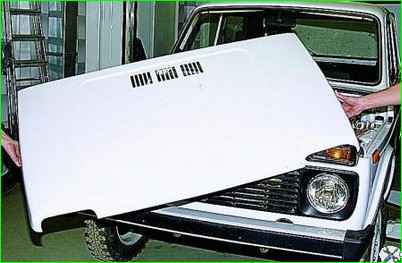
Remove the hood
Install the hood in reverse order.
Removing the car hood lock
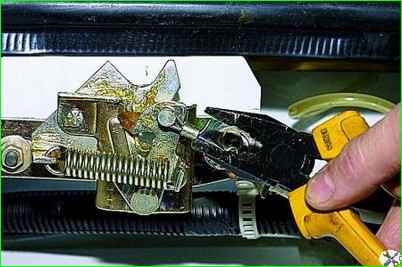
Use pliers to bend the end of the rod
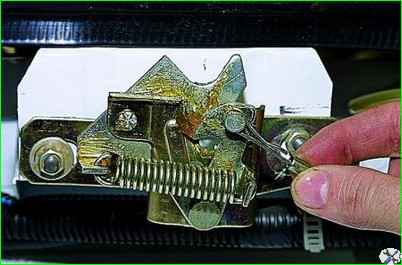
Move the retaining tube
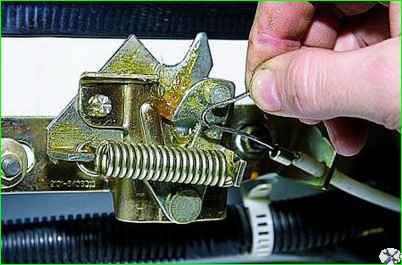
Disconnect the rod from the lock. Straighten the rod and remove the clamp tube.
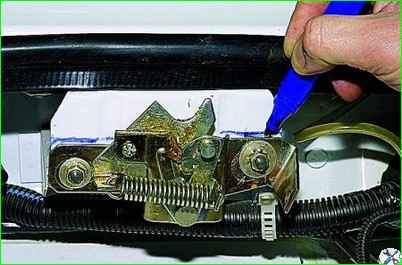
Use a felt-tip pen to outline the outline of the lock.
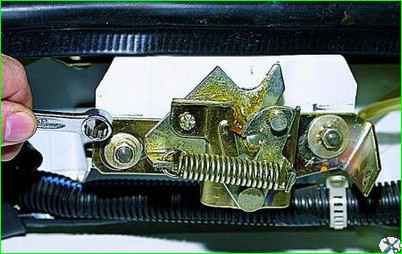
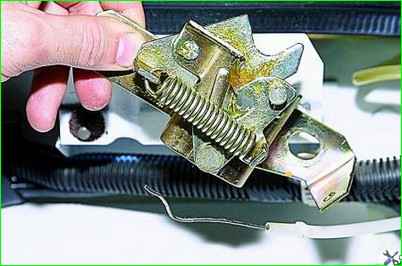
Using a 10mm spanner, unscrew the two nuts securing the lock to the bracket and remove the lock.
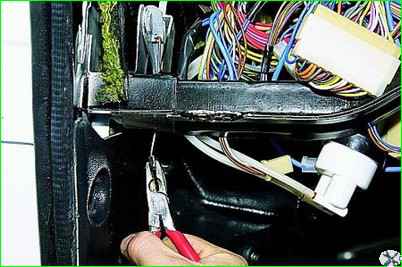
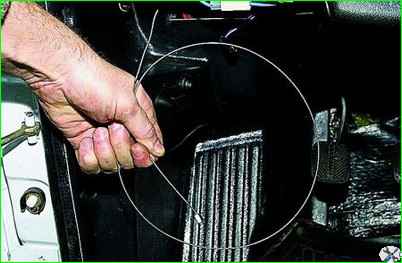
Through the hole in the hood lock drive handle (the instrument panel has been removed for clarity), use pliers to remove the rod from the shell and remove the rod.
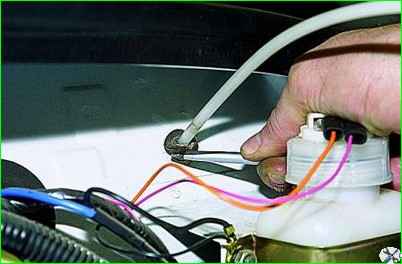
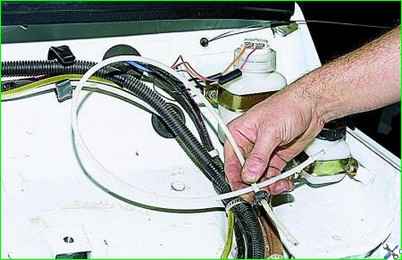
In the engine compartment, use a screwdriver to pry up the rubber bushing of the rod shell and remove the shell
Install the lock according to the marks in reverse order.
If necessary Let's adjust its position.
Having loosened the two fastening nuts, we move the lock within the mounting holes, ensuring its smooth operation.


