The instrument panel is usually removed for body work, as well as for repairing the interior heater
We disconnect the main cylinder of the headlight hydraulic adjustment from the instrument panel to do this:
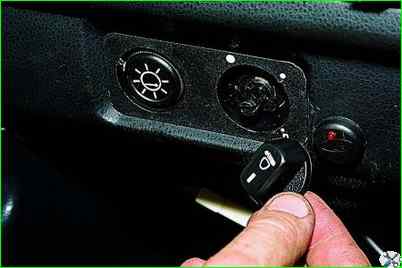
Pulling towards you, remove the hydraulic corrector control handle
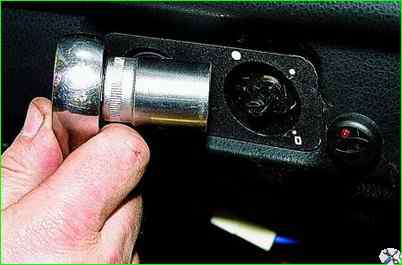
Using a 21mm socket, unscrew the nut securing the master cylinder to the instrument panel
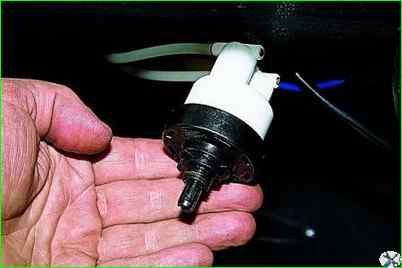
We remove the main cylinder of the hydraulic corrector from under the instrument panel
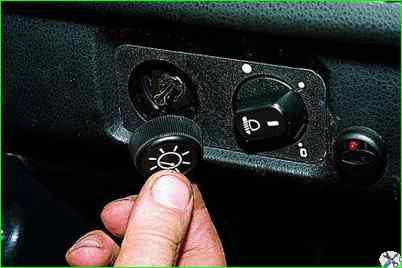
Remove the instrument lighting switch; to do this, remove the switch handle
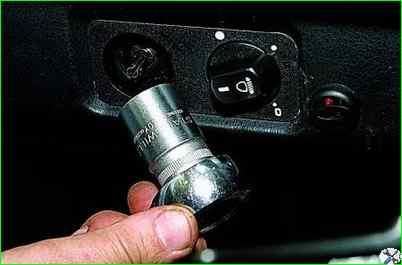
Using a 21mm socket, unscrew the nut securing the switch to the instrument panel
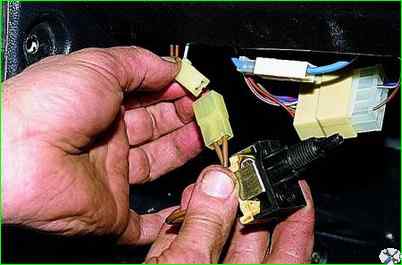
We remove the instrument lighting switch from under the panel and disconnect the connector
Remove the instrument cluster (see article - “Removing the instrument cluster”).
Remove the radio mounting panel to do this:
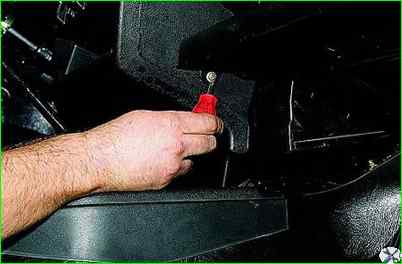
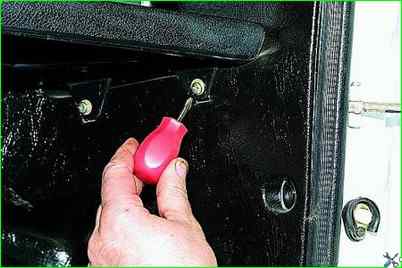
Using a Phillips screwdriver, unscrew the self-tapping screws securing the storage shelf: to the radio mounting panel (one self-tapping screw), the side trim (two self-tapping screws) and to the front panel bracket (one self-tapping screw).
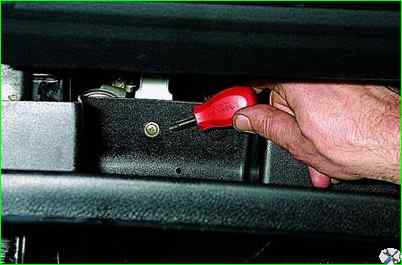
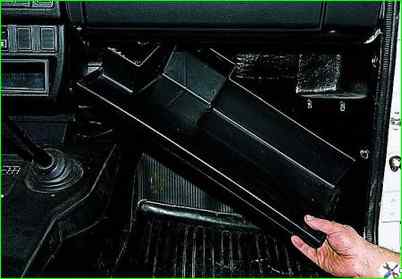
Lower the right end of the shelf.
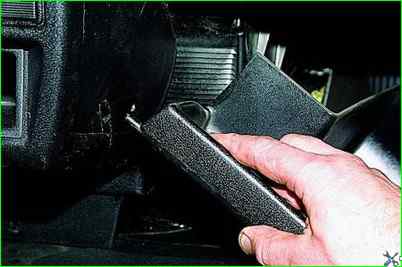
We remove the shelf tenon from the radio mounting panel and remove the shelf
Remove the radio mounting panel to do this:
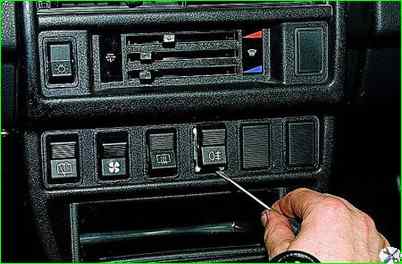
Using a screwdriver, remove the rear fog light switch.
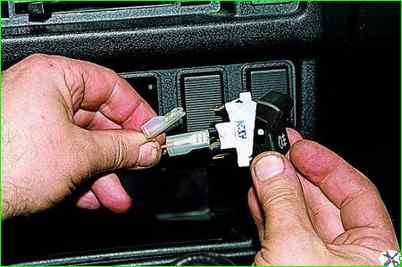
Having marked the wire connectors, disconnect them
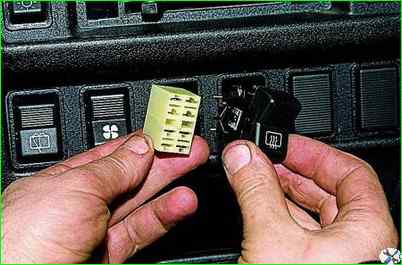
Having removed the heated tailgate glass switch, disconnect the wire block
Having removed the heater motor switch, mark the wire connectors and disconnect them.
Having removed the tailgate glass cleaner and washer switch, disconnect the wire block.
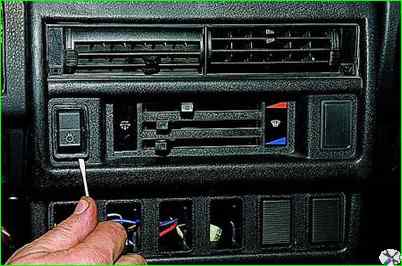
Use a screwdriver to remove the outdoor lighting switch.
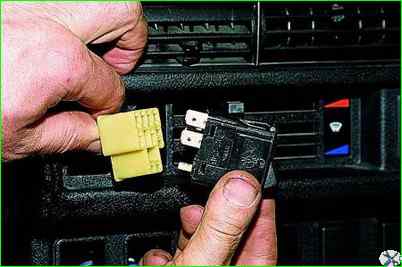
Disconnect the wire block.
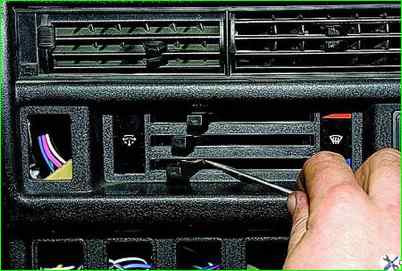
Using a screwdriver, disconnect the handle of the air intake damper control lever.
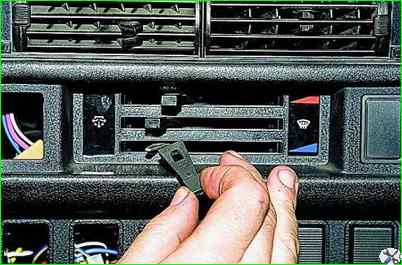
In the same way, remove the control handles for the heated windshield flap and the heater valve.
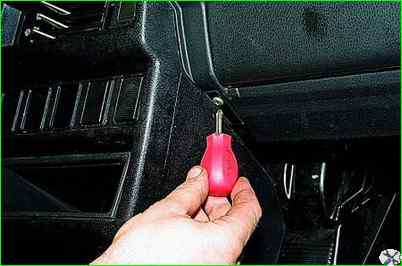
Use a Phillips screwdriver to unscrew the self-tapping screw of the right fastening of the radio panel to the instrument panel.
In the same way, unscrew the self-tapping screw of the left fastening of the radio panel.
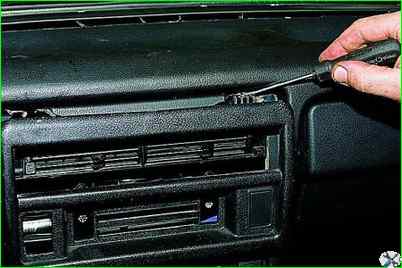
Using a screwdriver from above in two places, remove the radio mounting panel from the instrument panel
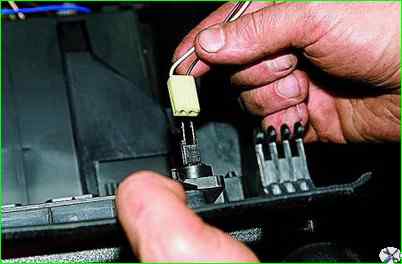
Disconnect the two connectors for the heater control lever illumination lamps.
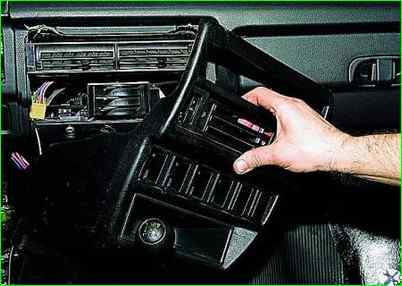
Remove the radio mounting panel
On a car with a carburetor engine, remove the air damper drive.
On a car with an injection engine, disconnect the two connectors of the APS status indicator (see Removing the immobilizer control unit).
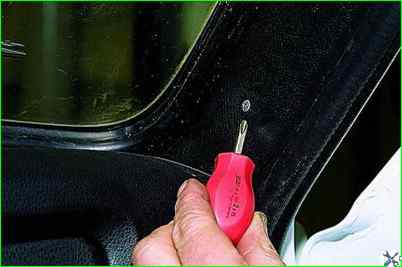
Use a Phillips screwdriver to unscrew the three self-tapping screws securing the trim of the right windshield pillar
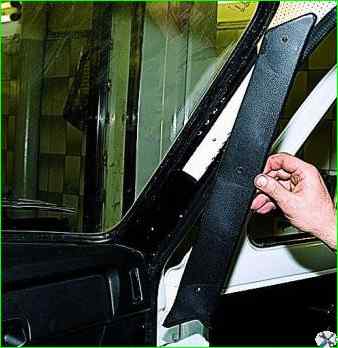
Remove the upholstery. Similarly, remove the trim of the left wind window pillar
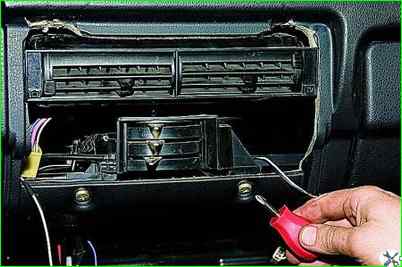
Use a Phillips screwdriver to unscrew the two screws securing the bracket for the heater control levers to the instrument panel.
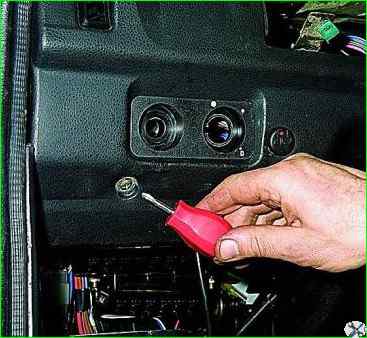
Use a Phillips screwdriver to unscrew the screw in the lower left part of the instrument panel.
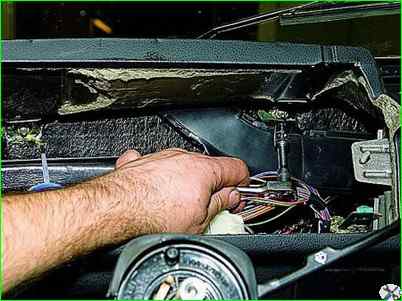
Using a 10mm socket, unscrew the two nuts in the upper part of the instrument cluster socket (the steering wheel has been removed for clarity).
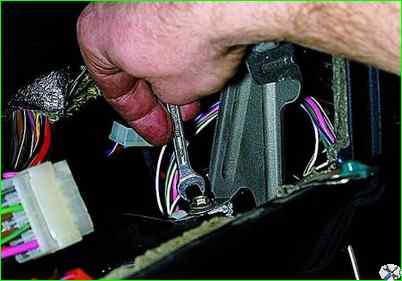
Use the “8” key to unscrew the bolt on the right side of the instrument cluster socket.
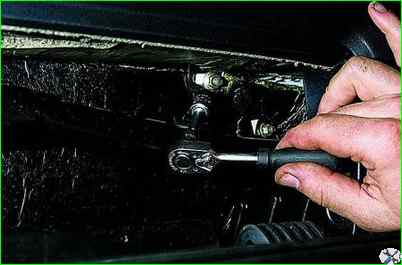
Use a 10mm socket to unscrew the two nuts at the top of the glove box
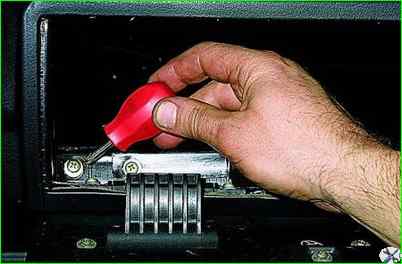
Using a Phillips screwdriver, unscrew one self-tapping screw in the lower left corner of the glove box and one in the lower right.
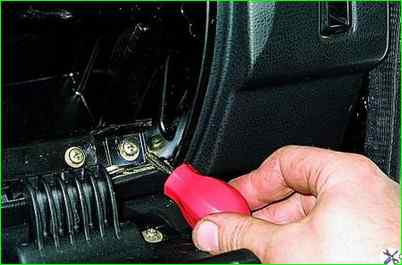
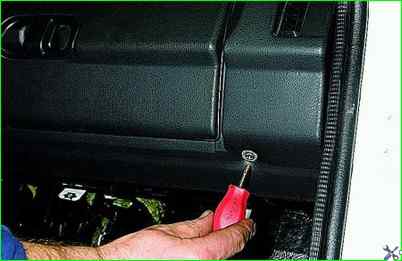
Use a Phillips screwdriver to unscrew the screw in the lower right part of the instrument panel
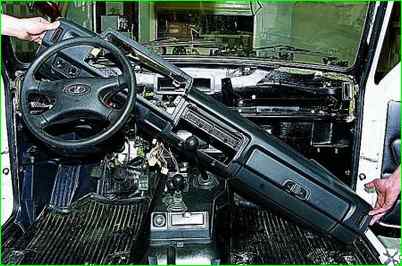
Remove the instrument panel from the studs, pulling it towards you, and take it out
Install the instrument panel in reverse order


