Usually we remove the master cylinder reservoir for cleaning or other work
You need to wash the reservoir with a soapy water solution, then dry it.
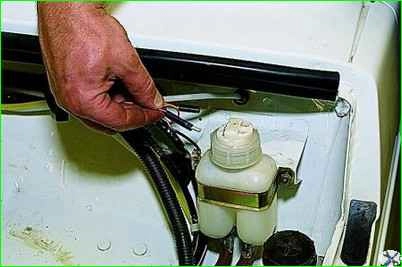
Disconnect the wire connectors from the brake fluid low level sensor.
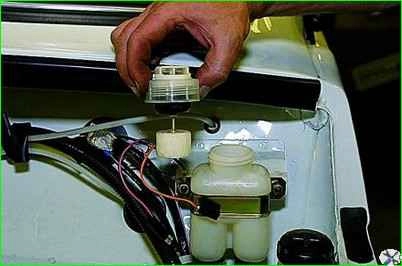
Unscrew the plug and take out the level sensor.
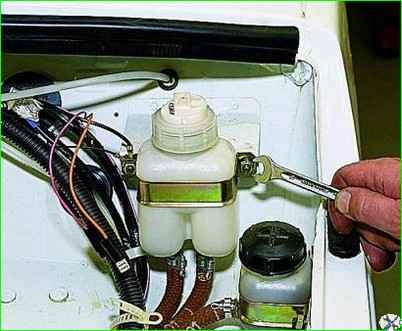
Using a 10 mm wrench, unscrew the two nuts securing the reservoir bracket to the body
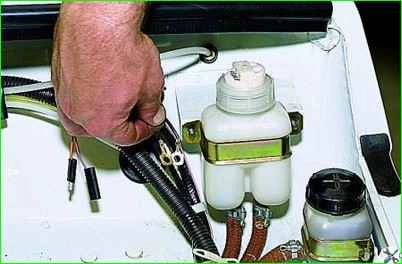
Remove the two "ground" wires from the right bracket mounting stud.
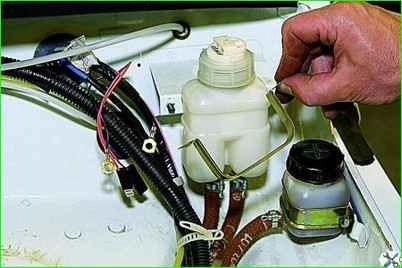
Remove the bracket from studs
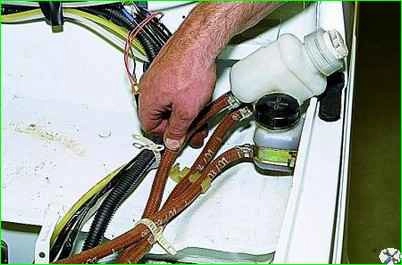
We take the hoses out of the plastic holder. Tilting the reservoir, drain the brake fluid into a container
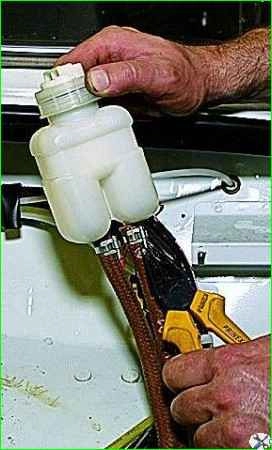
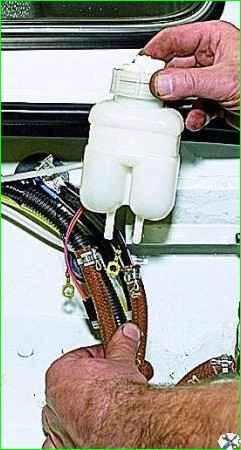
Using pliers, loosen the mounting clamps and remove the hoses from the tank fittings.
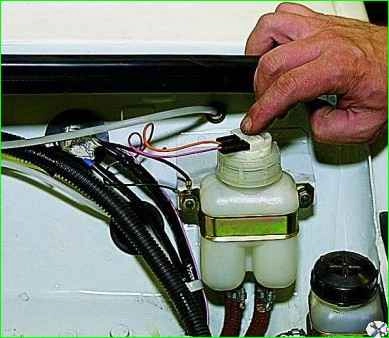
To check the low brake fluid level sensor, turn on the ignition and lower the parking brake lever.
Press your finger on the rod protruding from the tank cover.
The parking brake and low brake fluid level indicator lamp in the instrument cluster should light up.
When you release the rod, the lamp should go out.
Reinstall the tank in the reverse direction. sequence. Top up the brake fluid and bleed the hydraulic system (see Bleeding the brakes)
Removing the master cylinder
Remove the spare wheel support bracket.
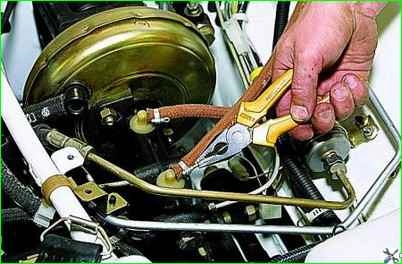
Using pliers, loosen the clamps securing the flexible hoses to the master cylinder fittings.
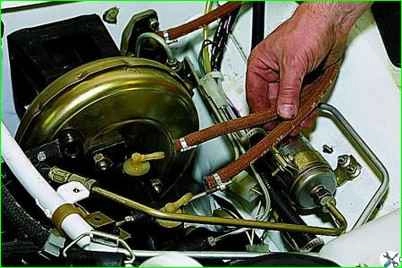
Carefully holding the fittings, remove the hoses.
Drain the brake fluid from the reservoir into a container.
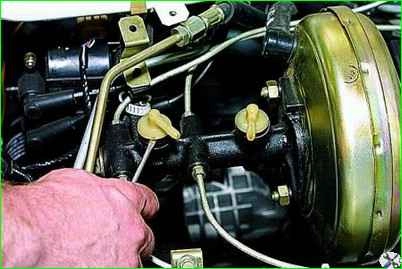
To replace the fitting of the master brake cylinder, pry it off with a screwdriver
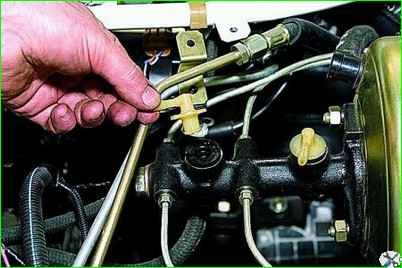
Remove it from the master brake cylinder socket.
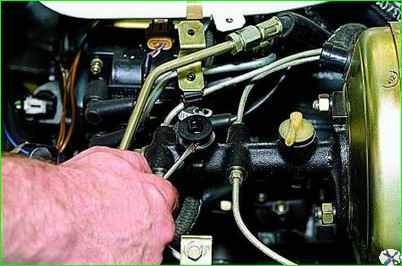
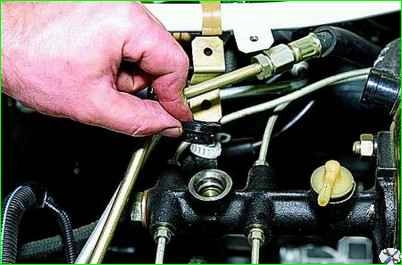
Use a screwdriver to pry off the rubber connecting piece ulku and take it out
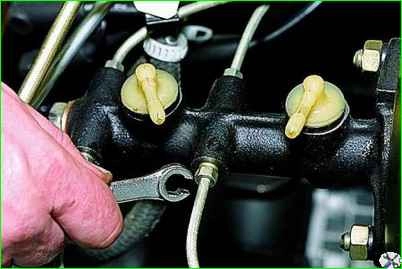
To remove the master brake cylinder, use a special "10" key that covers five faces of the nut to unscrew the fittings of the four brake pipes.
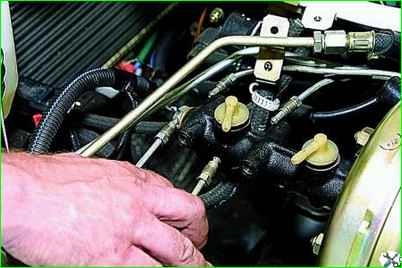
We move the tubes away from the brake cylinder.
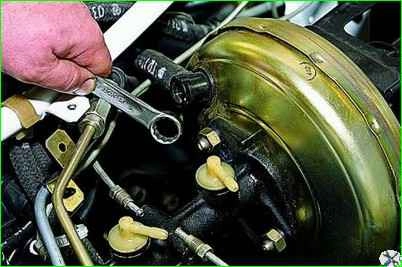
Using a 17 mm open-end wrench, unscrew the two nuts securing the master brake cylinder to the vacuum booster
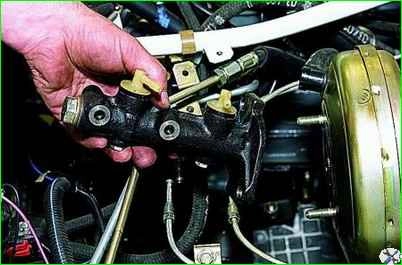
Removing the master brake cylinder
Installing the master brake cylinder in the reverse order.
Bleeding the hydraulic drive system.


