The gaskets should be replaced when changing the intake pipes and when burnout or wear of the gaskets is detected
Burnout of the exhaust manifold gasket can be detected by the sound of the engine.
Wear or breakdown of the intake pipe gasket is detected by uneven engine operation (the engine starts to "triple", engine power decreases).
Remove the engine receiver (see Removing the receiver).
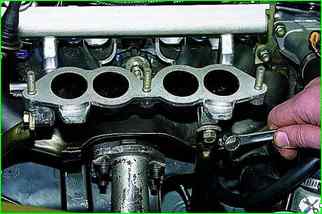
Using a 13 mm open-end wrench, loosen the bolt securing the front support bracket to the intake manifold.
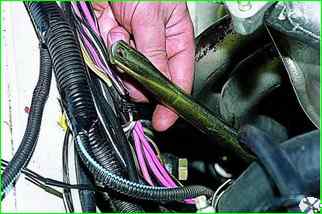
Using a 13 mm wrench, loosen the nut securing the support bracket to the bracket of the right support of the power unit and remove the front support bracket of the intake manifold.
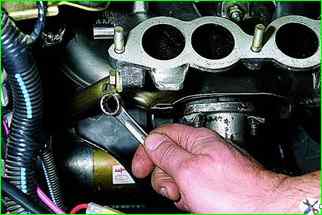
Using a 13 mm open-end wrench, unscrew the bolt securing the rear support bracket to the intake pipe.
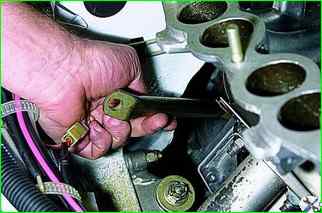
Loosen the upper starter mounting bolt and move the rear support bracket away from the intake pipe.
Remove the fuel rail (see. Removing the fuel rail).
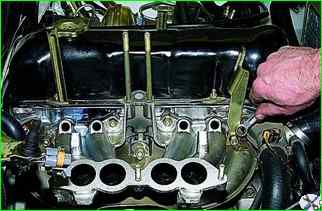
Using a 13 mm open-end wrench, unscrew the nut securing the front eye of the power unit.
Disconnect the inlet pipe from the exhaust manifold.
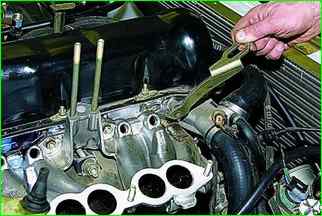
Remove the eye (Lifting unit).
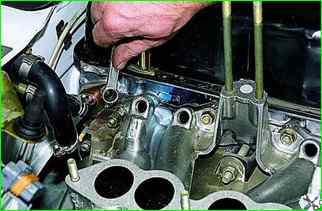
Use a 13 mm open-end wrench to unscrew two outer nuts (one on each side) securing the intake manifold heat shield to the cylinder head
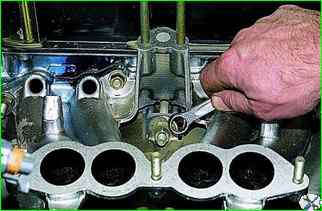
Use a 13 mm open-end wrench to loosen the middle mounting nut
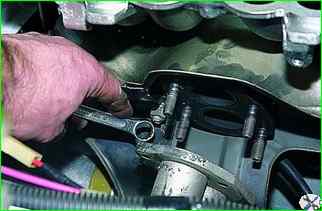
Using a 13 mm open-end wrench, unscrew the nut securing the lower screen mount to the exhaust manifold.
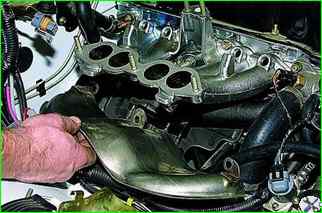
Remove the heat shield of the intake pipe.
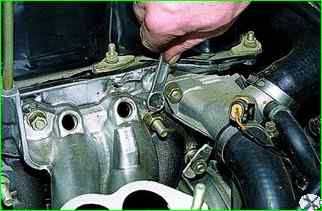
Using a 13 mm open-end wrench, unscrew the two outer nuts (one on each side) securing the intake pipe to the cylinder head
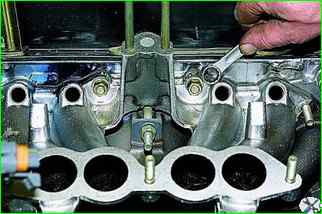
Using a 13 mm open-end wrench, unscrew the two nuts of the upper mount.
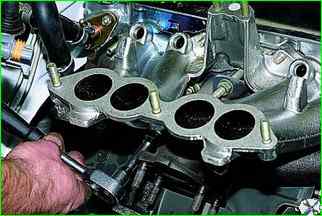
Using a 13 mm socket with an extension, unscrew the two nuts of the lower intake pipe mount.
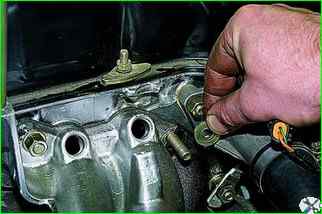
Remove the washers from the mounting studs.
At the joints of the intake pipes and exhaust manifold on studs installed thickened washers
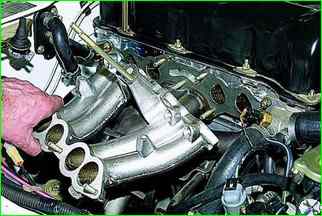
Remove the intake pipe from the studs of the cylinder head.
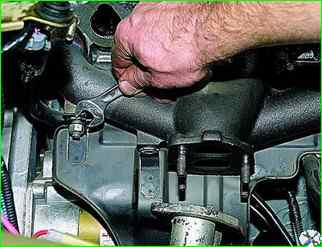
Using a 13 mm wrench, unscrew the nut securing the starter heat shield to the exhaust manifold.
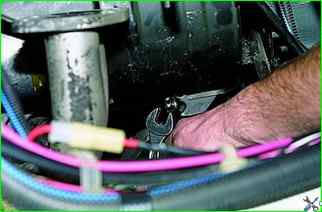
Using a 13 mm wrench, unscrew the bolt securing the shield to the bracket of the right support of the power unit
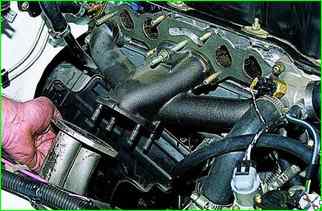
We move the screen away from the exhaust manifold.
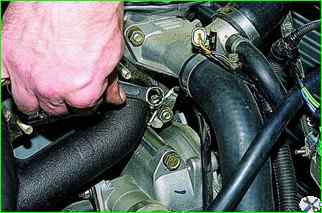
Using a 13 mm open-end wrench, unscrew the nut securing the negative battery cable.
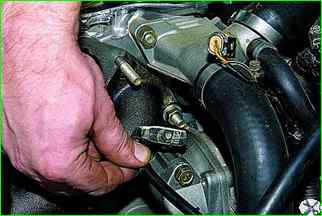
Remove the wire tip from the cylinder head stud.
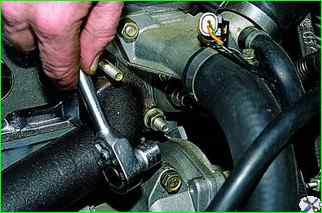
Using a 13 mm socket, unscrew the two outer nuts (one on each side) of the exhaust manifold
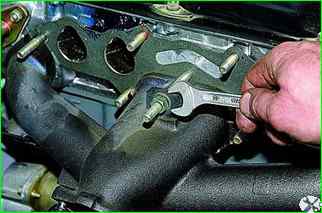
Using a 13 mm wrench, loosen the middle nut securing the manifold.
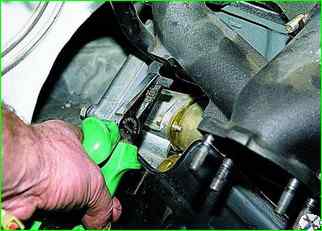
Using pliers, move the bracket securing the heater radiator outlet pipe away from the exhaust manifold.
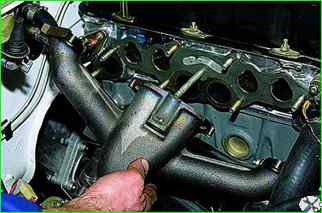
Removing the exhaust manifold.
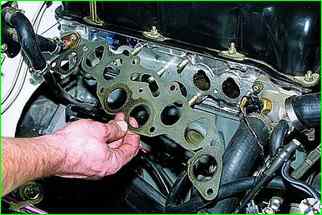
Removing the intake pipe and exhaust gasket seals manifold
Before installation, clean the mating surfaces of the cylinder head, intake pipe and exhaust manifold from the remains of the old gasket and carbon deposits
After installing the new gasket, assemble in the reverse order.
Lubricate the cylinder head studs with graphite grease.


