Remove the door trim (see Removing the door trim)

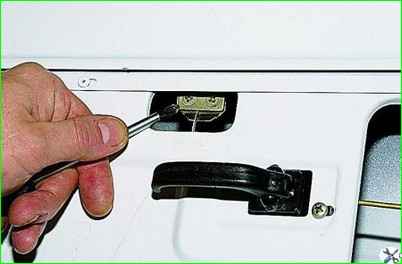
Pry it up with a slotted screwdriver

Remove the internal glass seal.
Remove the outer glass seal in the same way.
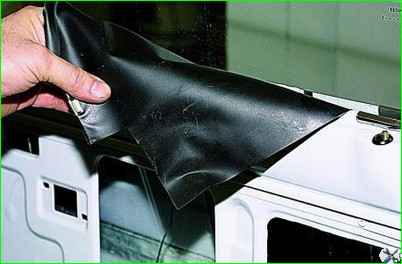
Take out the protective film.
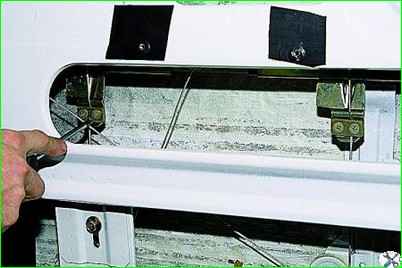
Use a Phillips screwdriver to unscrew the two front mounting screws through the window of the inner door panel
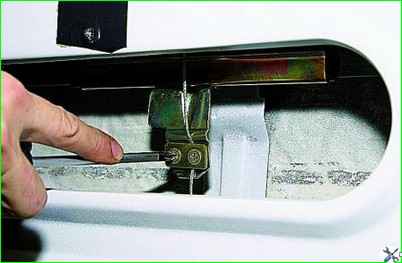
Remove the two screws of the rear fastening of the window lift cable to the glass holder
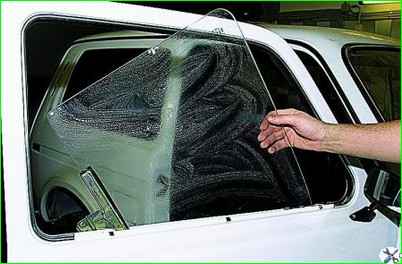
Lowering the front end of the glass inside the door, remove the glass
If the glass purchased to replace the broken one does not have clips with brackets, then we clean the old clips from glass fragments and old rubber gasket.
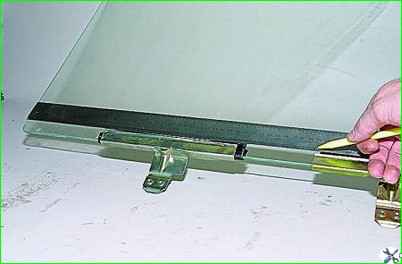
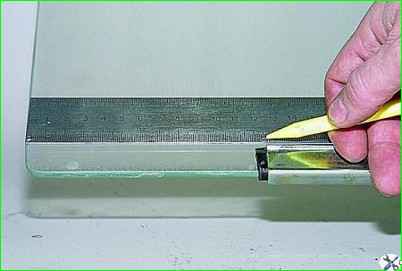
We place marks on the new glass so that the distance from the rear end of the glass to the rear end of the front glass frame is 400 mm, and to the rear end of the rear frame is 125 mm.
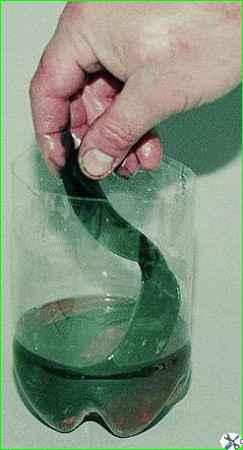
To install the holders, cut out two pieces of new raw rubber.
Dip one piece of raw rubber into a container of gasoline and place it on the glass according to the marks.
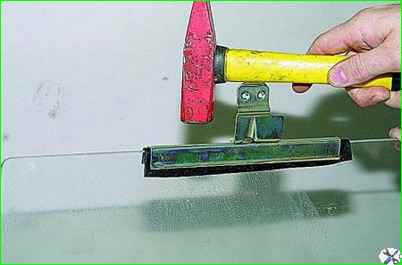
We rest the glass on a soft base and use a hammer to carefully press the clip with raw rubber onto the glass.
Press the second clip along the marks in the same way.
Before installing the glass, check the condition of the rubber glass buffer
Installing the glass in reverse order
Removing the door window lift mechanism
We remove the window lift mechanism to replace it or when completely disassembling the door.
Remove the door trim.
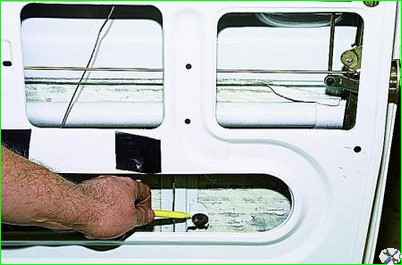
Disconnect the window lift cable fastening to the front and rear glass holders.
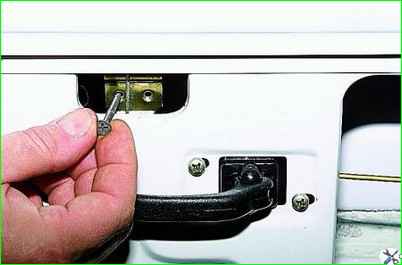
We lift the glass with our hands and secure it from falling with a screw (or pin) with an M5 thread screwed into the hole in the front glass holder.
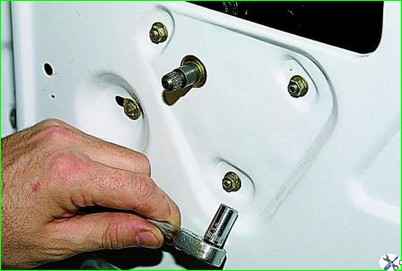
Using an “8” socket, unscrew the three nuts securing the window lift mechanism to the inner door panel.
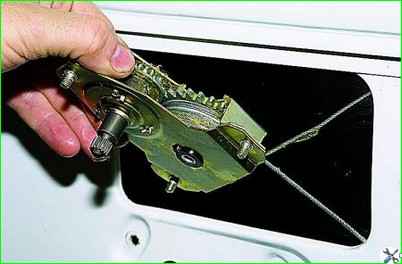
We bring the window lift mechanism to the window in the door panel.
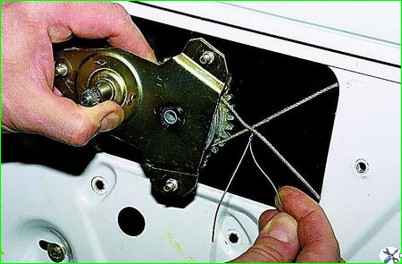
If we do not replace the window lift mechanism, but remove it when completely disassembling the door, then tie the branches of the cable near the window lift mechanism drum with wire.
We lower the glass with our hands to the rubber buffer.
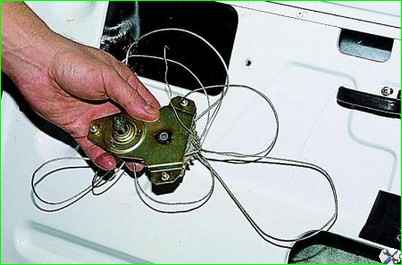
Remove the cable from the four rollers and take out the window lift mechanism with the cable.
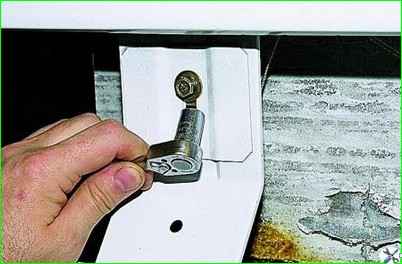
Use a 10mm socket to unscrew the bolt securing the tension roller bracket
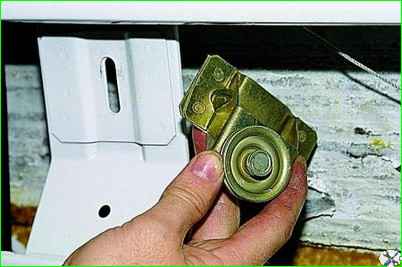
Take out the bracket with the roller.
During assembly, after installing the tension roller bracket, do not tighten its fastening bolt.
Having lifted the glass, we fix it.
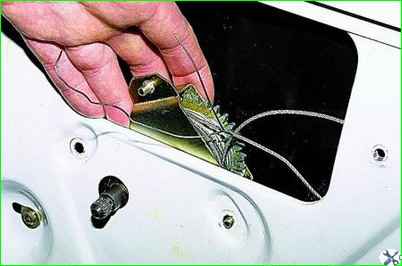
We pass the shaft of the window lift mechanism into the hole in the inner panel of the door (the new window lift mechanism is sold with connected branches of the cable)
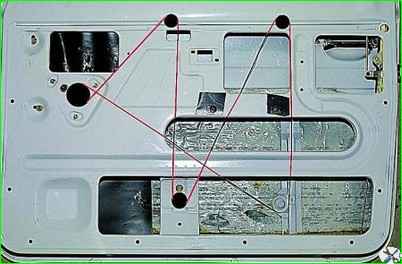
We put the cable on the rollers according to the diagram.
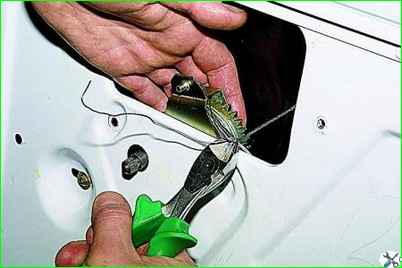
Use side cutters to cut through the wire securing the branches of the cable.
We thread the pins of the window lift mechanism into the holes and fasten the mechanism.
To tension the cable, lightly tighten the bolt of the tension roller bracket.
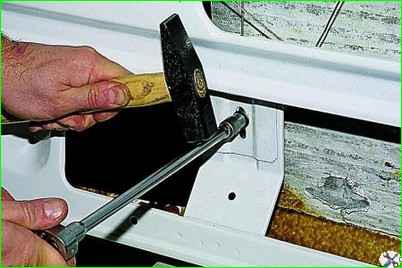
Tapping with a hammer on the extension of the “10” head placed on the bracket bolt, we move the roller down, tensioning the cable.
Finally tighten the bolt.
Tighten the screws of the two clamping bars of the glass frame brackets and slightly tighten the screws of the front bracket bar.
Rotate the handle placed on the window lift mechanism shaft counterclockwise until the rotation of the window lift mechanism drum stops.
We lift the glass with our hands until it stops and, holding it in this position, turn the handle mounted on the shaft of the window lifter mechanism clockwise half a turn.
Using a Phillips screwdriver through the window in the upper part of the inner door panel, finally tighten the screws of the front bracket bracket of the glass frame.
Lower the glass to the level where it will be possible to tighten the screws of the rear bracket bracket of the glass frame through the window of the inner door panel.
After checking the operation of the window lifter mechanism, lubricate the cable and rollers with Litol-24 lubricant.


