We remove the ramp to check the injectors, flush from deposits, replace sealing parts and during major engine repairs
Before removing the ramp, you need to provide access to it, for this we remove the fuel receiver (removal of the receiver is discussed in the article - "Removal and installation of the receiver").
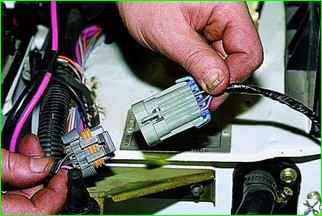
Disconnect the plug of the electrical control connector injectors.
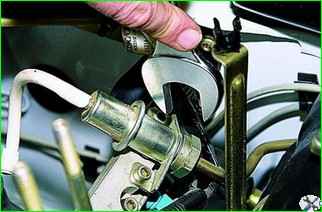
Using a 24 key, unscrew the union nut securing the drain pipe to the pressure regulator, gradually releasing the pressure.
Disconnect the drain pipe.
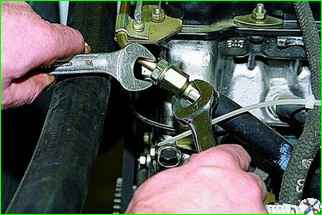
Using a 17 mm wrench, gradually releasing the pressure, unscrew the nut of the fuel supply pipe, holding the hose nipple with a wrench of the same size.
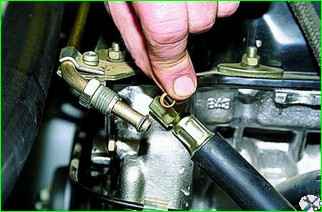
Having disconnected the pipe and the hose nipple, check the condition of the rubber sealing ring - it should not be damaged.
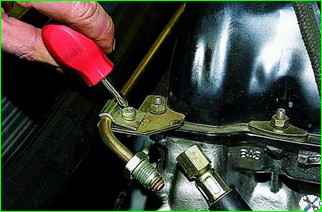
Using a Phillips screwdriver, unscrew the screw securing the fuel line clamp
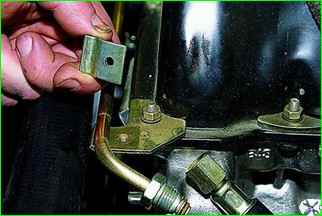
Remove the bracket
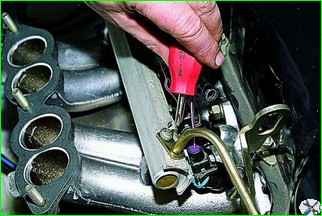
Using a Phillips screwdriver, unscrew the screw of the pressure plate of the fuel supply pipe to the rail.
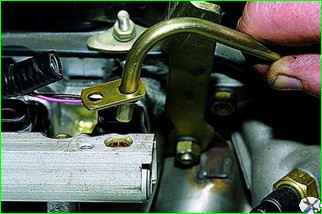
Remove the tube from the rail.
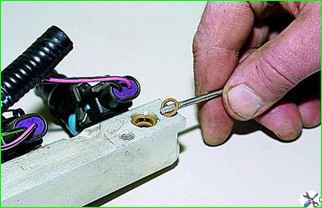
The connection is sealed with a rubber ring (the ramp has been removed for clarity).
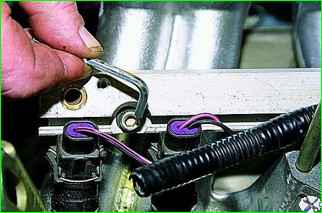
Using a 5 mm Allen key, unscrew the two screws securing the rail to the intake pipe.
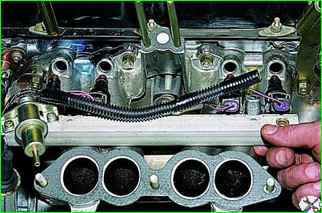
Pulling the rail along the axes of the injectors, remove all four injectors from their seats and remove the rail with injectors, fuel pressure regulator and harness wires
Install the rail in the reverse order
Replace damaged rubber sealing rings and lubricate with engine oil during installation.
Tightening torque of rail mounting screws is 9–13 Nm, and fuel line nuts – 20–34 Nm.
Checking the performance of injectors
To check the injectors, remove the fuel rail.
Connect the fuel lines to the rail and connect its electrical connector.
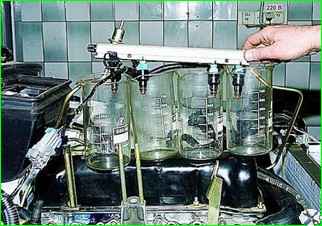
Having placed transparent flasks under the injectors, we turn the engine with the starter.
The spray torches and the amount of fuel injected into each flask over a certain period of time should not differ significantly.
We check each injector separately by disconnecting the electrical connector from it.
Having turned on the ignition, under we apply 12 V from the battery to it with two wires.
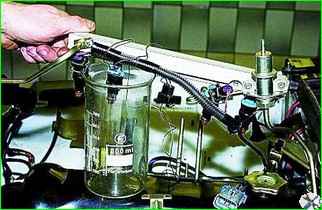
A characteristic stream should flow from the injector nozzle.
After disconnecting the power from the injector, we check whether fuel is leaking through the nozzle hole
Removing the injectors
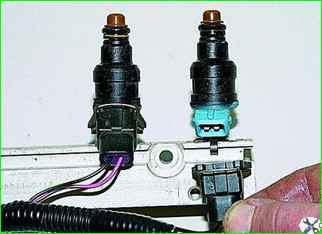
Squeezing the spring clip, disconnect the injector electrical connector.
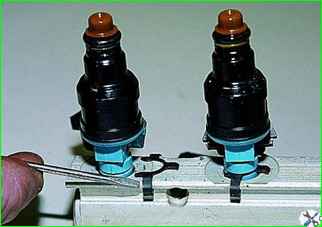
Using a screwdriver, move the injector retainer along the ramp.
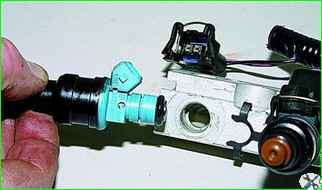
Whipping the injector, we take it out of the ramp.
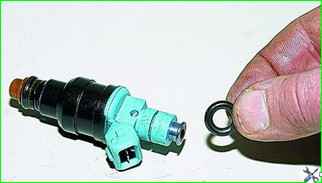
Prying it off with a thin screwdriver, we remove the seals rings from the injector body
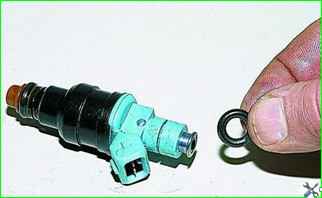
Prying off the sealing rings from the sprayer body with a thin screwdriver.
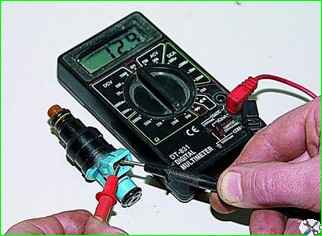
We check the resistance of the injector winding with a tester.
It should be within 11-15 Ohms.
If the electrical resistance of the injector does not correspond to the norm, the performance and spray torch differ greatly from the indicators of other injectors, if the injector is not tight, then it must be replaced
We install the injector in the reverse order.
We replace the sealing rings with new ones and lubricate them with engine oil before installation.


