Drain the liquid from the cooling system with the heater tap open (see Replacing the coolant)
Remove the hoses from the heater pipes and the seal (see Removing the heater valve).
Remove the heater fan (see Removing the heater fan).
In this case, the “negative” wire of the electric motor does not need to be disconnected.
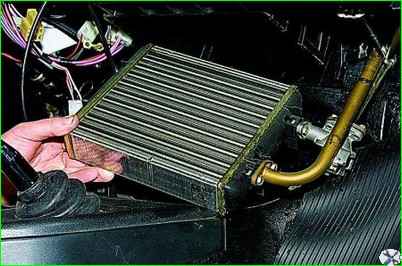
Remove the radiator with the tap.
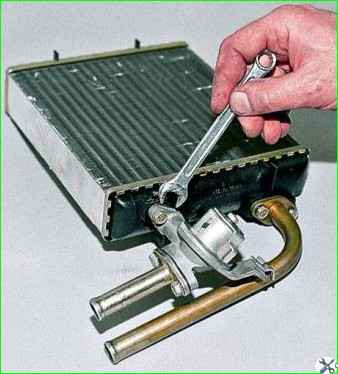
Use a 10mm wrench to unscrew the two bolts securing the faucet to the radiator.
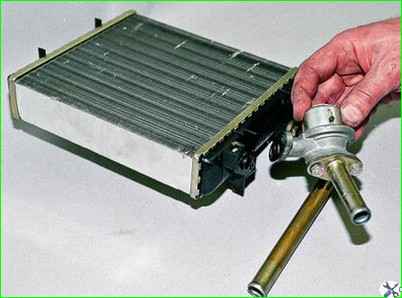
Removing the tap
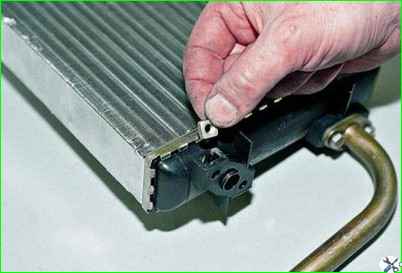
Remove the fastening nuts from the grooves of the radiator tank (for radiator mod. 2105)
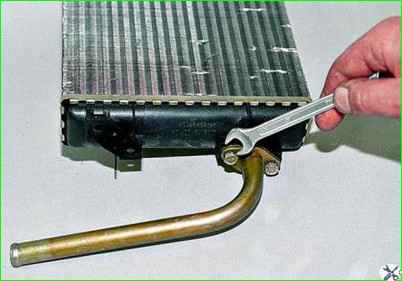
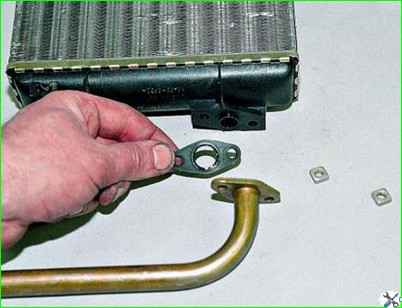
Using a 10mm wrench, unscrew the two bolts (for the radiator mod. 2101 - two nuts) securing the outlet pipe and remove the pipe with the gasket
Assemble and install the heater radiator in reverse order.
Fill the engine cooling system with liquid and check the tightness of the connections.
It happens that the radiator gives off hot air only for the first few seconds after the heater fan is turned on, and then the air remains barely warm.
The malfunction may be caused by the displacement of the rubber partition, which divides the tank into two parts.
To check, drain the coolant from the cooling system.
We place the radiator removed from the car vertically, with the pipes down.
We connect a hose with water from the water supply to one of the pipes and slowly let the stream flow.
On a faulty radiator, water will immediately flow from another pipe.
A working radiator will fill up, become noticeably heavier, and only then will water flow from the other pipe.


