Removing the air intake box, radiator casing, flexible heater drive rods
Remove the heater radiator with a tap (see Removing a heater radiator with a tap).
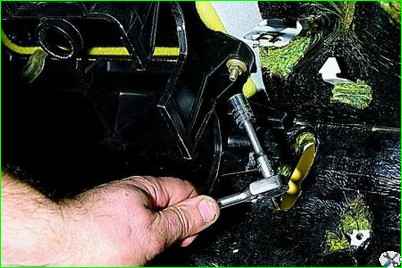
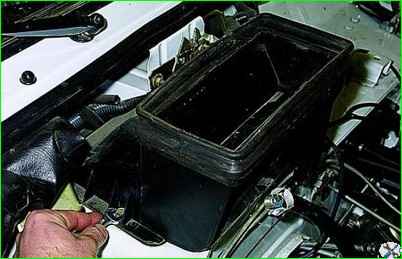
In the cabin, use a 10mm socket to unscrew the four nuts on the bolts securing the air intake box and radiator casing, while in the engine compartment, an assistant holds the bolts with a 10mm wrench.
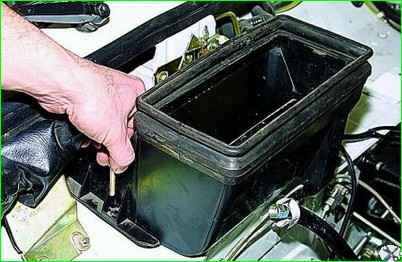
Remove the bolts.
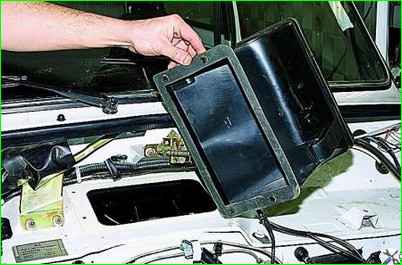
Remove the air supply box.
The connection between the air intake box and the body is sealed with a sponge rubber gasket glued to the flange of the air intake box.
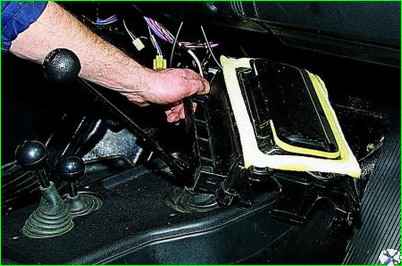
In the cabin, lower the radiator shroud.
Removing the radiator casing does not allow the flexible air intake damper control rod.
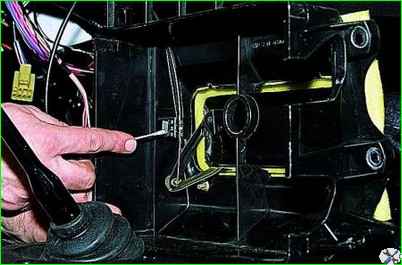
Use a screwdriver to pry up the clamping bracket of the rod shell
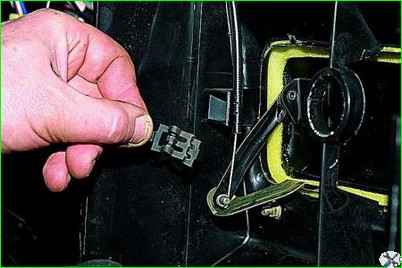
Remove the bracket.
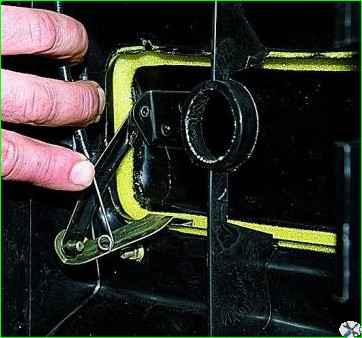
Disconnect the rod from the damper lever.
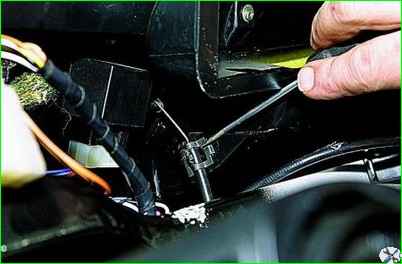
If necessary, similarly disconnect the rod for the heated windshield flap.
To remove the bracket for the heater control levers, unscrew the screws securing the bracket to the instrument panel (see Removing the instrument panel) and move the bracket down.
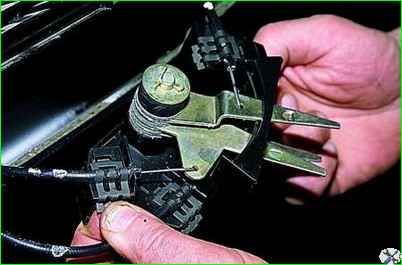
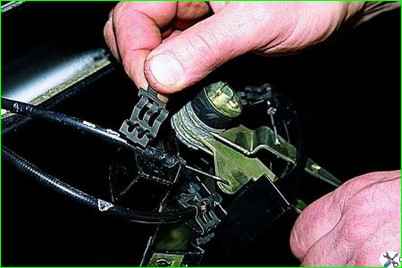
Use your finger to pry up the clamping bracket of the rod shell and remove it.
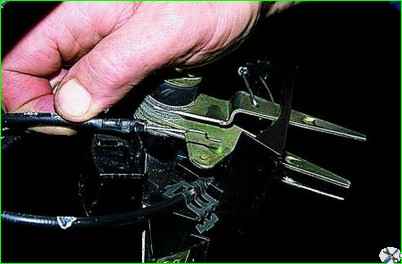
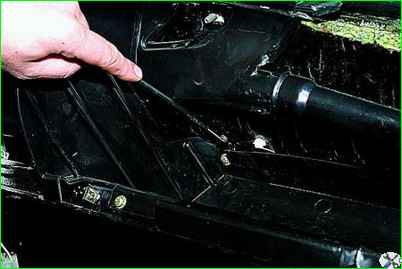
We remove the rod from the hole in the lever.
Having disconnected all three rods from the bracket of the heater control levers, remove it.
To remove the heater tap rod, we remove it from behind the glove box body (the instrument panel has been removed for clarity).
Assembly is carried out in reverse order.
We ensure complete opening and closing of the heater dampers and valves by selecting places for fastening the rod shells with brackets.
Removing the central nozzles and air ducts for heating the windows
Remove the instrument panel (see Removing the instrument panel).
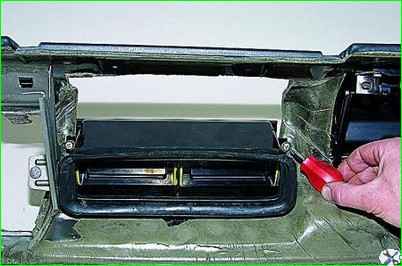
On the back side of the instrument panel, use a Phillips screwdriver to unscrew the two screws securing the nozzle housing.
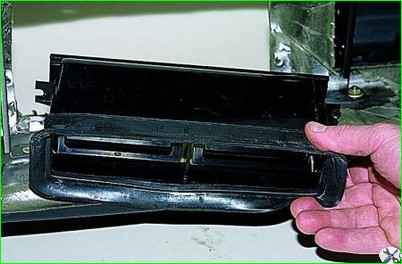
Remove the nozzle body with the seal.
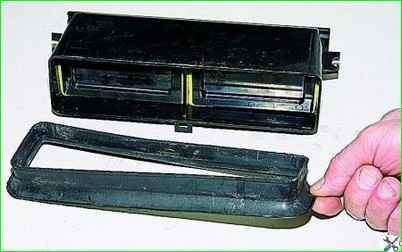
Remove the seal.
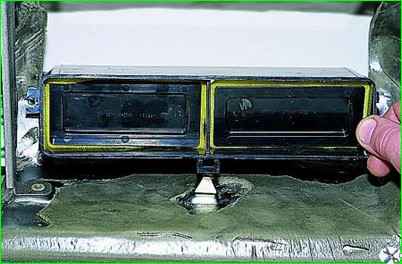
When installing the nozzle housing on the instrument panel, it is necessary to place the housing ear on the protrusion of the instrument panel (the seal has been removed for clarity).
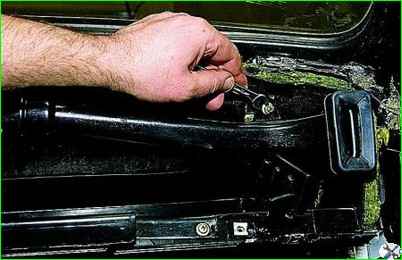
To remove the heated glass air ducts, use a 10mm wrench to unscrew the nut securing the right side window heated air duct.
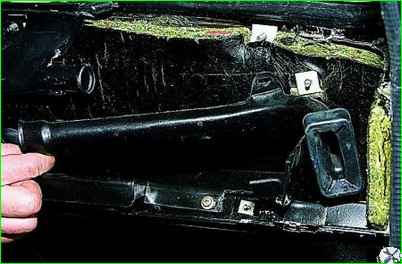
Remove the right air duct.
In the same way, remove the left air duct for heating the side window.
Disconnect the damper rod for the heated windshield air duct.
We move the upper edge of the windshield heating air duct, while the lugs come off the instrument panel mounting studs.
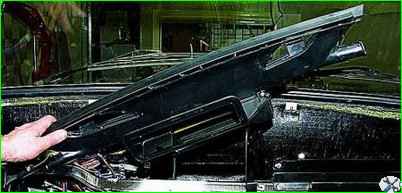
Pulling up, remove the air pipe from the radiator casing and remove the windshield heating air pipe
Install the air ducts in reverse order.


