Clutch malfunctions in which the slave cylinder needs to be replaced or repaired are discussed in the article - “Clutch Features”
Adjusting the clutch is discussed in the article – “Adjusting the clutch”
Removing the hydraulic clutch slave cylinder
We carry out the work on an inspection ditch or a lift.
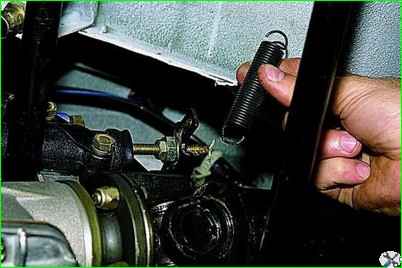
Remove the tension spring.
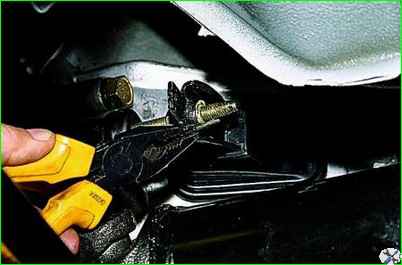
Using pliers, remove the cotter pin from the hole in the pusher.
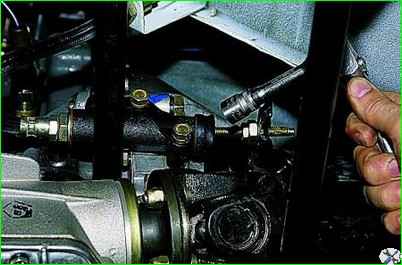
Using a 13mm socket, unscrew the two bolts securing the working cylinder to the clutch housing.
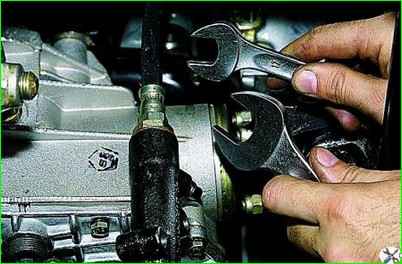
Using a 22 wrench, turn the cylinder by the housing plug, holding the hose tip with a 17 wrench.
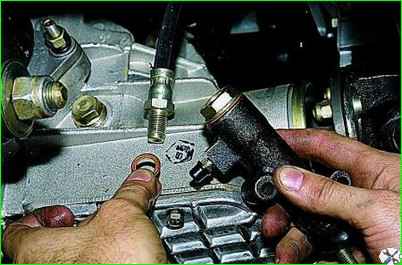
Disconnect the working cylinder and hose - the connection is sealed with a copper ring
Install the working cylinder in reverse order.
Bleeding the hydraulic drive (see Bleeding the hydraulic clutch)
Clutch slave cylinder repair
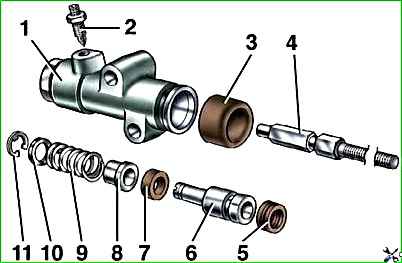
Unscrew the plug, remove the protective cap 3 together with the pusher 4, remove the piston and disassemble it, having first removed the lock ring 11.
After disassembly, carefully wash and inspect all parts as directed for the master cylinder. It is not allowed to install a deformed pusher 3
After checking, proceed with assembly (the reverse order of disassembly), lubricating the parts with hydraulic fluid.
Removing the flexible hydraulic clutch hose
We carry out the work on an inspection ditch or a lift.
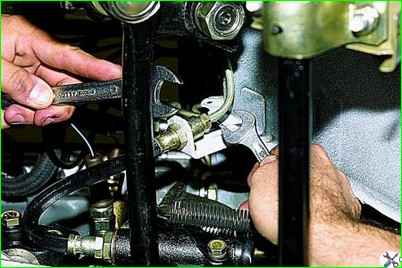
Use a 13 wrench to unscrew the tube fitting, holding the upper tip of the hose with a 19 wrench.
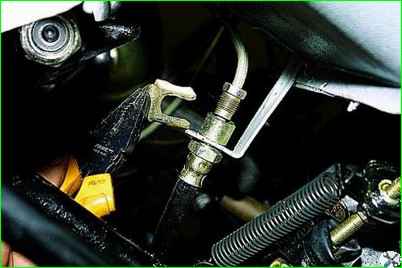
Using pliers, remove the fixing bracket of the hose tip
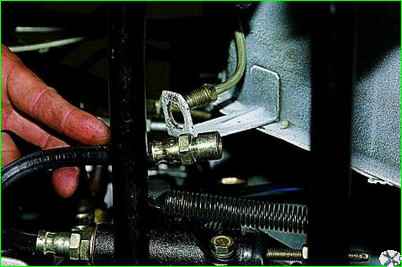
and remove the upper tip of the hose from the bracket hole.
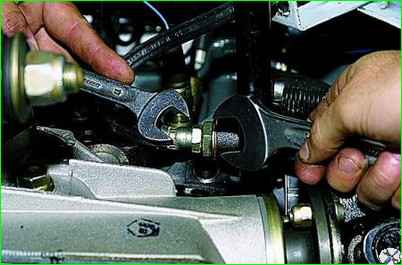
Using a 17 wrench, unscrew the lower tip of the hose from the working cylinder housing plug, holding it from turning with a 22 wrench
Remove the flexible hose.
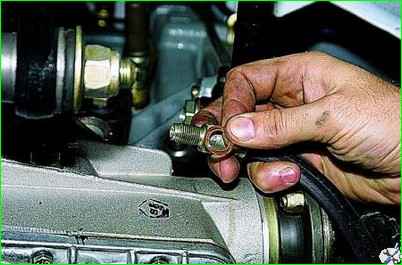
Install the flexible hose in the reverse order. We bleed the hydraulic drive (see Bleeding the hydraulic drive of the stage captivity).


