In this article we will look at the complete disassembly of the rear door of a car
Removing the tailgate trim
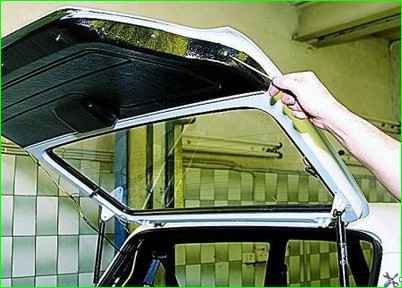
Use a Phillips screwdriver to unscrew the eight screws securing the upholstery to the door and remove the upholstery
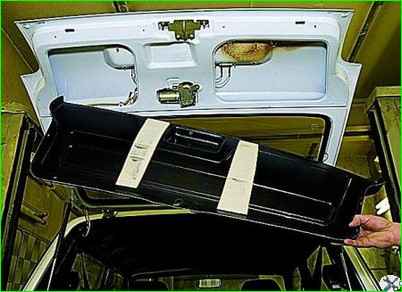
Install the upholstery in reverse order.
Removing the tailgate lock drive
Remove the left upholstery.
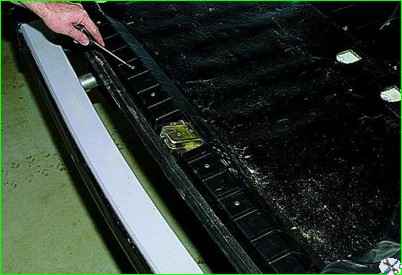
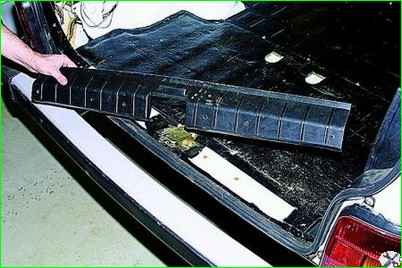
Use a Phillips screwdriver to unscrew the six screws securing the tailgate sill trim and remove the trim.
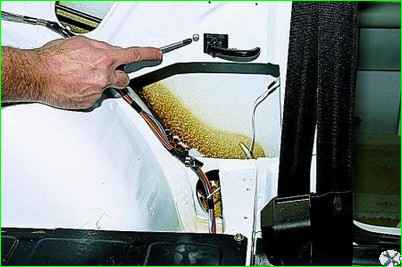
Use a Phillips screwdriver to unscrew the two screws securing the lock drive handle.
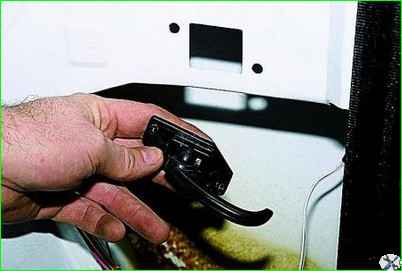
On the inside of the panel there is a bracket, from the eye of which we remove the stop of the drive shell and bring the handle with the drive rod into the lower window of the inner side panel.
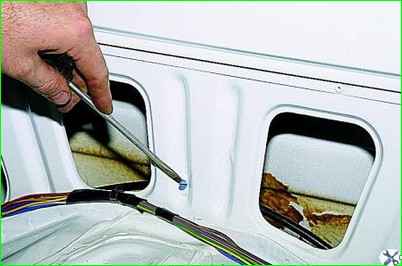
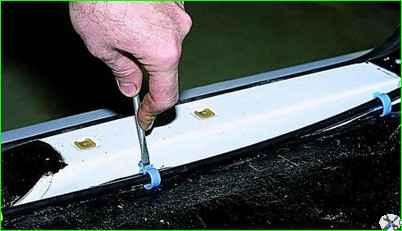
Using a screwdriver, release the clamp securing the lock drive rod on the left side of the body and two clamps on the threshold of the tailgate.
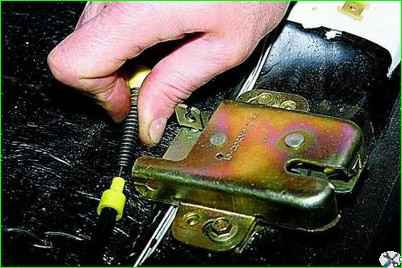
Disconnect the drive rod from the lock body.
Pull the drive out from behind the inner side panel and remove it.
You can replace the lock drive handle without removing the drive.
For clarity, replacing the handle is shown with the drive removed.
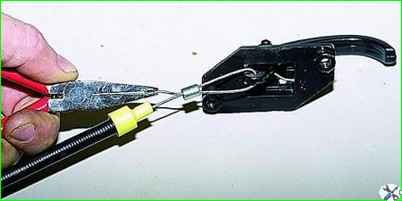
Use pliers to straighten the end of the rod
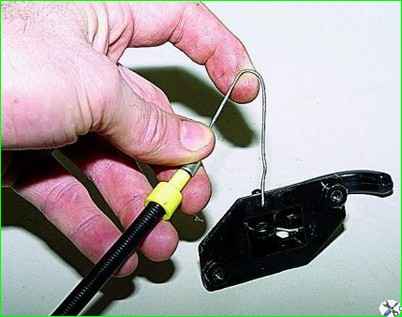
Sliding the bushing, remove the rod from the handle eye.
Assemble the drive in reverse order
Removing the tailgate lock
Remove the tailgate sill trim and disconnect the lock drive cable.
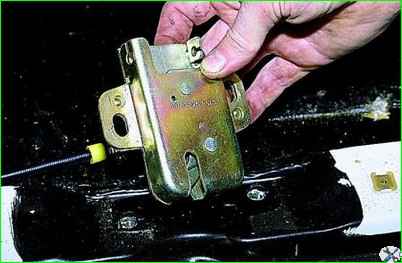
Using a 10mm socket, unscrew the two bolts securing the lock body and remove the lock.
To access the fastening of the handle and lock latch, remove the tailgate trim
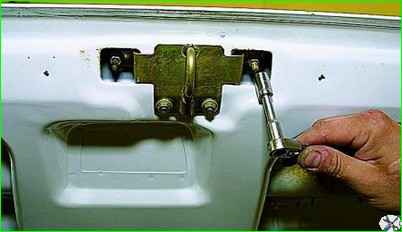
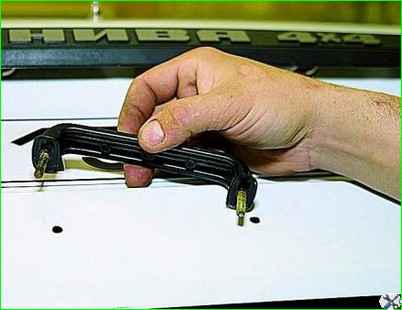
Using an “8” socket, unscrew the two nuts securing the tailgate handle and remove the handle.
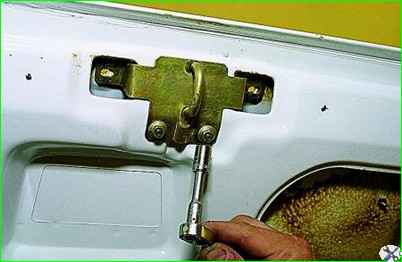
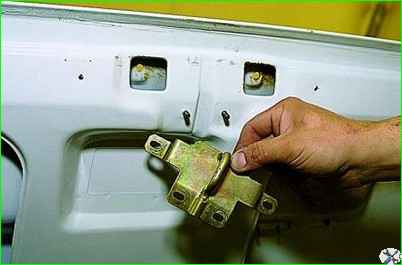
Using an “8” socket, unscrew the two nuts securing the lock retainer and remove it
When installing the lock, adjust the position of its eye relative to the lock, moving the lock left and right along the grooves of the mounting holes.
The closing depth of the door is adjusted by sliding the lock body along the grooves of the mounting holes.
Removing the gas-filled tailgate stops
We prop up the tailgate with a wooden block of suitable length.
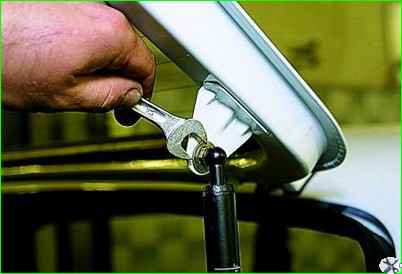
Use a 13 key to unscrew the upper fastening of the door stop
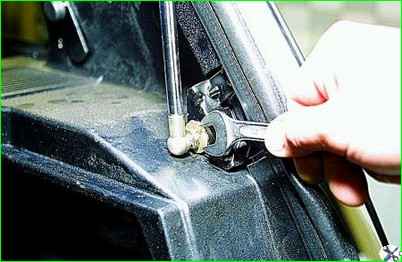
Unscrew the lower fastening of the door stop
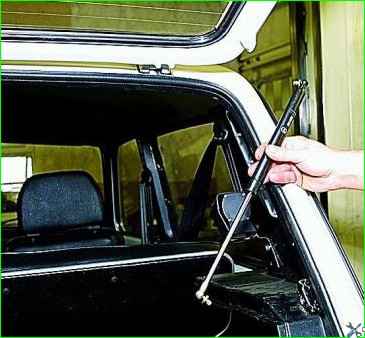
Remove the tailgate stop
Removing the tailgate
Disconnect the tailgate glass wiper motor connector.
Mark the position of the terminals in the block.
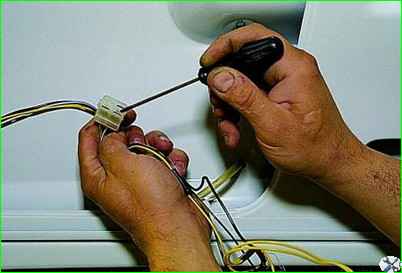
Use a thin slotted screwdriver to pry it out
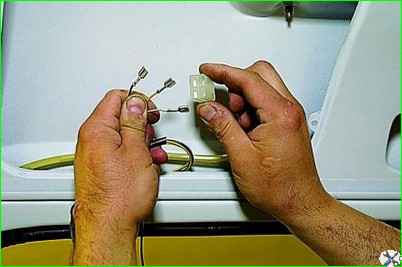
Release the terminals from the block.
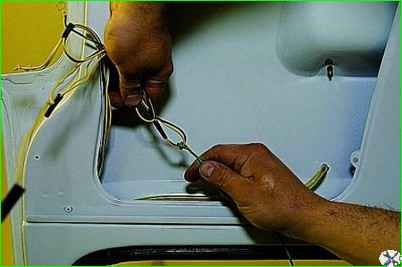
Tie a piece of wire to the bundle of wires for the electric motor of the rear window wiper and license plate light.
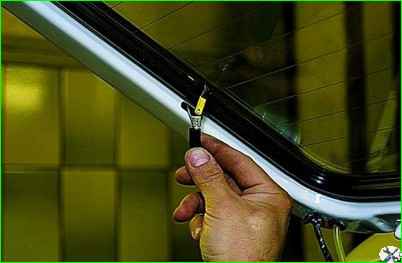
On the left side of the door, disconnect the rear window heating connector
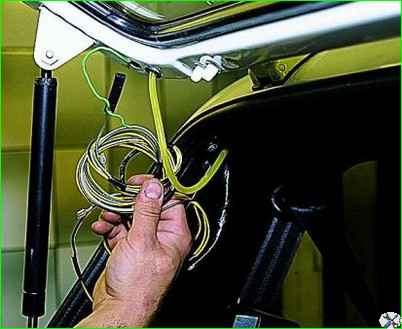
Pull out the bundle of wires
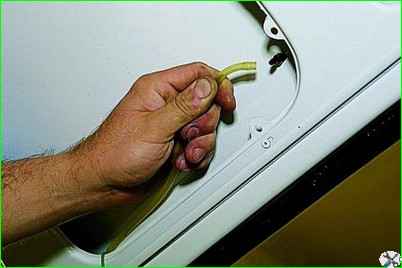
We untie a piece of wire from the bundle, leaving the wire in the door cavity for subsequent pulling of the bundle of wires
Disconnect the tailgate washer tube and pull the tube out of the door cavity.
Disconnect the gas-filled stops from the tailgate.
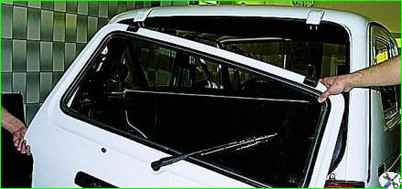
An assistant holds the door.
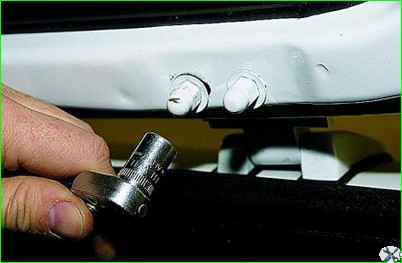
Using a 10mm socket, unscrew the two nuts securing the right hinge to the tailgate and the two nuts securing the left hinge.
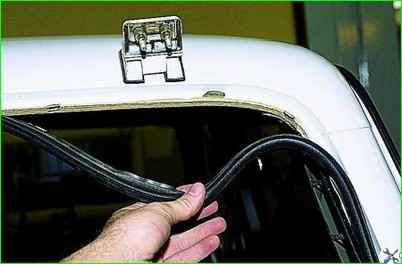
Remove the tailgate.
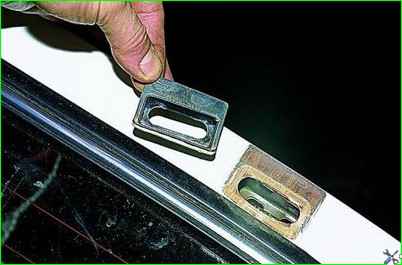
The connection between the hinge and the door is sealed with a rubber gasket.
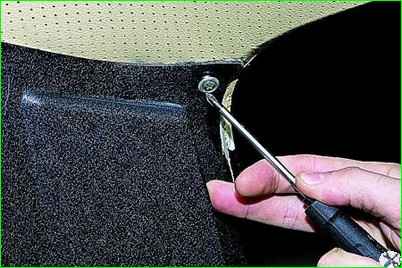
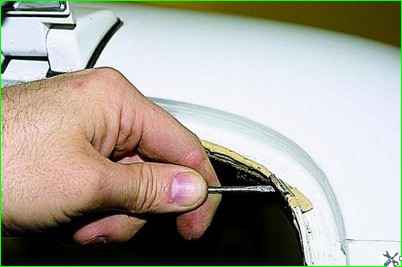
To replace the tailgate hinge, remove the seal in the upper corner of the door.
In the cabin, in the upper corner, use a Phillips screwdriver to unscrew the self-tapping screw securing the rear pillar upholstery.
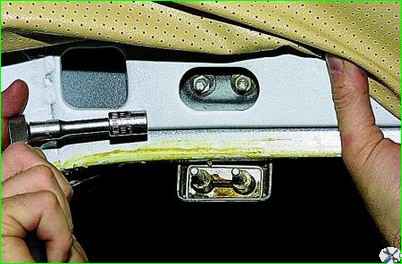
Using a slotted screwdriver, pry up and remove the two brackets securing the headliner to the body.
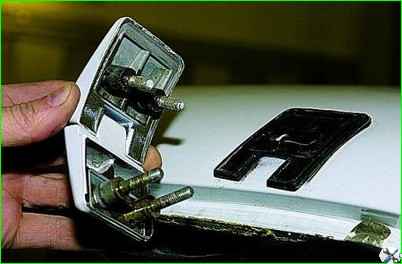
Move the headliner and use a 10mm head to unscrew the two nuts securing the hinge to the body
Remove the loop
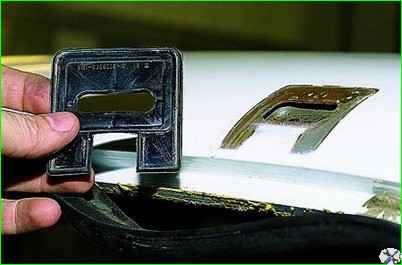
Remove the rubber gasket that seals the connection between the hinge and the body
Install the hinges and door in the reverse order, replacing the sealing gaskets.
Finally tighten the nuts securing the hinge to the body, making sure that the door is correctly positioned in the body opening.
The tailgate glass is removed and installed in the same sequence as the windshield.


