Drain the liquid from the cooling system with the heater tap open (see Replacing the coolant)
For clarity, operations carried out in the engine compartment are shown with the engine removed.
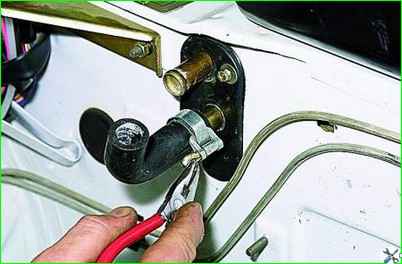
In the engine compartment on the front panel, using pliers, loosen the clamp securing the hose to the lower radiator pipe and remove the hose from the pipe (the hose from the upper heater radiator pipe was removed when dismantling the engine).
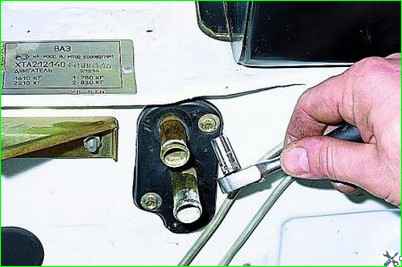
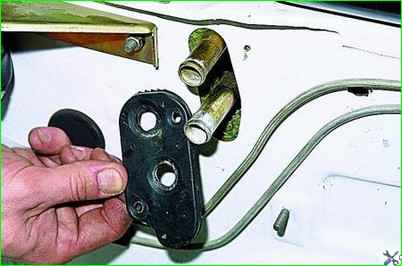
Using the “7” head, unscrew the two self-tapping screws securing the seal to the front panel and remove the seal.
In the cabin we remove the storage shelf
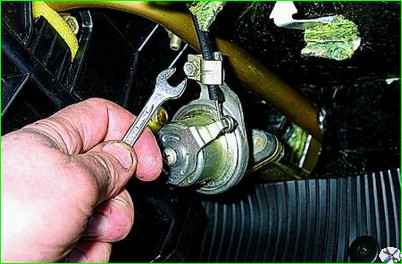
Using a “7” wrench, loosen the bolt securing the crane drive rod clamping bracket and remove the rod from the crane lever.
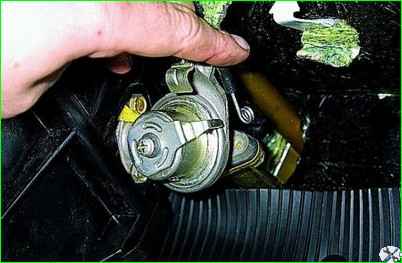
The heater valve is attached to the radiator mod. 2105 (aluminium) with two bolts, to the radiator mod. 2101 (brass) - with two nuts.
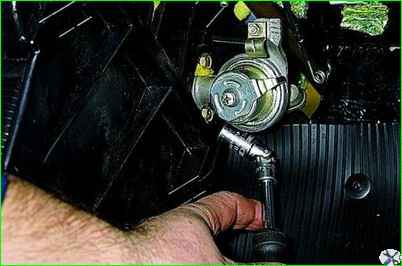
Using a 10" socket (1/4 inch square) with a cardan joint, unscrew the two bolts securing the faucet to the radiator
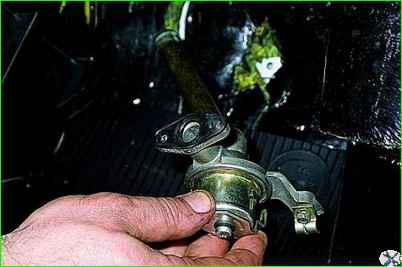
Remove the tap with pipe.
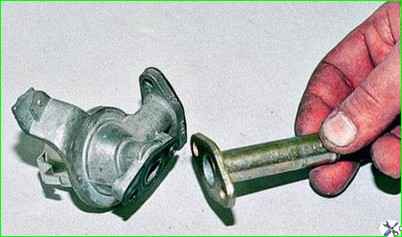
Use a 10mm wrench to unscrew the two bolts securing the pipe to the tap.
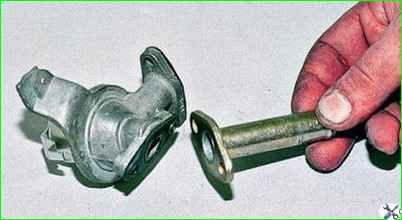
Remove the pipe and gaskets.
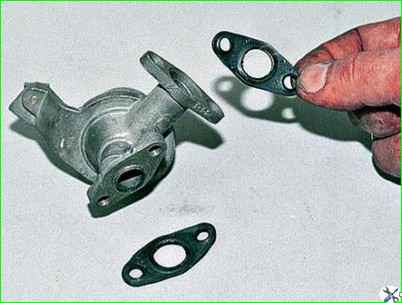
Install the faucet in reverse order
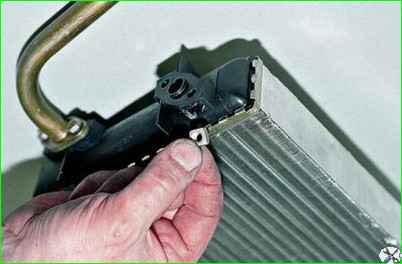
The lower nut securing the faucet to the aluminum radiator may fall out of the radiator tank socket during disassembly.
When installing the nut in place, secure it in the socket with plasticine.


