Removing the ignition distributor cover
Remove the high-voltage wires from the cover.
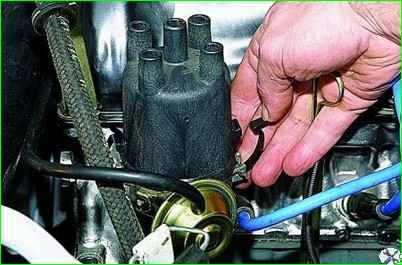
Unfasten the two spring latches securing the lid
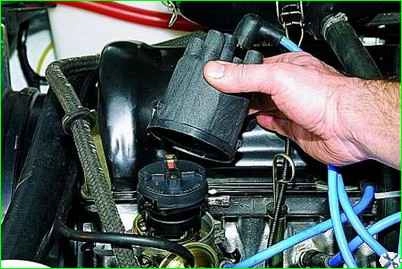
and remove the cover.
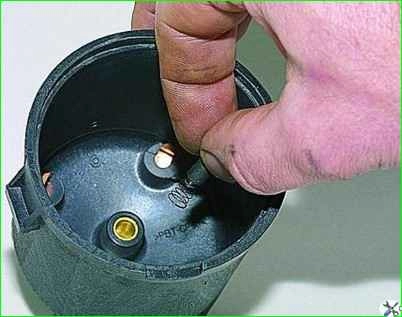
To replace the carbon (spring-loaded contact) of the central electrode, turn the carbon counterclockwise and remove it together with the spring from the cover socket
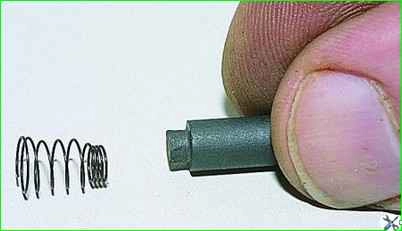
Disconnect the spring and the ember.
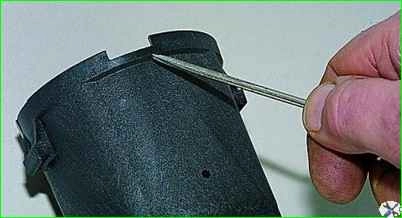
Install the ignition sensor-distributor cover in the reverse order.
In this case, we align the groove of the cover with the plastic retainer installed in the housing of the sensor-distributor.
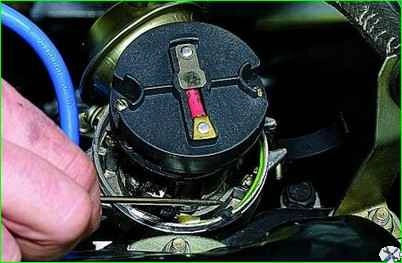
We connect the wires to the cover in accordance with the numbering of the cylinders marked on the cover
Removing the rotor of the ignition distributor
On the engine, remove the rotor (runner) to replace it or to access the centrifugal regulator mechanism.
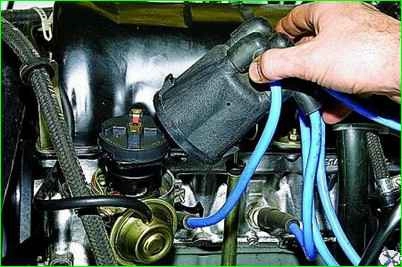
Having unfastened the latches, remove the cover of the sensor-distributor with high-voltage wires.
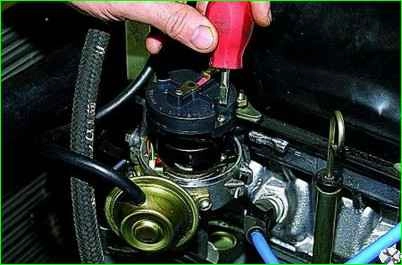
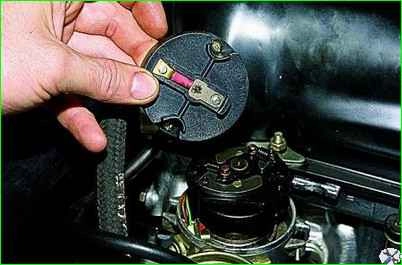
Using a slotted screwdriver, unscrew the two screws securing the rotor to the support plate of the centrifugal regulator and remove the rotor.
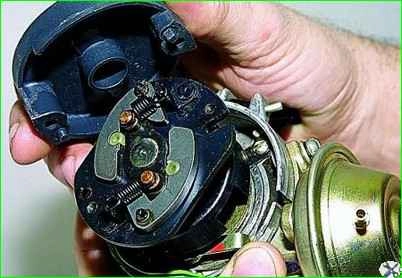
Install the rotor in reverse order.
In this case, the square protrusion of the rotor should fall into the groove of the support plate, and the cylindrical protrusion into the hole (for clarity, the distribution sensor has been removed)
Removing the ignition distributor sensor
Remove the hose from the fitting of the housing of the vacuum ignition timing regulator.
Remove the cover from the sensor-distributor.
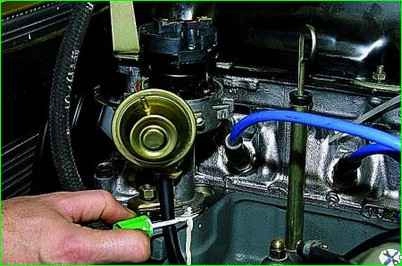
Apply a mark on the flange of the sensor-distributor housing and the cylinder block.

We mark on the housing of the sensor-distributor (or on the cylinder head cover) the place to which the rotor contact is directed.
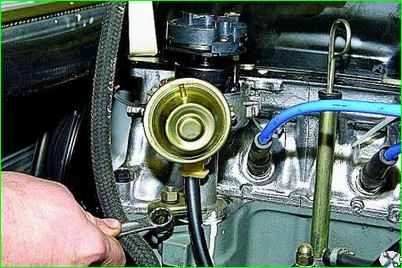
Use a 13mm spanner to unscrew the nut securing the clamping bar.
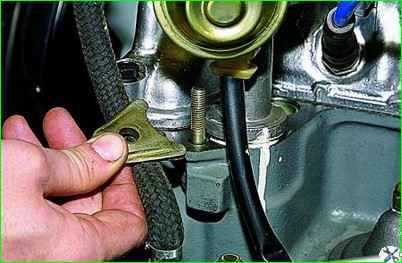
Remove the clamping bar. We remove the distributor sensor from the cylinder block socket
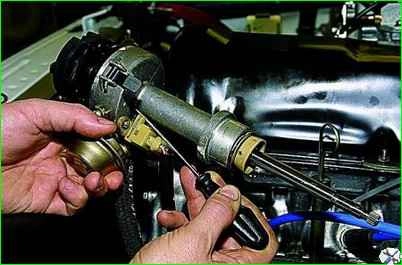
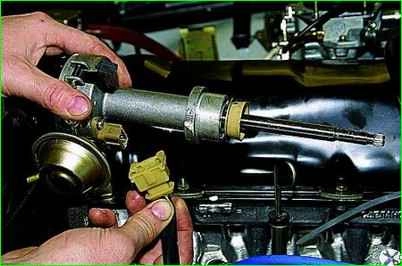
Use a screwdriver to press the spring clamp of the connector and disconnect the connector
Gaskets are installed between the mating surfaces of the distributor sensor and the cylinder block
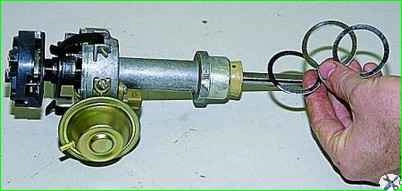
Install the distributor sensor in the reverse order, following the marks.
Setting TDC of the first cylinder
On the front cover of the cylinder block there are three marks in the form of tides.
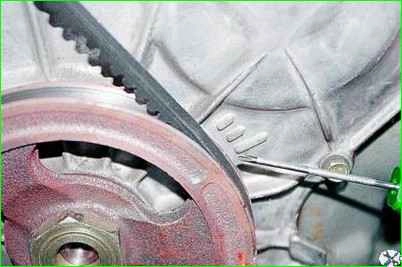
The first mark along the direction of rotation of the crankshaft pulley corresponds to 10° ignition timing, the second – 5° and the third mark, the longest – 0°.
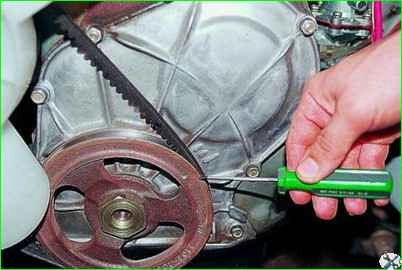
The top dead center (TDC) mark of the first cylinder is stamped on the crankshaft pulley. There is a boss at the end of the pulley in this place
If the label was not set for some reason, then perform the following operations:
- set the TDC of the first cylinder.
Top dead center of the first cylinder is the position of the piston at the top point during the compression stroke.
To determine the compression stroke, unscrew the spark plugs and insert paper rolled up like a cork, maybe a newspaper, into the spark plug hole of the first cylinder.
And by turning the crankshaft pulley using a key, we “catch” the moment when our plug flies out.
After the plug comes out, we place a more precise mark on the pulley opposite the tide.
This will be the TDC of the first cylinder. We install the distributor rotor so that the distributor contact is opposite the contact in the distributor cap of the first cylinder.
Thus, we insert the distributor.
You can more accurately adjust the ignition using a strobe light.
Without a strobe, we make a rough adjustment by starting the engine, and by the throttle response we determine the correct installation.
You don’t have to use a plug to set TDC. Then we simply place a mark on the pulley opposite the tide and set the contact of the distributor runner opposite the contact of the first cylinder.
And install the distributor.
If the distributor was not installed in the compression stroke of the first cylinder, then during starting there will be a shot into the muffler.
This indicates that the ignition is set to the fourth cylinder (one camshaft revolution corresponds to two crankshaft revolutions).
In this case, you need to make contact with the distributor runner on the first cylinder and turn the crankshaft one revolution until the mark on the tide matches.


