Remove the ignition distributor sensor (see article - Removing and installing the sensor).
Checking the distributor sensor can be found in the article - “Features of the ignition system.”
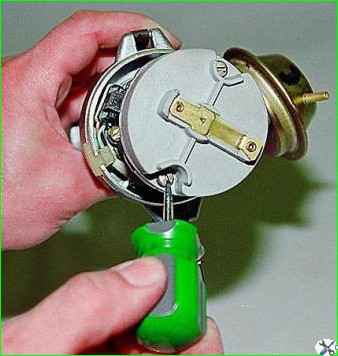
Use a screwdriver to unscrew the two screws securing the rotor.
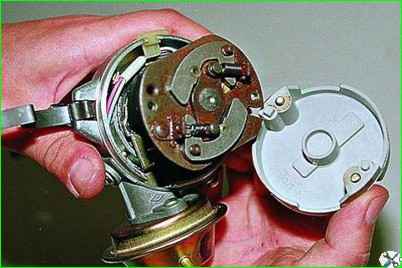
Remove the rotor.
When installing the rotor in place, the square protrusion should fit into the slot, and the round protrusion should fit into the hole in the support plate
Use a thin beard to knock out the pin
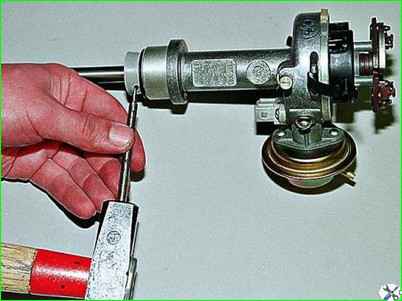
Remove the oil deflector and washer from the roller.
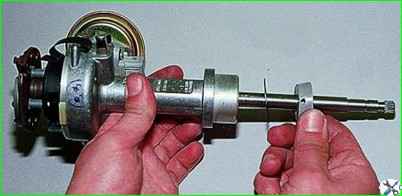
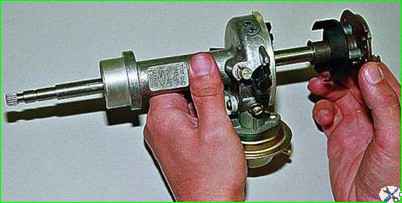
Remove the roller from the distributor body
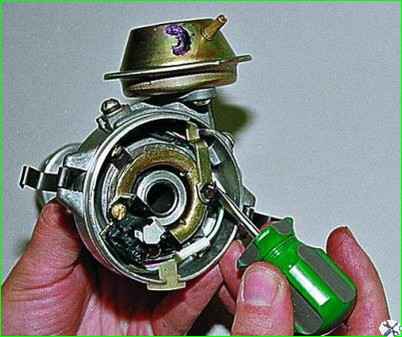
Using a thin screwdriver, remove the locking washer of the vacuum ignition timing regulator
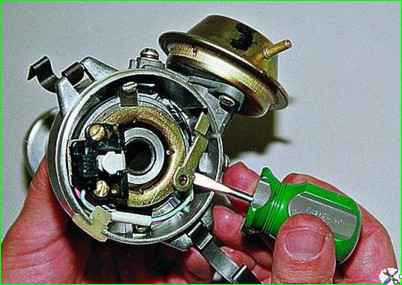
Remove the rod from the rotary plate pin.
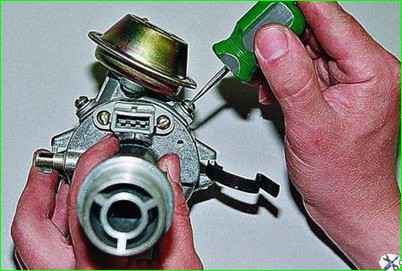
Remove the two screws securing the vacuum ignition timing regulator
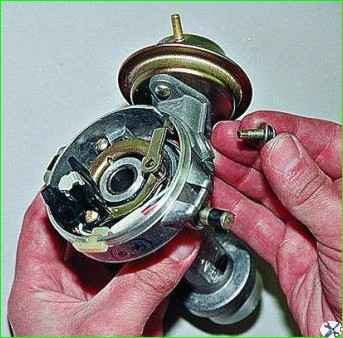
One of the screws has an extension for fixing the sensor wiring
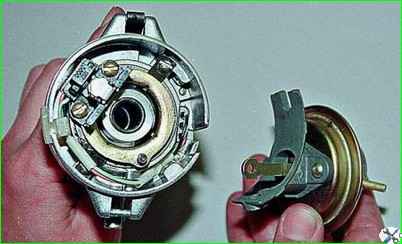
Remove the vacuum regulator.
To check the vacuum regulator, recess its rod and close the fitting hole with your finger.
For a working regulator, the rod should extend only part of its length; if the rod immediately extends to its full length, the part is faulty.
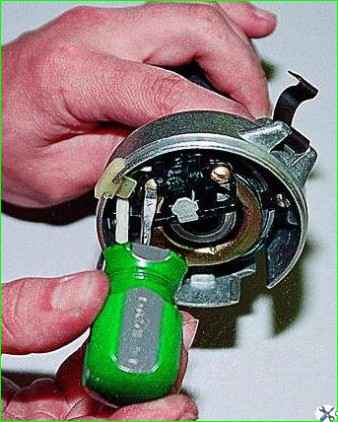
Remove the two screws securing the sensor.
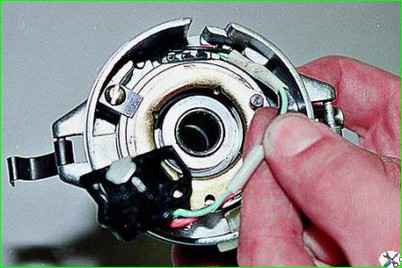
Remove the sensor wiring.
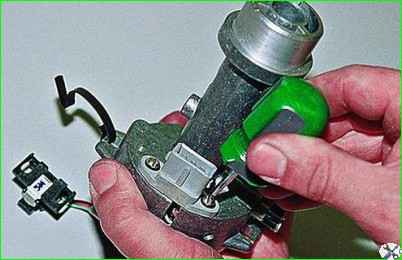
Unscrew the two screws securing the connecting connector and remove the sensor.
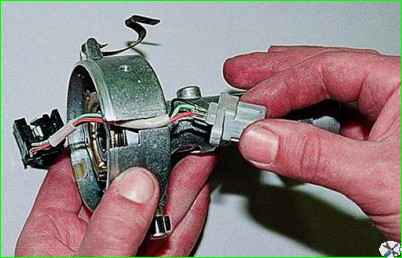
Sensor malfunctions are most often associated with mechanical damage to the wires.
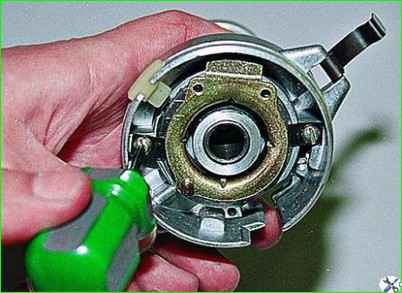
Unscrew the two screws and remove the bearing with the rotating plate.
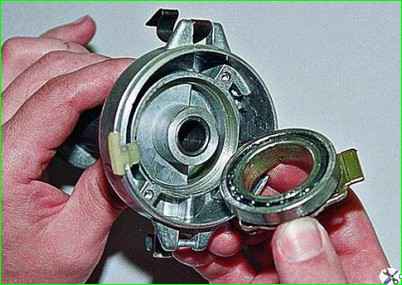
The bearing should not jam or have any play when rotating.
Assemble the ignition distributor in the reverse order of disassembly.
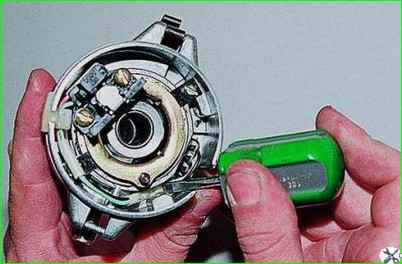
Before installing the vacuum regulator, carefully lay out the sensor wiring
Lubricate the roller bushings, the axes of the centrifugal regulator weights and the rotary plate bearing


