Disconnect the negative cable from the battery
Remove the radio receiver mounting panel (see Removing the radio receiver mounting panel).
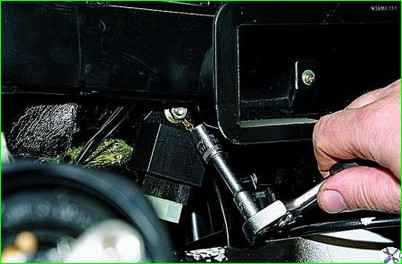
Using a 10mm socket, unscrew the nut securing the turn signal and hazard warning light switch relay
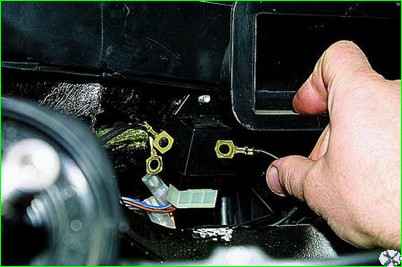
Remove the tip of the negative wire of the heater fan motor (black) from the stud.
On the same pin two more terminals of the “negative” wires are attached.
In photos 1–2, the instrument panel has been removed for clarity.
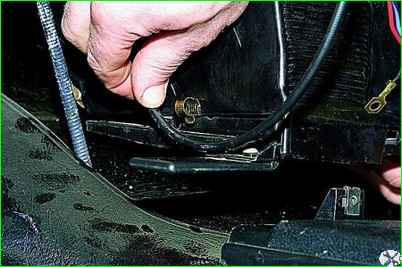
On the right side of the fan casing, release the rod from under the spring clamp.
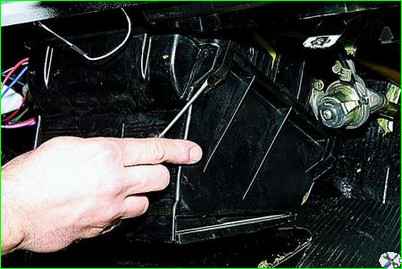
Use a slotted screwdriver and disconnect the four (two on each side) spring brackets securing the fan casing
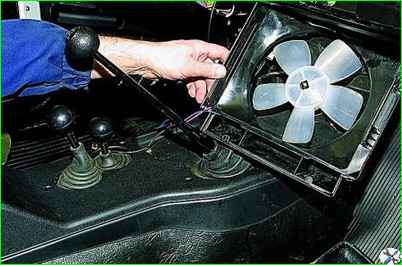
Remove the fan casing, the guide casing and the fan itself
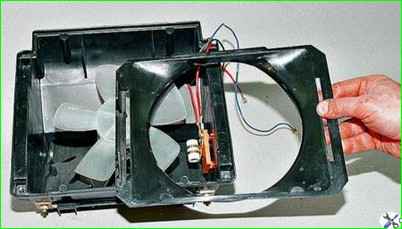
Remove the guide casing from the fan casing
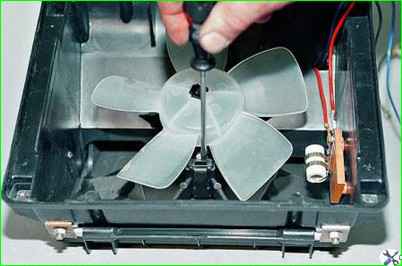
Use a slotted screwdriver and disconnect the two spring brackets that mount the fan
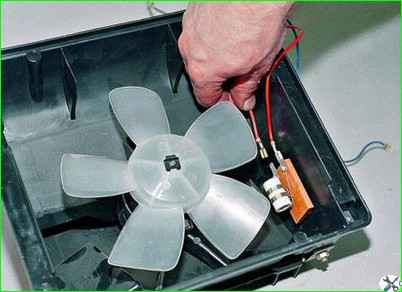
Disconnect the fan wire from the additional resistor
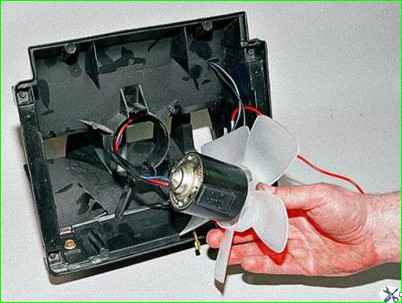
Remove the fan from the casing
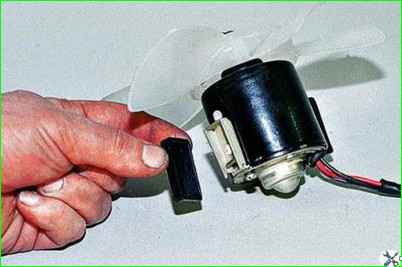
Remove the rubber mounts of the electric motor
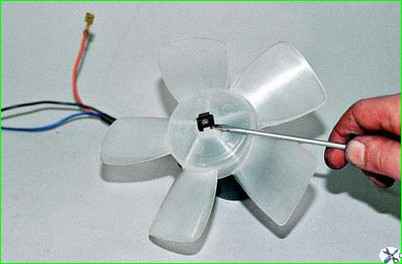
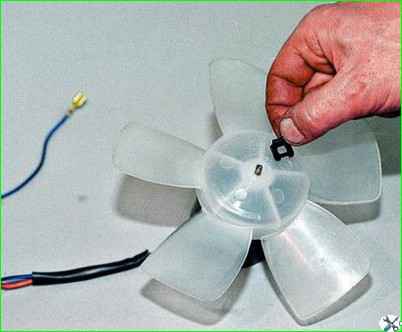
Pry up the lock washer with a slotted screwdriver and remove it.
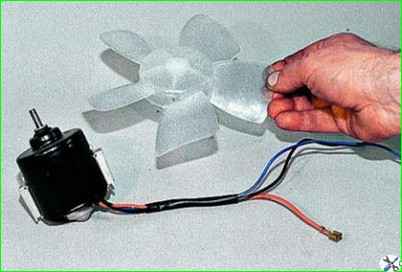
Remove the fan impeller
We assemble and install the heater fan in the reverse order
Removing the additional heater fan resistor
Disconnect the negative cable from the battery.
Disconnect the fan casing from the heater radiator casing, remove the fan guide casing.
For clarity, the operations for dismantling the additional heater fan resistor were performed on the fan casing removed from the vehicle.
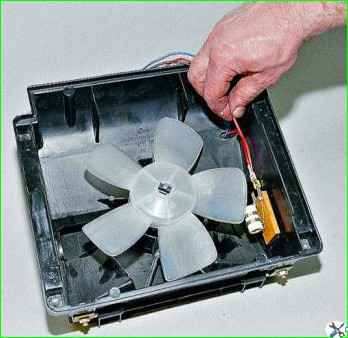
Disconnect the wire tips from the terminals of the additional resistor
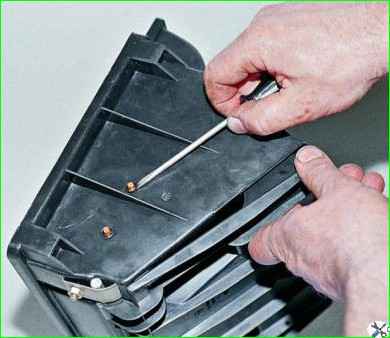
Use a screwdriver and remove the two spring washers securing the housing of the additional resistor to the fan casing
Remove the additional resistor from the fan casing.
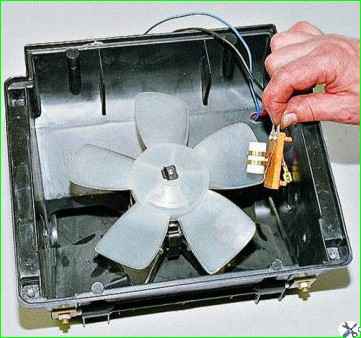
Assembly is carried out in reverse order.


