Replacing the front crankshaft oil seal
The front oil seal must be replaced if oil leaks through the edge of the oil seal.
In this case, the rotating crankshaft pulley splashes oil and the entire front part of the engine and engine compartment becomes oily.
Before replacing the front oil seal, you need to check the cleanliness of the engine crankcase ventilation system, since if it is clogged, the increased gas pressure in the crankcase causes a leak even with a serviceable oil seal.
We carry out the work on an inspection ditch or a lift.
We remove the mudguard of the engine oil pan.
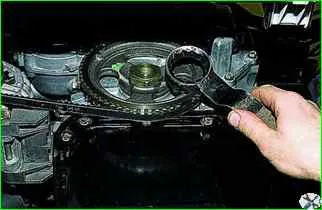
Having engaged 1st gear and braked the car with the parking brake, loosen the crankshaft pulley fastening nut with a 38 mm wrench. (You need to loosen it "with a jerk", or using a piece of pipe put on a wrench)
We loosen the coolant pump drive belt for this:
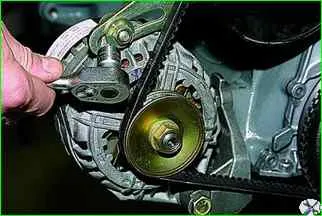
We loosen the nut securing the generator to the tension bar with a 13 head.
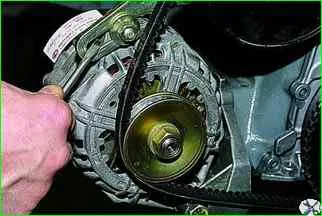
Move the generator, using a screwdriver as a lever in the slot in the tension bar
To remove the belt from the pulley, you need to remove the crankshaft sensor for this:
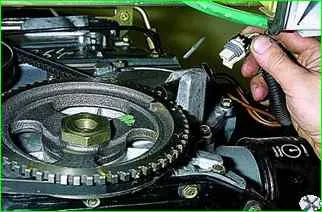
Disconnect the sensor connector
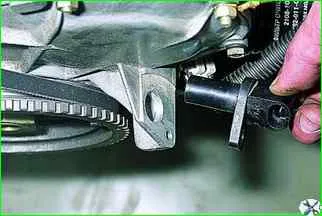
Use a Phillips screwdriver to loosen the sensor mounting screw and remove the sensor
Remove the belt
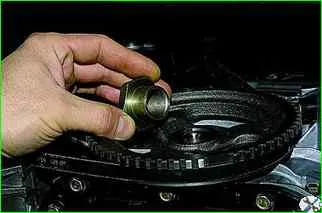
Finally unscrew and remove the crankshaft pulley mounting nut
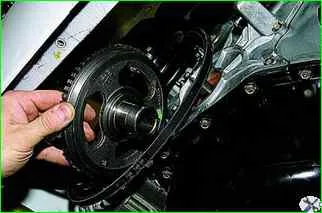
Remove the pulley from the crankshaft nose.
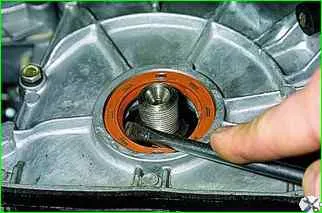
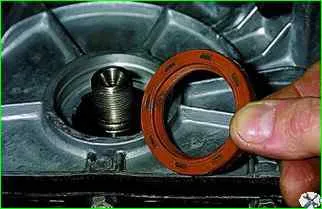
Pry the front crankshaft oil seal with a screwdriver and remove it from the camshaft drive cover socket.
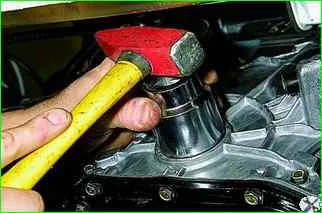
After lubricating the working edge of the new oil seal with engine oil, press it in with a tool head of a suitable size (or a piece of pipe).
You can also press in the oil seal in another way.
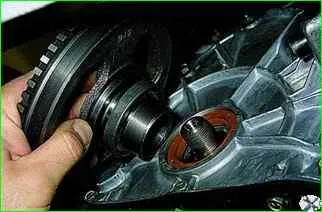
After inserting the new oil seal into the cover socket, install the pulley with the old oil seal on the tailpiece onto the crankshaft.
Tightening the pulley mounting nut, press in the new oil seal until it stops.
After unscrewing the pulley mounting nut, remove the pulley and the old oil seal.
Assemble the parts in the reverse order
Replacing the rear crankshaft oil seal
When the rear crankshaft oil seal wears out, oil splashes is driven by a rotating flywheel inside the clutch housing, and then flows out through the gaps between the housing and its front cover.
If oil leaks through the rear crankshaft oil seal, the linings of the driven clutch disc become oiled and, as a result, the clutch slips.
Before replacing the oil seal, make sure that the crankcase ventilation system is clean.
Since if it is clogged, the increased gas pressure in the crankcase causes a leak even with a serviceable oil seal.
We carry out the work on an inspection ditch or lift.
We remove the gearbox (article - "Removing and installing the gearbox").
We dismantle the driven and leading clutch discs.
We screw the gearbox mounting bolt into the threaded hole in the cylinder block
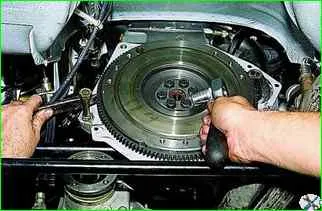
Using a 17 mm socket, loosen the six flywheel mounting bolts.
Hold the crankshaft from turning with a mounting blade inserted between the flywheel teeth and resting on the screwed-in bolt.
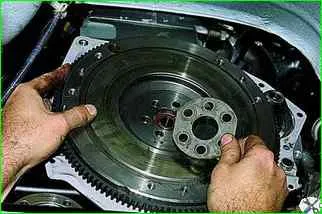
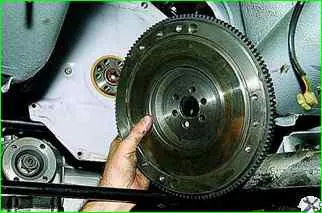
Removing the plate and flywheel
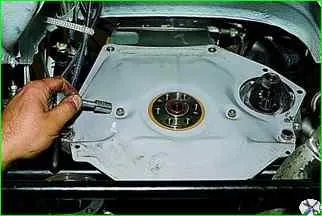
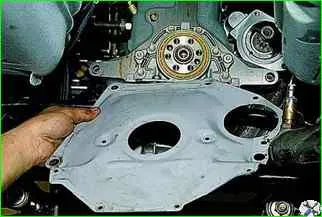
Using a 10 mm socket, unscrew the two nuts securing the clutch housing cover and remove it.
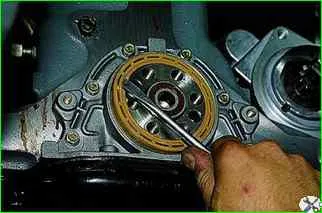
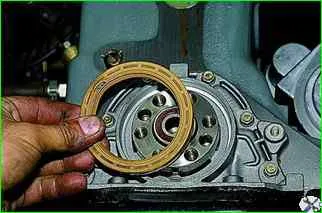
Pry the oil seal out of the holder with a screwdriver
Lubricate the working edge of the new oil seal with engine oil.
Using the old oil seal as mandrel, press in a new seal
Reinstall the dismantled parts in the reverse order.


