We replace the crankshaft oil seals during a complete engine overhaul or if there is an oil leak in the area of the oil seals
It is advisable to check the front oil seal when replacing the timing belt.
We check and replace the rear oil seal when replacing the clutch discs.
If the rear oil seal is defective, then the oil leak will be in the area of the junction of the gearbox and the engine.
Before replacing the oil seals, you need to make sure that the crankcase ventilation system is clean.
If the system is clogged, the back pressure will displace the oil even with serviceable oil seals.
To replace the front crankshaft oil seal, you need to remove the timing belt (see the article on replacing the timing belt).
After removing the timing belt, you cannot turn the crankshaft and camshaft shaft.
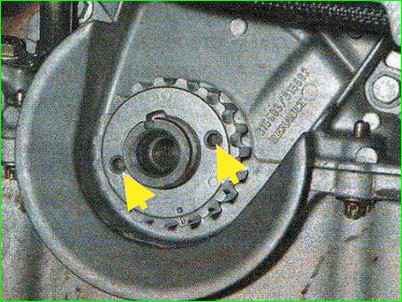
Pry off the toothed pulley of the crankshaft with a screwdriver.
If the pulley is very tight, you need to use a puller.
You can also screw in two 6 bolts and pull out the pulley with two pliers.
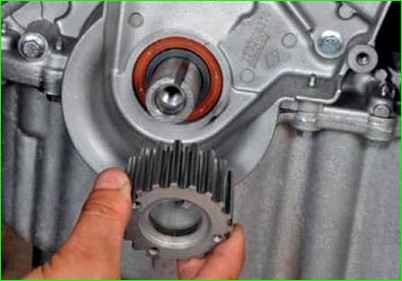
Remove the pulley from the crankshaft nose.
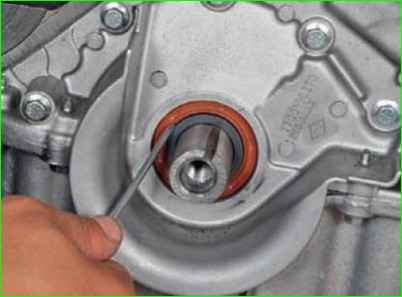
Pry the seal with a screwdriver and remove it from the socket
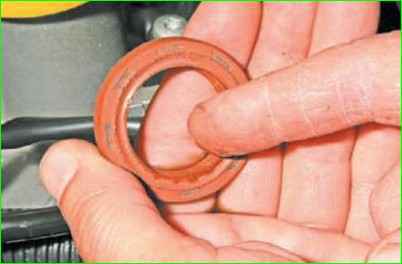
Apply a thin layer of engine oil to the working edge
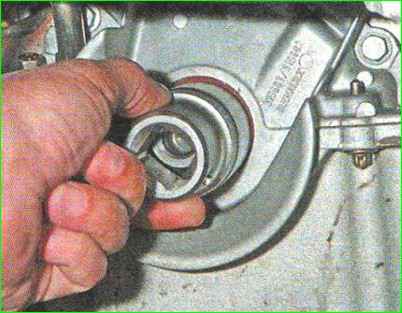
Press in the seal with a suitable tool head
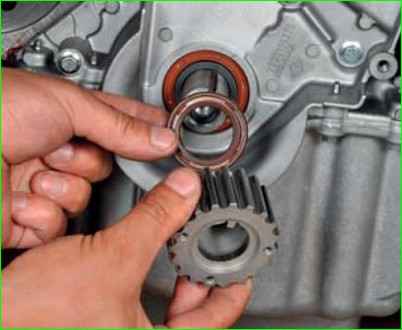
If the seal has not reached its depth, you can press it in using the old seal.
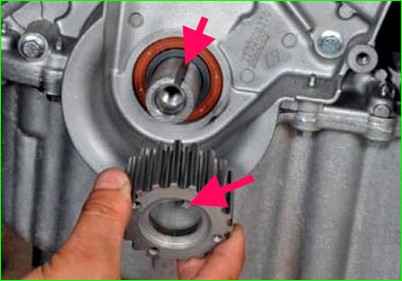
Install the toothed pulley so that the protrusion in its hole fits into the keyway at the end of the crankshaft

The threaded holes on the pulley should be on the outside
After that, assemble all the parts in the reverse order.
Replacing the rear crankshaft oil seal
To replace the rear crankshaft oil seal, you need to remove the gearbox and pressure and driven clutch discs.
Next:
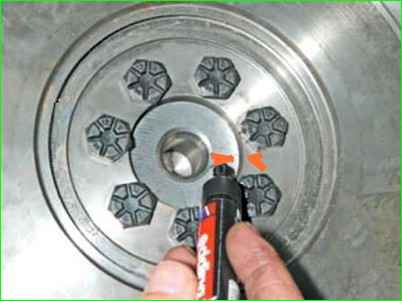
You need to mark the position of the crankshaft and flywheel with a felt-tip pen or other suitable tool (the flywheel and crankshaft are balanced together).
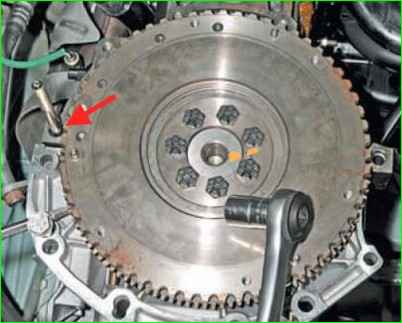
Insert a bolt (or a gearbox mounting bolt) into the crankcase hole and lock the flywheel from turning.
Using a 17 mm socket, unscrew the seven flywheel mounting bolts
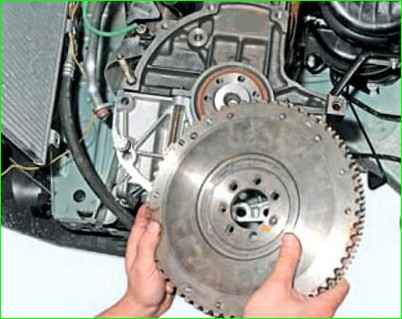
Remove the flywheel
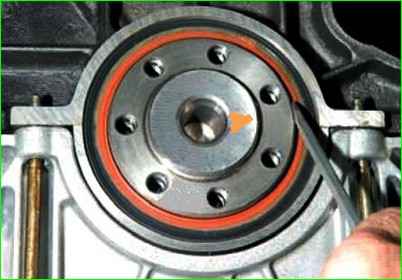
Pry the oil seal with a screwdriver and pull it out of the socket.
Apply a thin layer of motor oil to the working surface of the new oil seal.
Put the oil seal on the crankshaft flange.
Use a thin wooden or plastic spatula to fill the working edge of the oil seal.
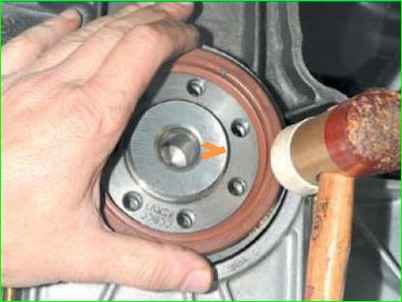
When pressing in the oil seal, use the old oil seal as a mandrel.
Install the parts in the reverse order.
Install the flywheel according to the marks and tighten all 7 bolts.
Before tightening the bolts, apply sealant to the threaded part.
Tighten the flywheel bolts with a tightening torque of 65 Nm.


