Remove the oil separator to clean it from deposits, and also when dismantling the cylinder head cover
Flushing and cleaning the crankcase ventilation system is a must, otherwise, if the system is clogged, the back pressure in the crankcase will force oil out through the engine seals.
For work, we will need a screwdriver, a torque wrench, a sealant, a knife.
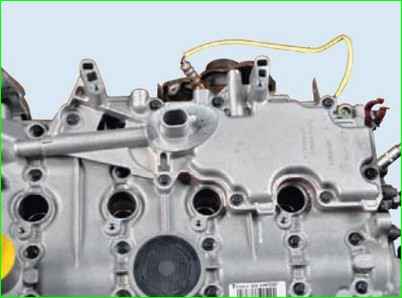
Remove the receiver. For clarity, we show the operation on a removed engine.


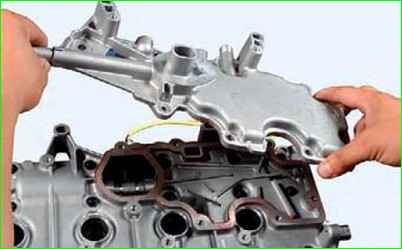
Using an 8 mm socket, unscrew the eight mounting bolts separator to the cylinder head cover and remove the oil separator
Before installing the oil separator, clean and flush its cavities and channels with gasoline from deposits.
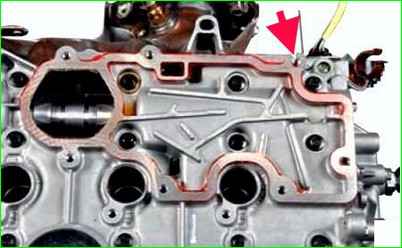
Remove the remains of the old sealant from the mating surfaces of the oil separator and cylinder head cover and degrease the surfaces.
The surfaces must be clean and dry, there should be no fingerprints on them.

Apply a special, high-temperature sealant for flange joints to the mating surface of the oil separator connections until the surface turns reddish
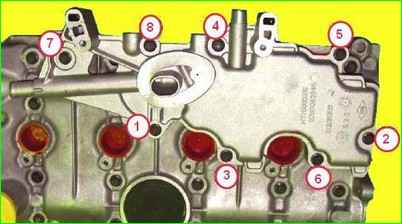
Install the oil separator and tighten its mounting bolts in the specified sequence to the prescribed torque.

Tightening order of the oil separator mounting bolts.
Tighten the bolts to a tightening torque of 13 - 15 Nm.
Further assembly is performed in the reverse order.


