We replace the camshaft seals when repairing the cylinder head and when oil leaks from under the seal.
If we change the seals on the engine, we need to remove the drive belts and timing belt, as well as remove the phase regulator and the exhaust valve pulley
For clarity, we will show all the work on the dismantled cylinder head.
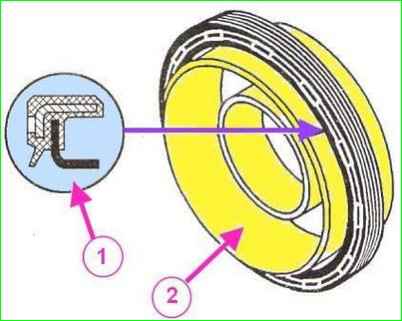
The polymer oil seal of 1.6 l engines has a flat working edge (1) and a protective sleeve (2), which is used to install the oil seal on the engine (see Fig. 1).
Installing the exhaust camshaft oil seal
Be sure to use a protective sleeve, since this type of oil seal is very easy to damage.
It is strictly forbidden to touch the polymer oil seal itself to prevent oil leakage after installing the oil seal on the engine.
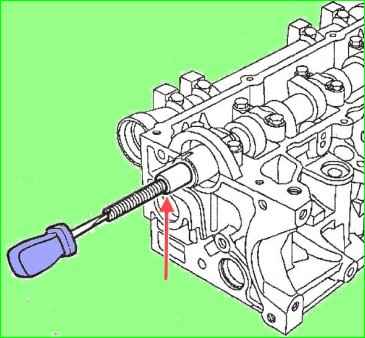
- Screw the stud (1) of the Mot1632 tool into the camshaft (see Fig. 2).
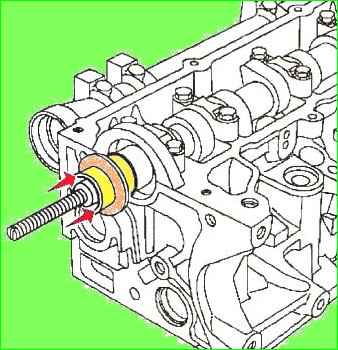
- Install the protective sleeve with the seal on the camshaft. Do not touch the oil seal (see Fig. 3).
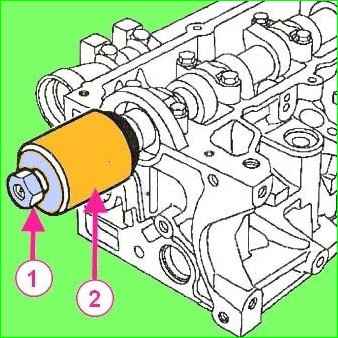
- - Install the pressure cap (2) and the flange nut (1) of the Mot1632 tool (see Fig. 4).
- - Tighten the flange nut until the cap touches the cylinder head.
- - Remove the nut, cap, protective sleeve and stud.
Installing the intake camshaft oil seal
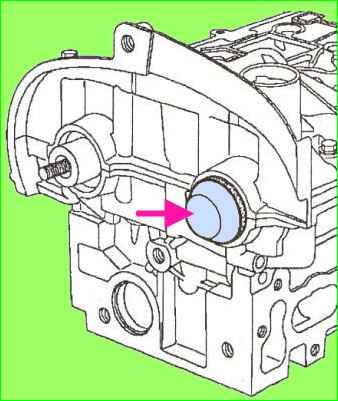
- - Install the protective sleeve with the oil seal on the camshaft, trying not to touch the oil seal itself with your hands (see arrow, Fig. 5).
- - Press the protective sleeve in the center so that the oil seal is secured in the socket.
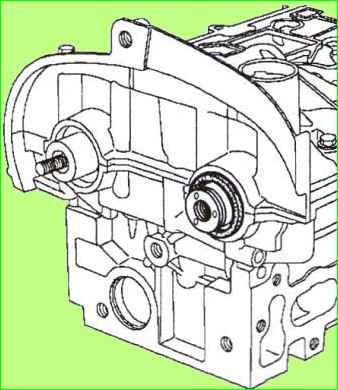
- Pull out the protective sleeve so that the oil seal does not fall out of the socket (See Fig. 6).
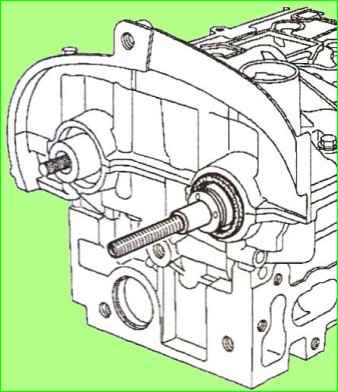
- Screw the stud of the Mot1632 device into the camshaft (See Fig. 7).
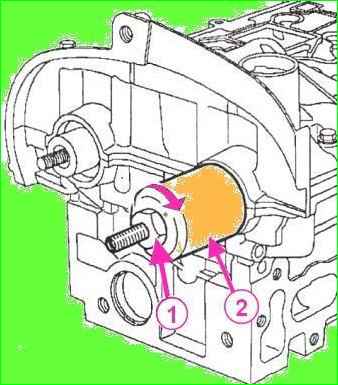
- Install the pressure cap (2) and flange nut (1) of the Mot1632 tool (see Fig. 8).
Tighten the flange nut until the cap touches the cylinder head.
Remove the nut, pressure cap and stud.
Another way to replace the camshaft oil seal
Replace the camshaft oil seal if signs of oil leakage are detected.
Before replacing the oil seal, check that the crankcase ventilation system is not clogged or the system hoses are pinched.
The process of replacing the camshaft oil seals of the K4M engine is practically no different from the process for the K7J or K7M.
The only difference is in the way the piston of the first cylinder is installed in the TDC position of the compression stroke and that the engine has two camshafts.
Preparing the car to perform the task
Removing the timing belt, article - "Replacing the timing belt of the K4M engine"
Belt you don't have to remove it completely, just remove it from the toothed pulley of the camshaft.
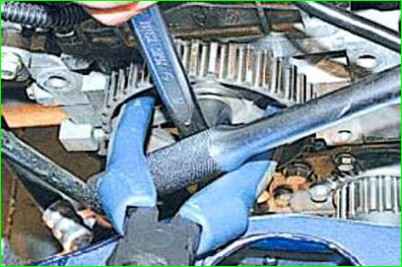
Loosen the tightening of the camshaft toothed pulley mounting bolt, holding the pulley from turning, as shown in the photo, with pliers handles inserted into the pulley holes and a ratchet or a large screwdriver
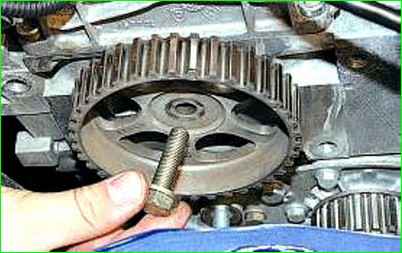
Unscrew the bolt from the camshaft hole
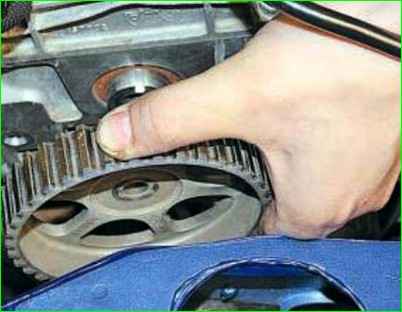
Remove the pulley from the camshaft tailpiece
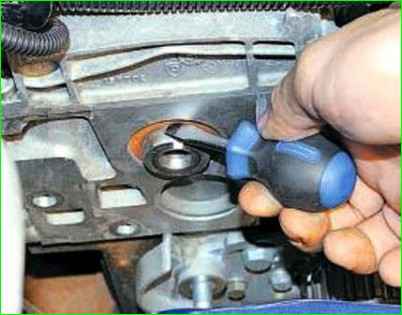
Pry it off with a screwdriver and remove the seal from the cylinder head socket
Inspect the working edge of the new seal. The edge should be smooth, without dents or rubber build-up. The seal spring should be intact and unstretched.
Lubricate the working edge with engine oil. To make pressing easier, make a small chamfer with a file.
Install the oil seal with the working edge inside the cylinder head socket.
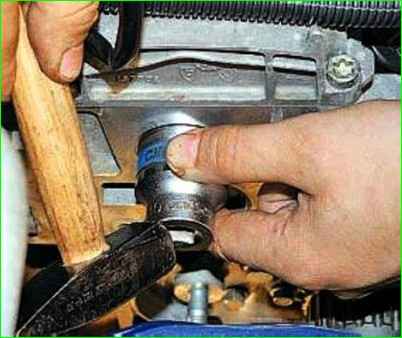
Fit the working edge onto the camshaft (you can use a wooden stick) and press it in until it stops using a suitable mandrel.
You can use a head of a suitable size or an old oil seal.
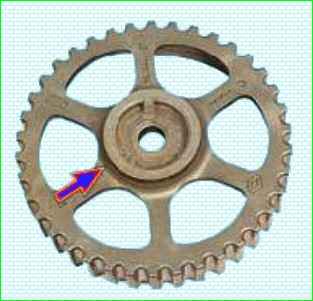
We install the camshaft pulley with the protruding part of the hub towards the engine.
The tightening torque of the camshaft pulley mounting bolt is 45 Nm (4.5 kgfm).
After that, we install the belt and all the parts in the reverse order.


