In this article, we will look at how to remove and install the windshield wiper trapezoids and motor reducers for the windshield and rear window
Removing the windshield wiper arms
Open the hood and install it on the stop
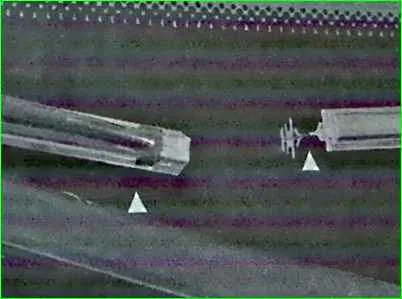
The initial position of the ends of the wiper blades is marked with transparent triangles on the black mask layer around the perimeter of the glass
This is necessary so that after installing the blades, they work in the correct area of the windshield windows
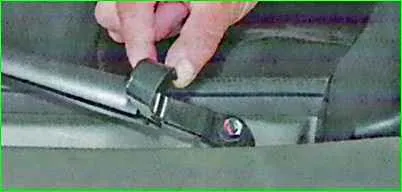
We fold back the plastic cap from the windshield wiper arm mounting nut
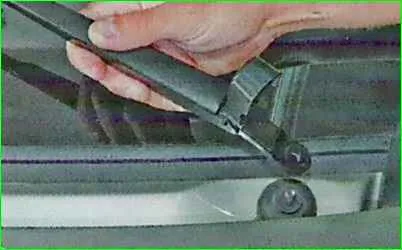
With the key on 13 unscrew the nut and remove the leash from the wiper trapezoid axis
Also remove the second leash

The right and left leashes differ in length and shape
Install the leashes in the reverse order, taking into account that the ends of the brushes should match the marks on the glass.
Removing and installing the windshield wiper trapezoid
Tools needed: 10, 24 keys, flat-head screwdriver blade
Remove the wiper arms as described above
Pry off the protective cap of the wiper arm with a screwdriver
Use a 24 key to unscrew the lever axis mounting nut
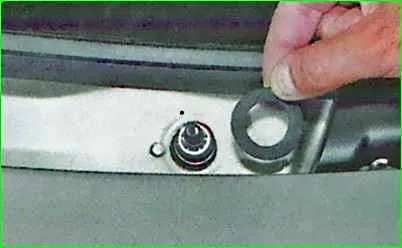
Remove the metal washer and rubber sealing ring
Remove the second arm mount in the same way
Remove the air intake box grille, for this:
Open the hood and install it on the stop
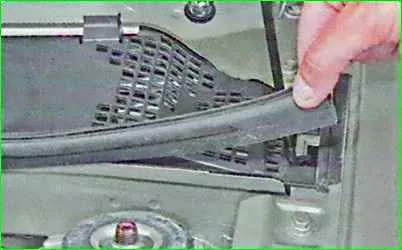
Remove the rear hood seal from the front shield flanging
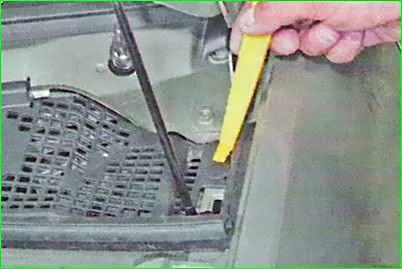
Use a plastic mounting blade to pry up the piston securing the left side of the air intake box grille
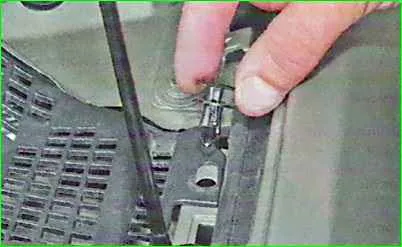
Remove the piston from the hole
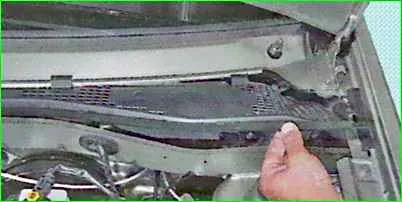
Lift the front left edge of the trim part, move it forward and remove
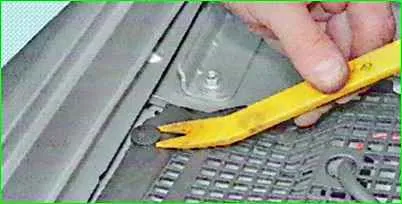
Pry off the pin securing the right part of the air intake box grille
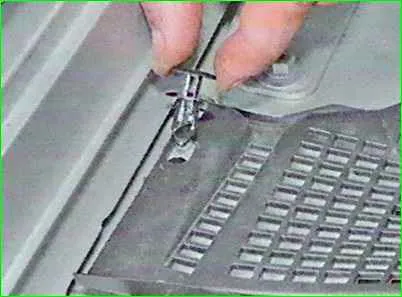
Removing the piston
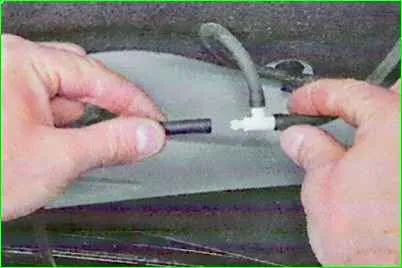
Disconnecting the windshield washer feed hose from the tee
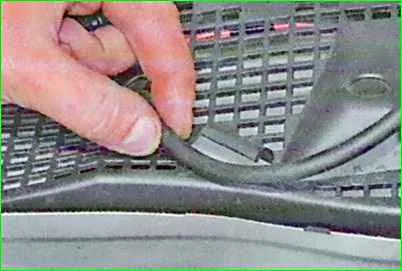
Remove the hose from the holder on the right side of the air intake box grille
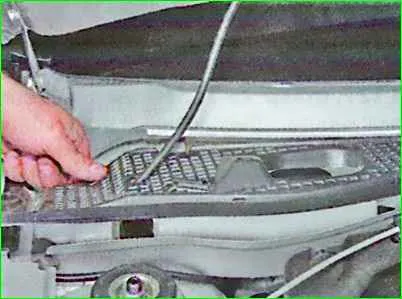
Move the right side of the air intake box trim forward and remove its holders from the flanging on the front shield
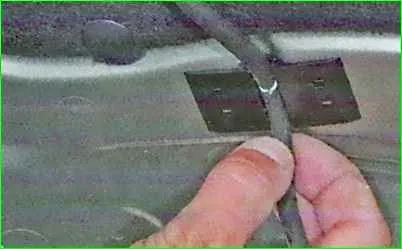
Removing the windshield washer hose from the holder on the hood
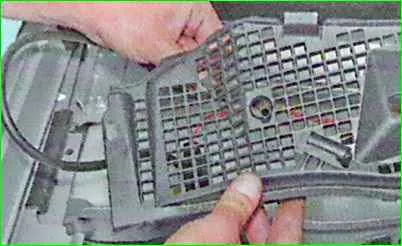
Removing the right side of the box grille air intake, passing the hose into its hole
After removing the air intake grille...
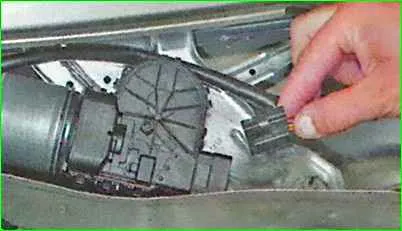
Press the lock of the windshield wiper wiring harness connector and disconnect the connector from the gear motor
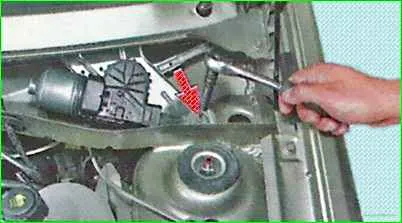
Unscrew the windshield wiper bracket mounting bolt
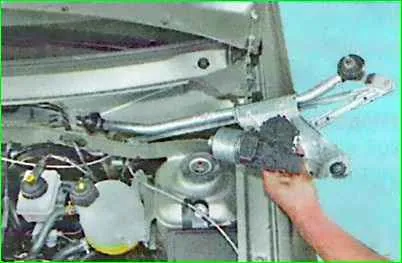
- and remove the windshield wiper linkage complete with the gear motor
Removing and installing the windshield wiper gear motor
Remove the linkage complete with the gear motor, as described above
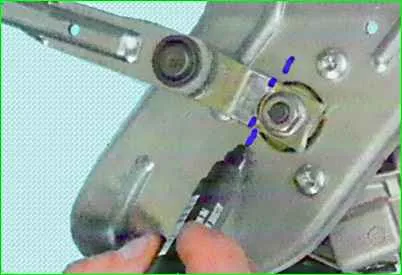
Use a marker to mark the position of the crank relative to the bracket
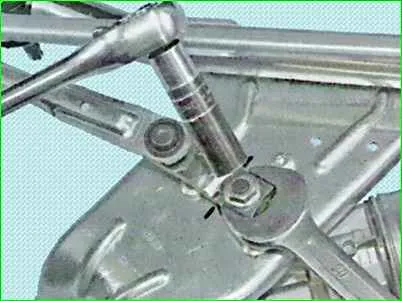
Unscrew the crank fastening nut
To reduce the load on the teeth of the plastic gearbox, hold the crank from turning with an open-end wrench
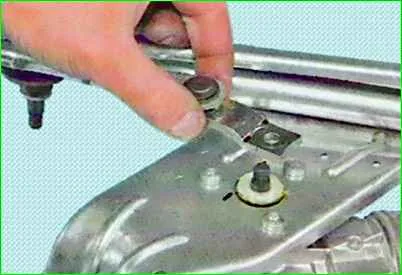
Remove the crank from the shaft splines
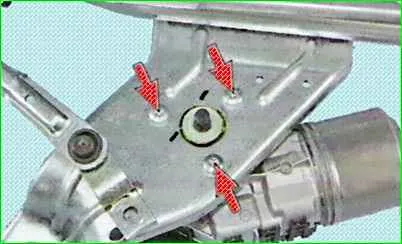
Unscrew the three bolts securing the gear motor to the bracket
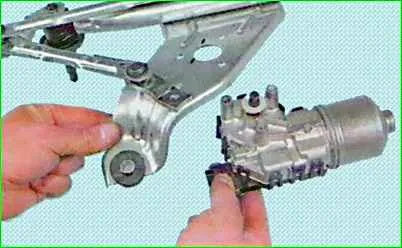
Removing the gear motor
Install all parts in the reverse order sequences
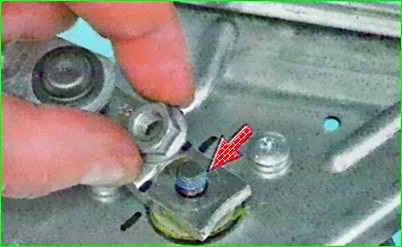
Before tightening the crank mounting nut, apply anaerobic locking sealant to the threaded part of the shaft.
Removing and installing the rear window wiper arm
Mark the initial position of the end of the wiper blade on the glass
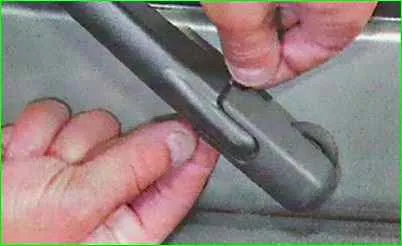
Unclamp the sides and remove the plastic decorative cap of the arm mounting nut
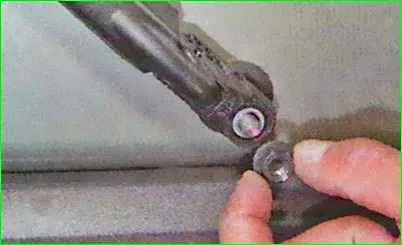
Unscrew the arm mounting nut
Remove the arm wiper from the gear motor shaft
If necessary, disconnect the brush from the lever
Install the wiper lever in the reverse order, with the end of the brush aligned with the mark on the glass.
Removing and installing the rear door window wiper
You will need the following keys: 10 mm socket head, Torx T20, 13 mm key, knife, drill with 8 mm drill bit

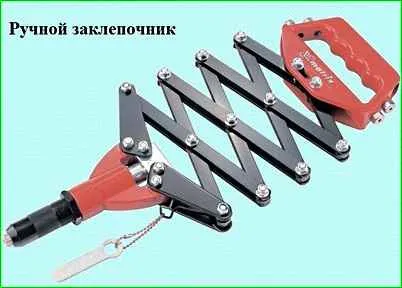
You will need special tear-off rivets and a hand riveter
Remove the trim of the left door leaf, described in the article - How to disassemble the rear doors of the Lada Largus car
Remove the windshield wiper arm of the rear door, as described above
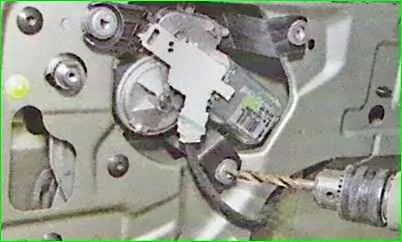
Using a drill, drill out the heads of the three rivets that secure the gearmotor bracket to the rear door
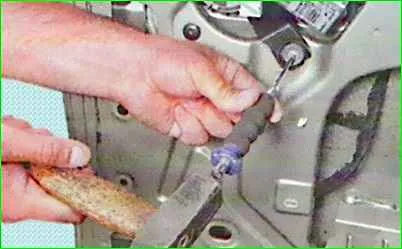
Using a thin punch, knock out the spacer pins rivets
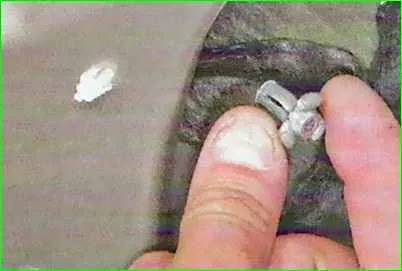
Push out the outer rivet bushings
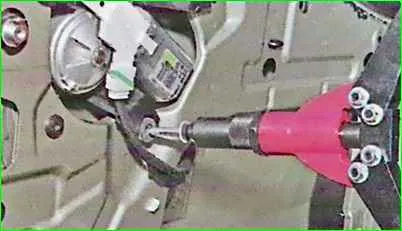
Press the lock and disconnect the wiring harness connector from the gear motor
If necessary, remove the sealing bushing of the wiper gear motor shaft.
Using new bracket mounting rivets, install the wiper in the reverse order
Before installing the wiper arm, turn on the wiper for 10-15 seconds.
Turn off the wiper. The arm axis will automatically return to its original position. Only then install the arm with the wiper.


