Radiator - tubular-tape, with side plastic tanks
The tanks are connected to the radiator frame through a rubber sealing gasket by crimping the support plate onto the flange of the plastic tanks
On the tanks and the top plate of the radiator frame there are brackets for attaching the radiator to the car body.
On the right tank (along the direction of the car) in the lower part there is a drain plug for draining the coolant.
The expansion tank is plastic, connected by a hose to the pipe supplying cooled liquid from the radiator to the engine, and by a tube to the thermostat pipe and the left radiator tank.
The tank has a MIN mark - the lowest permissible level of coolant in the tank.
The expansion tank is closed with a screw plug that maintains increased pressure in the cooling system.
The expansion tank plug, which hermetically closes the cooling system, has two valves: steam, opening at a pressure of 80-110 kPa (0.8-1.1 kgf) and air, opening at a vacuum of 1.0-10 kPa (0 .01—0.1 kgf/cm 2).
Replacing a radiator with a ZMZ-406 engine
Draining the coolant, article - "Replacing the engine coolant of a Gazelle car"
Remove the radiator trim and the top panel.
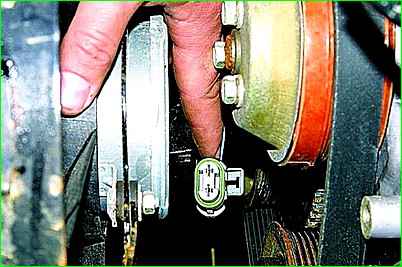
Disconnect the fan motor connector
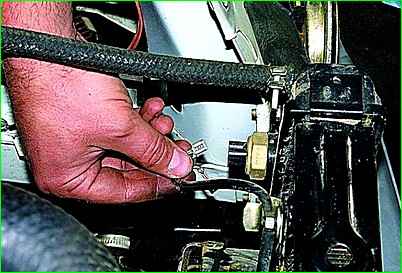
Disconnect the two wires from the electric fan switch sensor.
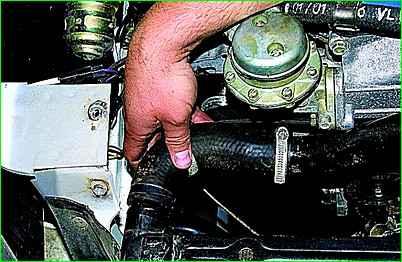
After loosening the clamp, remove the upper hose
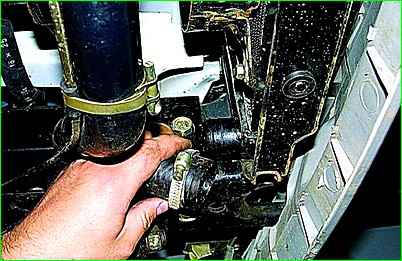
After loosening the clamp, remove the lower hose from the radiator pipe.
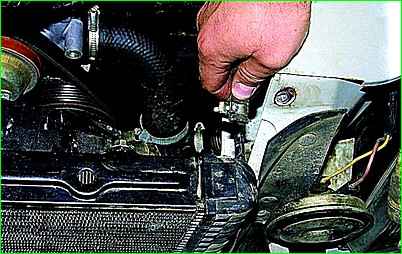
Disconnect the steam hose from the radiator.
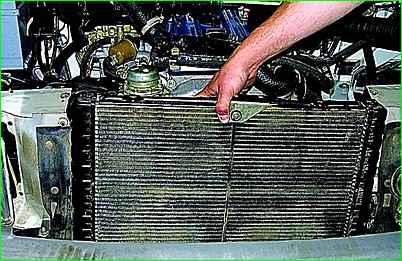
Remove the radiator from the car.
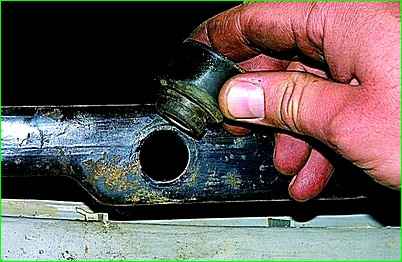
Rubber cushions are installed under the radiator.
If necessary, we replace them
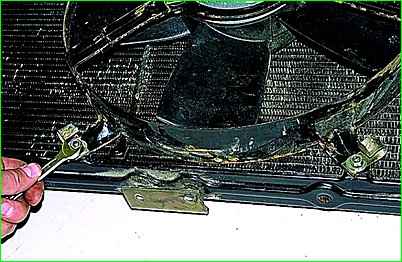
Use a 10mm wrench to unscrew the four nuts securing the electric fan
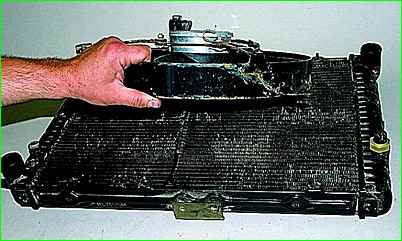
Remove the electric fan.
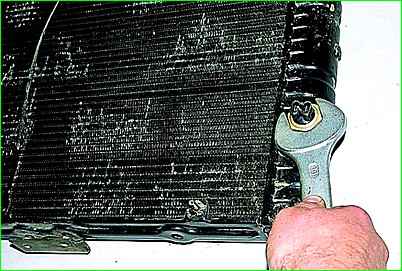
Use a 30mm wrench to unscrew and remove the electric fan switch sensor.
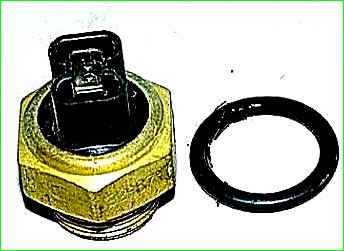
There is a rubber O-ring installed underneath.
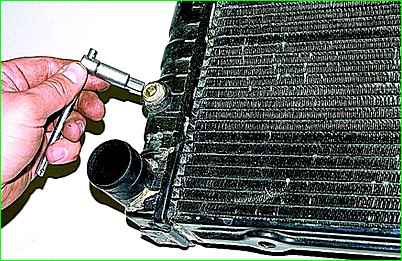
Use an 8-point hex and remove the plug.
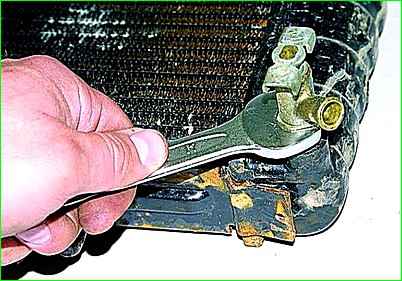
Use a 17mm wrench to unscrew and remove the radiator drain valve.

Use a 10mm wrench to unscrew the bracket fastening nut
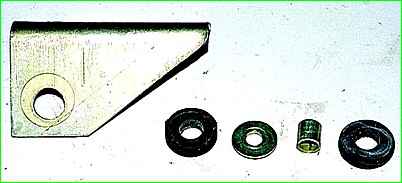
Remove the bracket and its fastening parts from the radiator
We rearrange the removed parts onto the new radiator, install it in reverse order on the car
Replacing a radiator with a ZMZ-402 engine
Drain the coolant
Remove the grille and the top panel of the radiator trim.
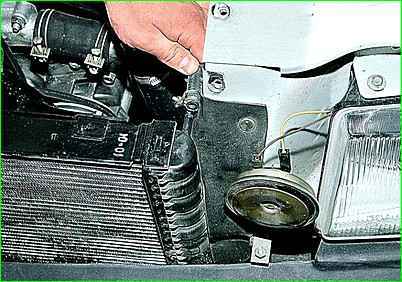
Use a screwdriver to loosen the clamp and remove the hose connecting the radiator to the expansion tank
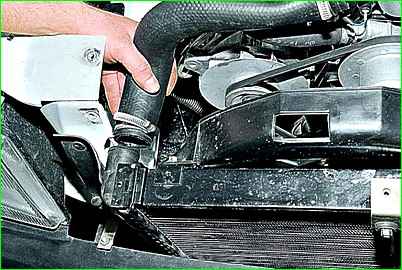
Use a screwdriver to loosen the clamp and disconnect the supply hose from the upper radiator pipe.
In the same way, remove the hose from the lower radiator pipe.
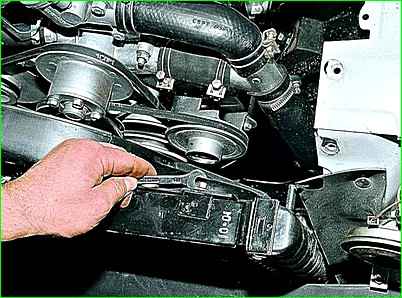
Using a 10mm wrench, unscrew the four nuts securing the fan casing (two on top and two on bottom)
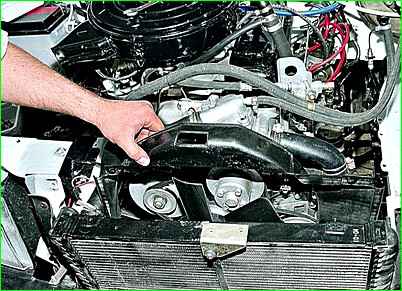
We remove the casing from the radiator.
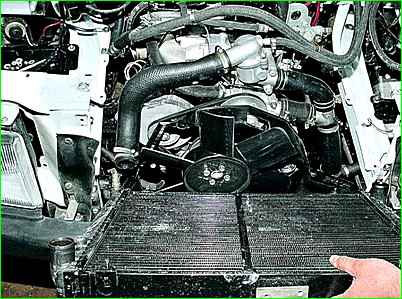
Removing the radiator
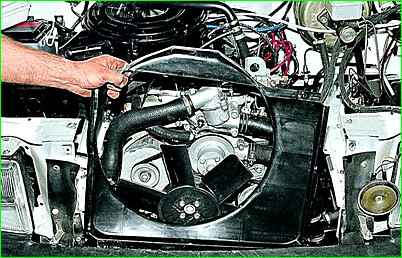
Remove the fan casing
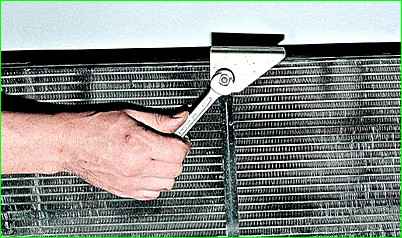
To replace the radiator, use a 10mm wrench to unscrew the nut and remove the bracket securing the radiator to the body
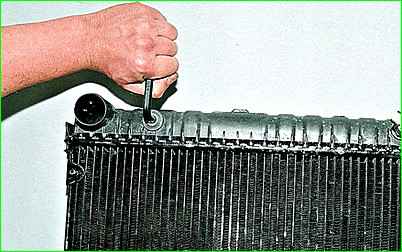
Use an 8-point hex key to unscrew the plug.
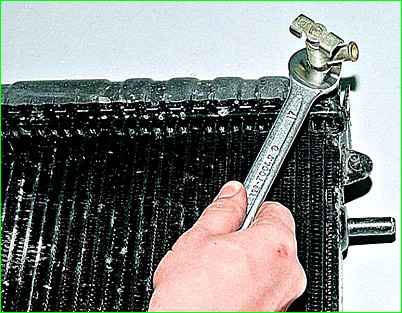
Use a 17mm wrench to unscrew and remove the drain valve
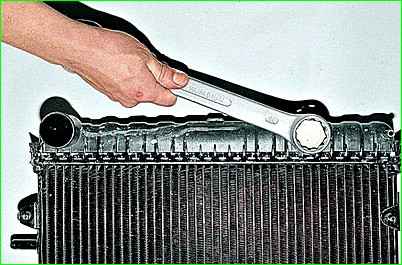
Use a 30 key to unscrew the second plug
Having rearranged the removed parts onto the new radiator, install it in the reverse order.
After filling the cooling system with liquid and starting the engine, check for leaks at the connections.
If necessary (destruction, cracks), replace the radiator cushions and install the radiator in the reverse order.


