Removing the front brake hose
Hang up and remove the front wheel. Disconnect the hose from the brake cylinder block (see Disassembling the front brake mechanism).
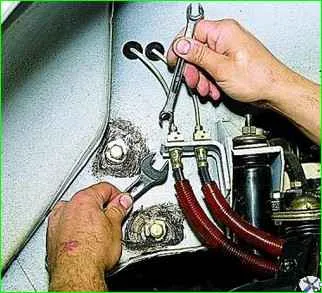
Holding the tip of the brake hose with a 17 mm wrench, unscrew the tube nipple with a special 10 mm wrench.
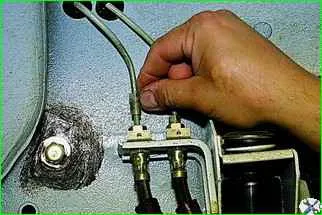
We take the tube out of the hose tip.
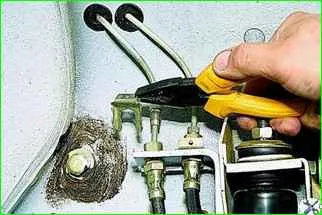
We take out the hose retaining clip with pliers.
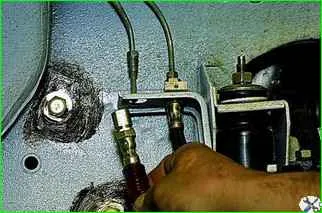
Having oriented the flat of the brake hose tip relative to the bracket hole, remove the hose.
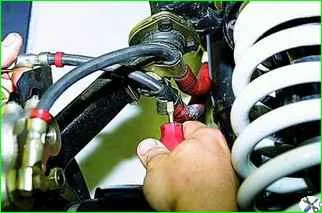
Using a screwdriver, unbend the ends of the hose clamp
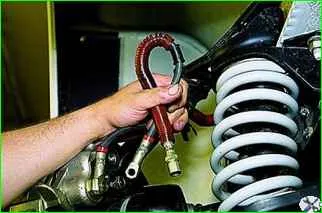
Removing the brake hose. Similarly, remove the second brake hose.
Install the hoses in the reverse order
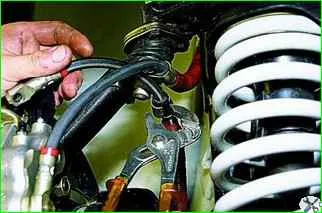
Clamp the hose with sliding pliers
After installing the hose, bleed the brake system
Removing the rear brake hose
Perform the work on an inspection ditch or lift.
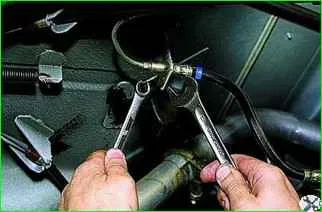
Holding the flexible hose tip with a 17 mm wrench, unscrew the brake pipe nipple with a special 10 mm wrench.
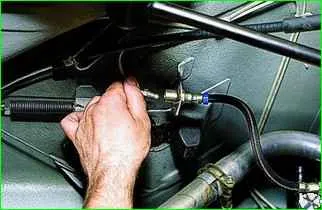
Move the brake pipe away.
To reduce brake fluid loss put the protective cap of the wheel cylinder bleeder nipple on the end of the tube.
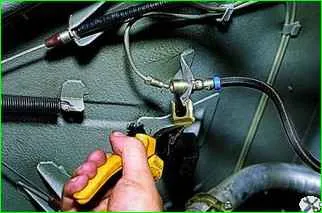
Use pliers to remove the clamp that secures the end of the hose in the bracket hole.
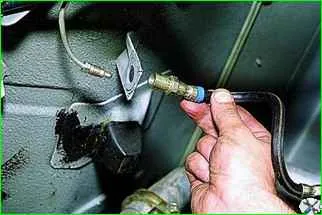
Remove the hose tip from the bracket hole.
Using a 15 mm wrench, unscrew the hose tip from the tee attached to the rear axle beam.
It is better to hold the tee with a 17 mm wrench, otherwise, if the force is exceeded, the stud for its fastening may break off.
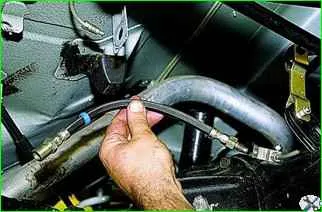
Removing the rear brake hose
After installing the hose, it is necessary to bleed the hydraulic drive brake system (see Bleeding the brakes).
Replacing the brake pipes and the rear axle beam tee
We carry out the work on an inspection pit or lift.
We disconnect the brake pipe from the rear wheel cylinder.
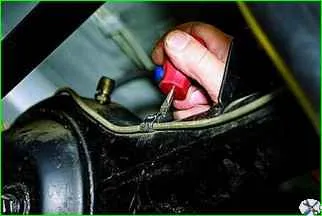
Use a screwdriver to bend back the clamp holding the brake pipe to the rear axle beam.
The right brake pipe is held by two clamps, the left by one.
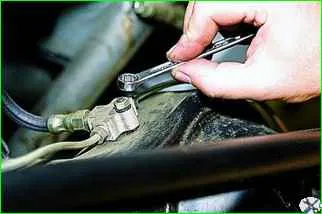
Use a 10 mm open-end wrench to unscrew the nut securing the tee to the rear axle beam.
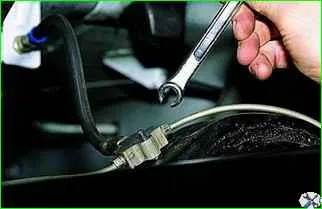
Having lifted the tee, we put a special “10” key on five faces of the brake pipe nipple, and unscrew it.
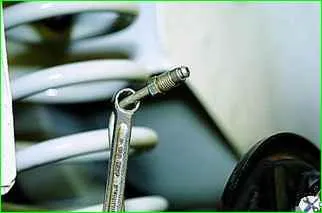
If unscrewing is difficult, put a 10 mm open-end wrench (preferably a hex wrench) on the free end of the brake pipe on the wheel cylinder side.
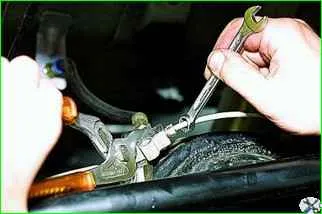
Holding the tee with sliding pliers, unscrew the brake pipe nipple.
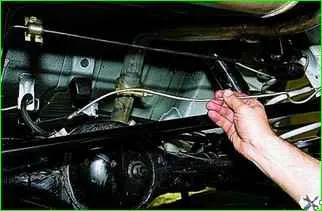
Remove the right brake pipe.
Remove the left brake pipe in the same way.
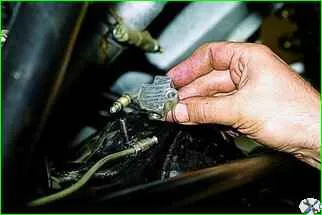
To replace the tee, disconnect from it the brake pipe fittings and the brake hose tip.
Having unscrewed the nut securing the tee to the rear axle beam, remove the tee from the stud
Install the tee and brake pipes in the reverse order.
Bleed the brake system.


