We carry out the work with an assistant on an inspection pit or lift
Checking and adjusting the pressure regulator drive
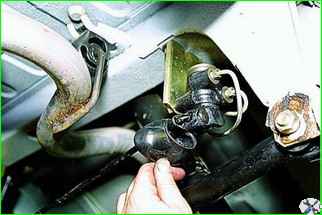
Remove the protective cover of the pressure regulator.
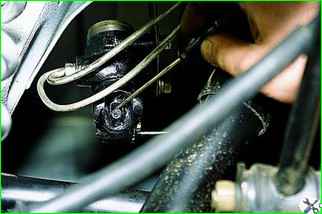
When pressing the brake pedal with a force of 70-80 kgf, observe the movement of the protruding part of the regulator piston relative to its body.
If the piston moves by 0.5-0.9 mm, twisting the torsion lever, then the pressure regulator is operational.
If the piston remains stationary when pressing the brake pedal, then the pressure regulator is faulty and should be replaced with a new one.
Adjusting the rear brake pressure regulator drive is necessary when loosening its mounting bolts, as well as after any work related to removing the rear axle beam, replacing the springs and shock absorbers of the rear suspension.
To adjust, hang up the rear axle of the car and remove the protective cover of the regulator.
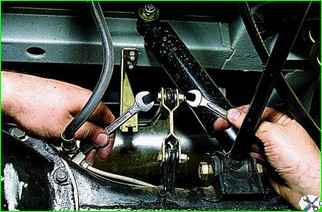
Using two 10 mm wrenches, loosen the nut securing the regulator lever tip to the rear axle bracket rod.
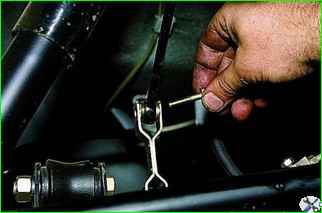
Remove the bolt.
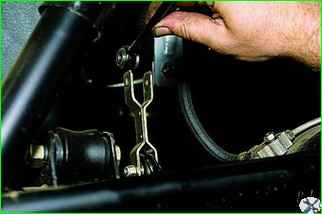
Remove the lever tip from the tie rod eye.
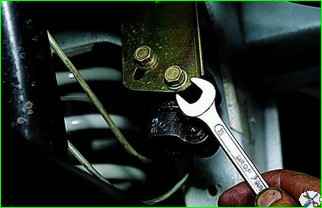
Using a 13 mm wrench, loosen the bolts securing the regulator to the bracket.
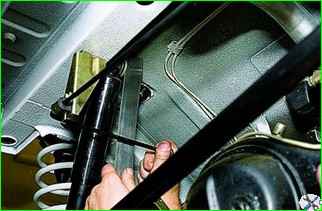
Put the end of the ruler against the floor of the car body.
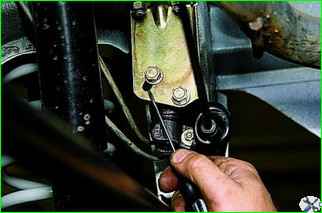
Raising or lowering the end of the lever, we set it at a distance of 135±5 mm from the body side member.
At the same time, moving the regulator on the bolts relative to the bracket slot, we achieve slight contact of the protruding part of the piston with the end of the lever.
Holding the regulator in this position, we tighten the bolts of its fastening.
We carry out the assembly in the reverse order.
With the correct adjustment of the rear brake pressure regulator drive, the rear wheels should lock during braking a little later than the front ones (when braking from a speed of 30–40 km/h).
Removing the rear brake pressure regulator and its drive
We disconnect the tip of the regulator lever from the rear axle bracket rod.
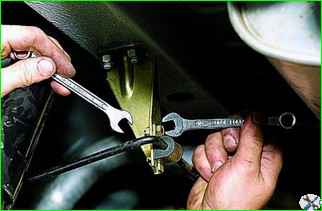
Using a 10 mm wrench, loosen the nut securing the support sleeve cage to the bracket.
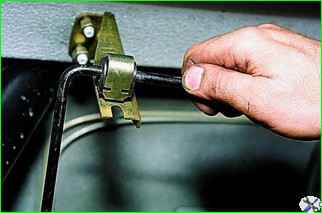
We remove the support sleeve of the lever from the slot of the bracket.
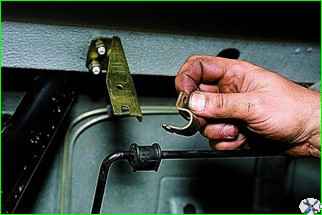
Remove the collar from the support sleeve.
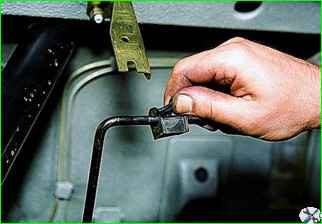
Unclamp the support sleeve and remove it from the lever.
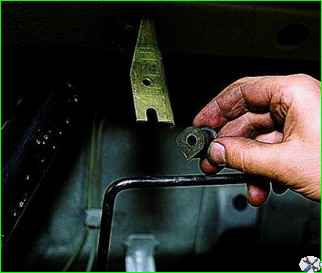
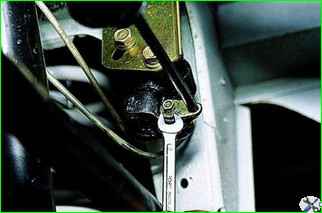
Using an 8 mm spanner, loosen the bolt securing the lever lock plate to the regulator axis.
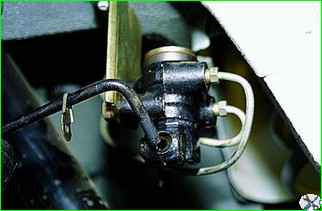
Remove the end of the lever from the hole in the regulator shaft
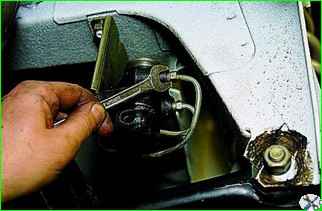
Using a 10 mm spanner or a special one, unscrew the fittings securing the two brake pipes to the rear brake pressure regulator.
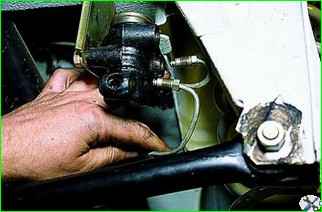
Move the brake pipes away.
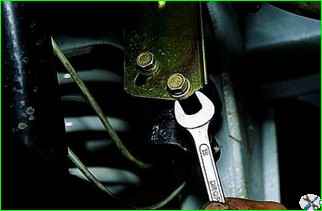
Using a 13 mm wrench, unscrew the two bolts securing the regulator housing to the bracket and remove the regulator.
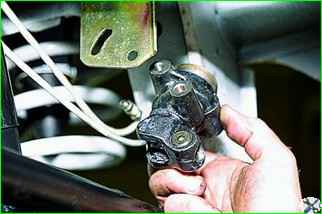
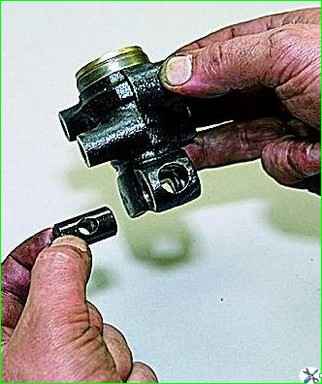
We take the axle out of the pressure regulator housing.
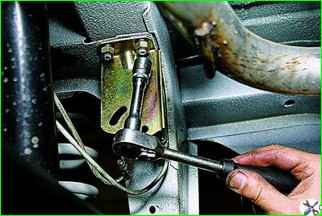
To remove the pressure regulator bracket, use a 13 mm head to unscrew the two nuts securing the bracket to the body
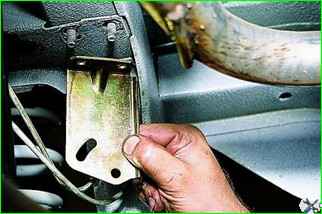
Removing the bracket
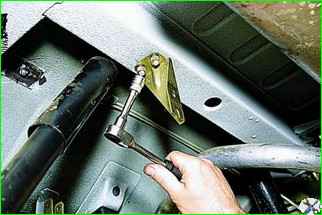
To remove the arm support bushing bracket, use a 13 mm head to unscrew the two nuts securing the bracket to the body.
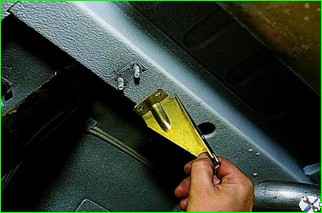
Removing the arm support bushing bracket.
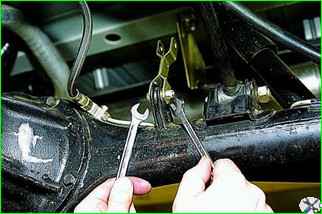
To remove the rod connecting the pressure regulator lever to the rear axle bracket, Using two 10 mm wrenches, unscrew the nut securing the rod bolt.
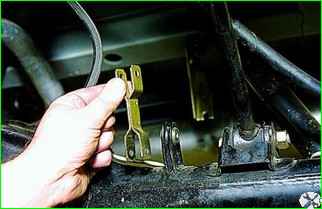
After removing the bolt, remove the rod
We install the drive parts of the rear brake pressure regulator in the reverse order.
Adjust the drive. Apply a thin layer of graphite grease to the regulator axis and the protruding part of the piston.
Put 5–6 grams of the same grease into the protective cover of the pressure regulator and install it in place.


