Disassembling the gearbox synchronizer
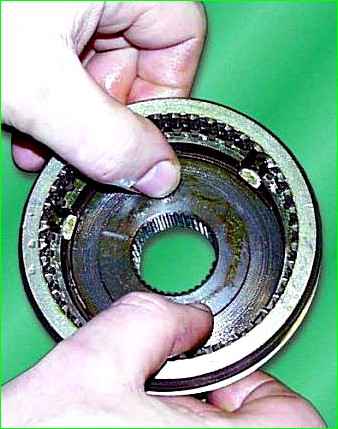
Check for the presence of aligned marks on the hub and sliding clutch of the synchronizer and, if not, mark them.

Remove the sliding sleeve from the hub

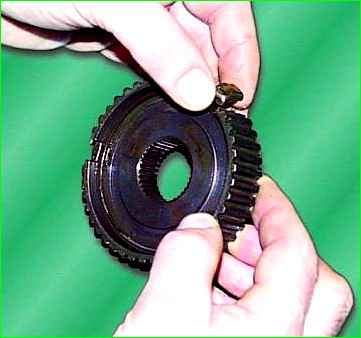
Take out three crackers

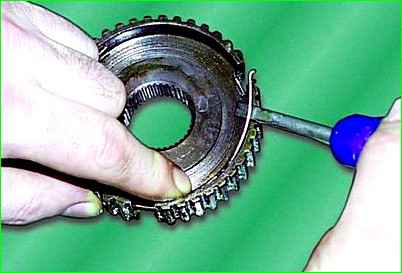
Remove the two springs from the hub.
Assembling the gearbox synchronizer

Lubricate the synchronizer parts with a thin layer of transmission oil.
Install one spring into the synchronizer hub.

Install the cotters into the synchronizer hub.

Install the sliding clutch on the hub in accordance with the marks.

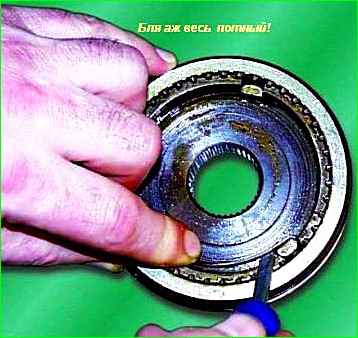
Install the second spring so that the bent ends of both springs are in the same block, and the coils of the spring are directed in different directions.
Check the ease of axial movement of the synchronizer parts.
The lateral clearance between the hub and the sliding clutch should be within 0.01-0.05 mm.


