Removing the lock of the right rear door of the car
Use a screwdriver to pry up and open the door handle plugs
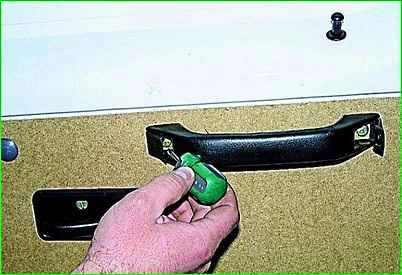
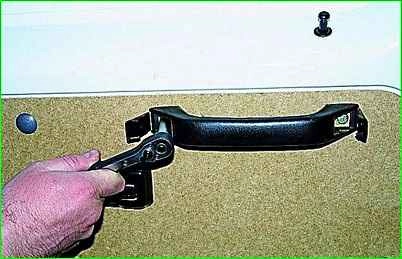
Use a socket wrench or a 10mm socket to unscrew the two bolts securing the handle and remove it.
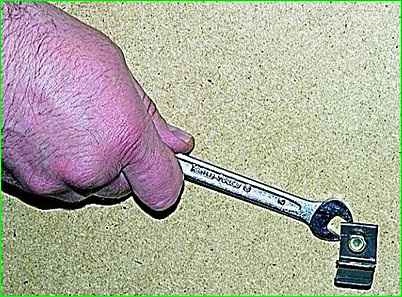
Use the same key to unscrew the bolt securing the limiter clamp and remove it.
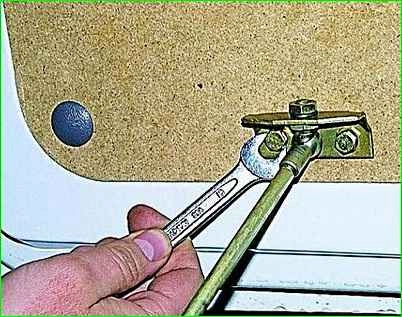
Use the same key to unscrew the two bolts securing the limiter bracket and remove it together with the limiter
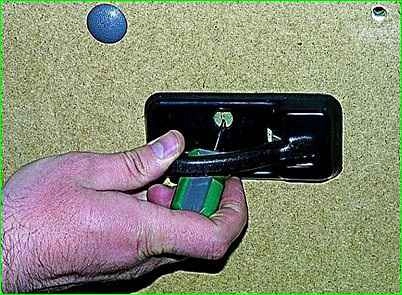
Use a screwdriver to unscrew the screw securing the socket of the internal handle
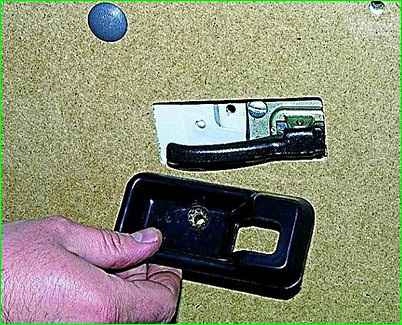
Removing the socket
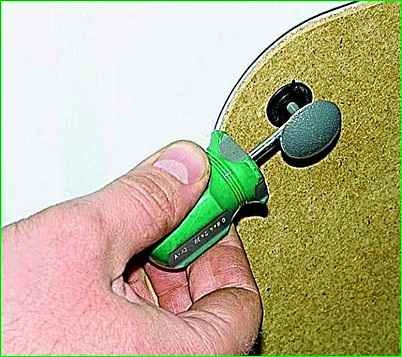
Using a screwdriver, remove the eight plastic door trim fasteners.
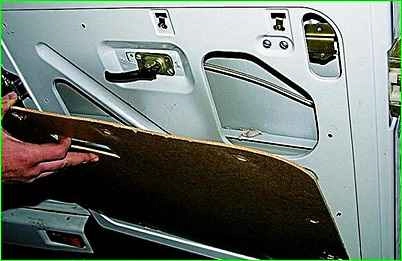
Remove the upholstery.
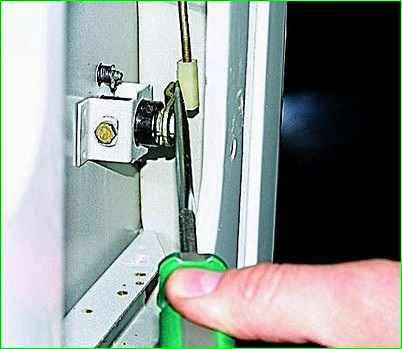
Use a screwdriver to unclip the lock switch rod from the switch arm.
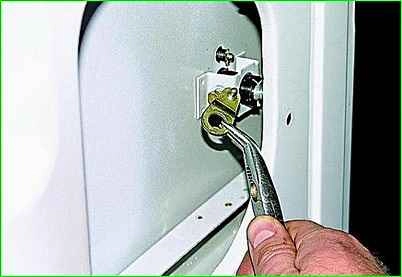
Using pliers with thin jaws, remove the cotter pin securing the driver and remove the driver from the switch (the driver can be removed from the switch and together with the rod).
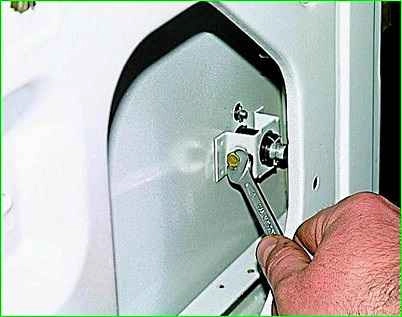
Using an “8” key, unscrew the lock switch mounting bolt 2-3 turns
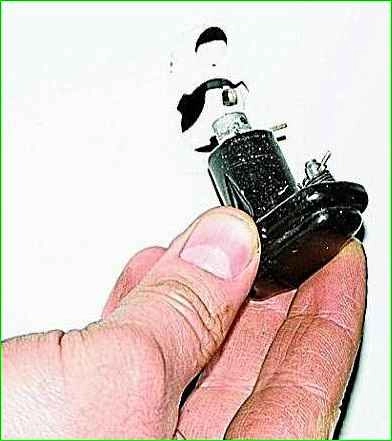
Take out the switch.
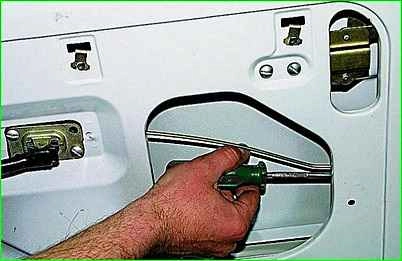
Use a screwdriver to unclip the inner handle rod.
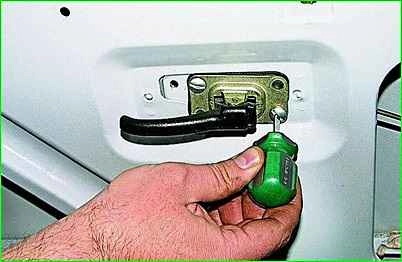
Use a screwdriver to unscrew two screws
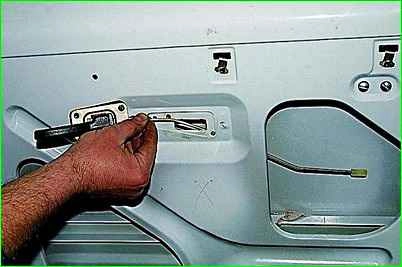
Remove the inner handle together with the rod
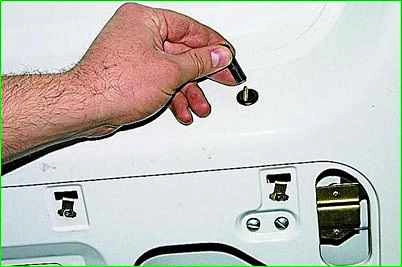
Use your hand to turn off the lock release button
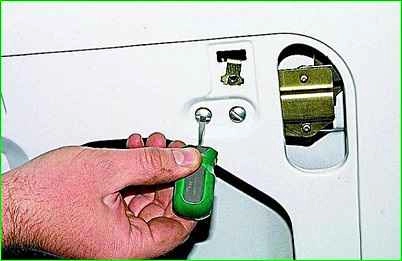
Use a screwdriver to unscrew the two screws securing the lever bracket.
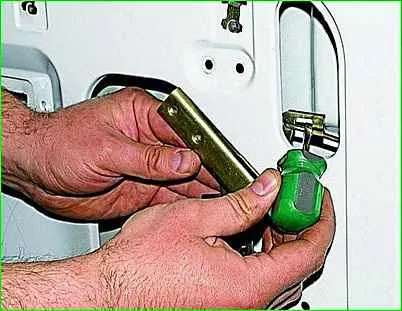
Move the bracket with the lever to the side and use a screwdriver to unclip the lock rod clamp through the opening.
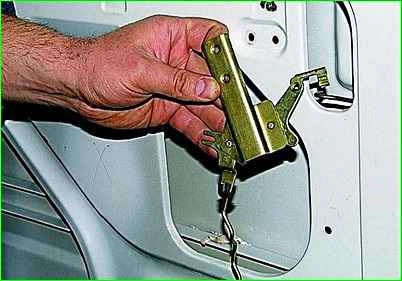
Disconnect the rod from the lever and remove the lever with the bracket and the lock switch button rod.
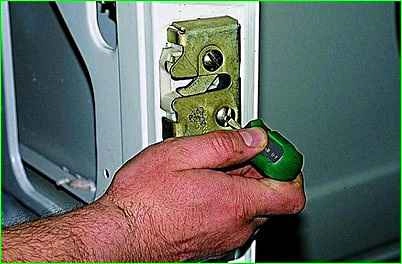
Use a large screwdriver to unscrew the two screws securing the locking mechanism
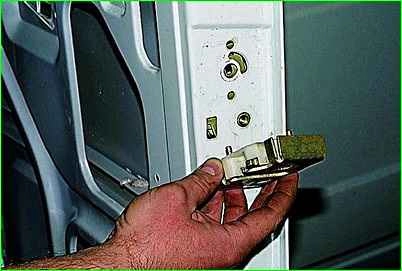
Remove it.
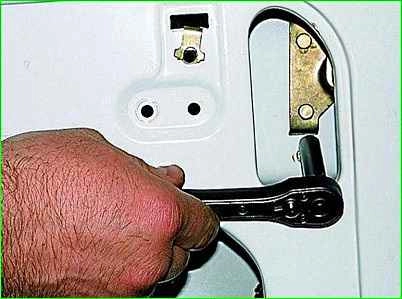
Use a socket wrench or an 8-mm socket to unscrew the two bolts securing the outer handle drive.
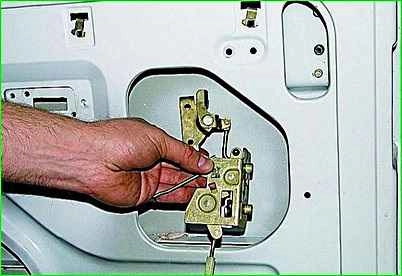
Remove the drive together with the lock.
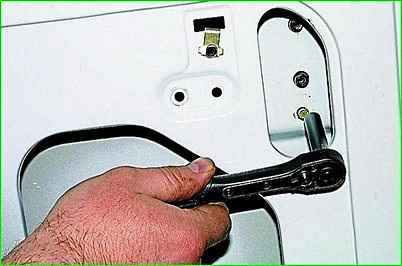
Use an 8-point socket to unscrew the two bolts securing the outer handle
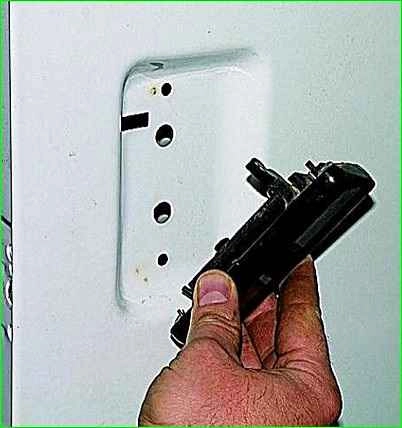
Remove the outer handle.
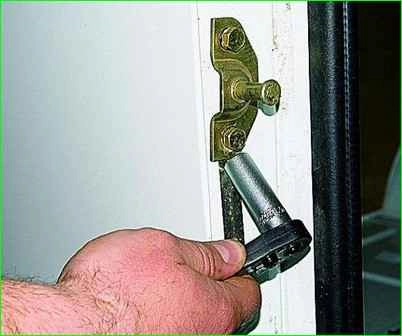
Use a 12mm socket to unscrew the right door lock latch (on the left door)
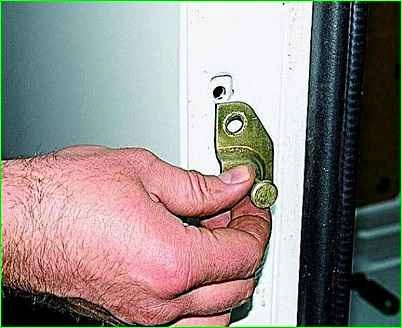
Remove the lock.
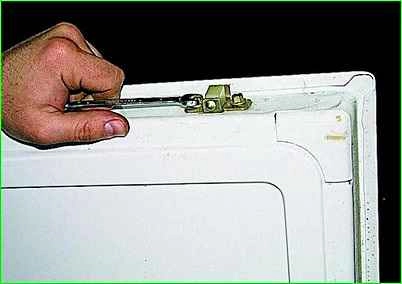
Use an “8” wrench to unscrew the two fastening bolts
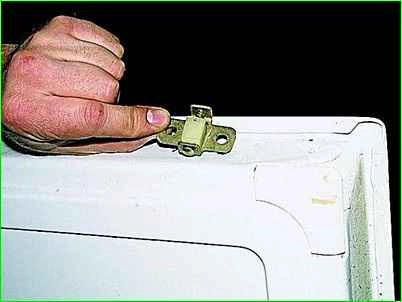
Remove the upper and lower limiters for the vertical movement of the door.
Assemble the right rear door lock in the reverse order, lubricating all rubbing joints with engine oil
Removing the lock of the left rear door of the car
Remove the stop and door trim.
Remove the upper and lower limiters for the vertical movement of the door.
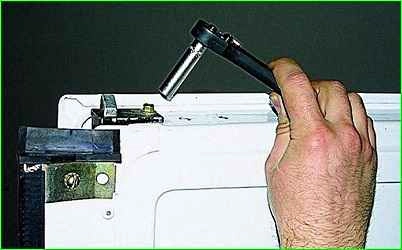
Use a socket or an 8-point wrench to unscrew the upper bolt securing the housing of the upper lock stopper
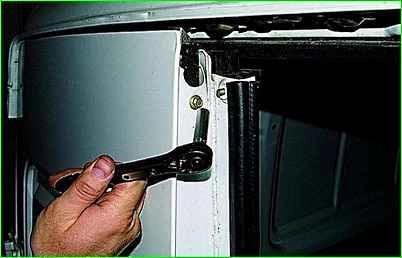
Unscrew the lower bolt securing the upper lock stop housing.
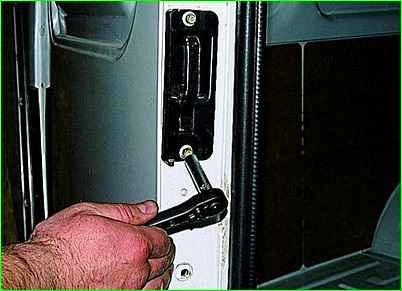
Use the same key to unscrew the two bolts securing the lock drive
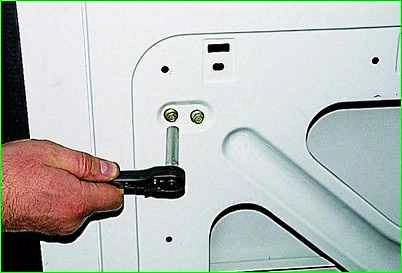
Unscrew the two bolts securing the base of the stopper.
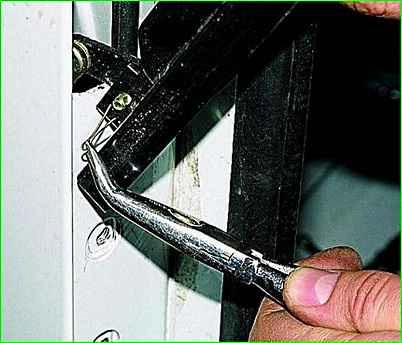
Pulling the base of the stopper outward, use pliers with thin jaws to remove the cotter pin of the stopper lock handle axis.
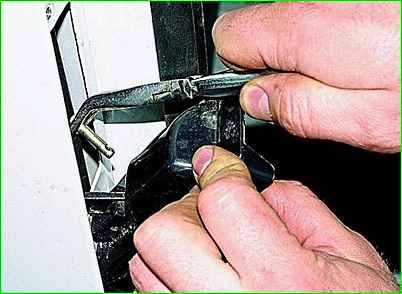
Remove the handle axis
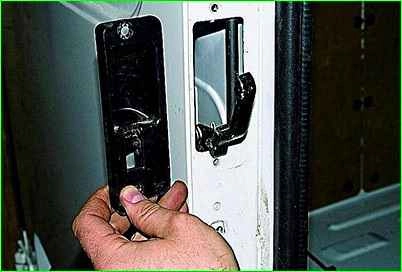
Remove the base of the stopper.
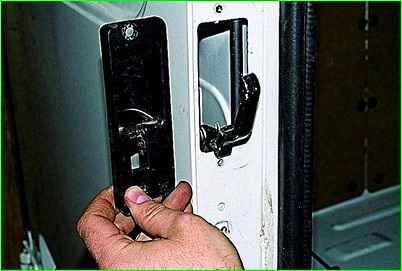
Through the resulting opening, pressing with a finger or prying with a screwdriver, unsnap and remove the spring clip of the upper link of the stopper (shown on the removed lock for clarity).
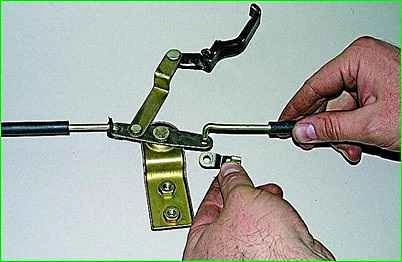
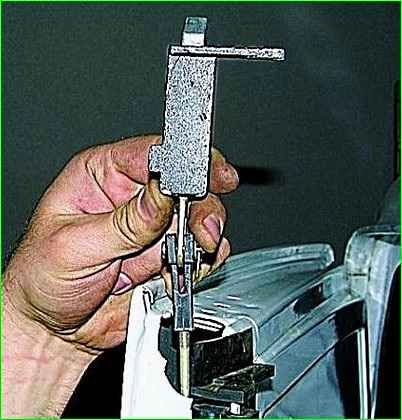
We remove the upper body of the stopper together with the stopper and rod from the door. Using an “8” wrench, unscrew the two bolts securing the lower stopper housing, similar to removing the top stopper
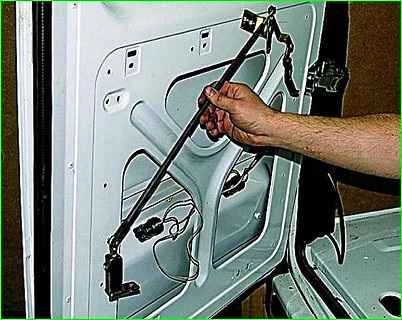
Having unfolded it, we recess the lower stopper inside the door and remove it together with the rod and the stopper lock drive.
Using an “8” wrench, unscrew two bolts each securing the two lower latches of the left and right door stops
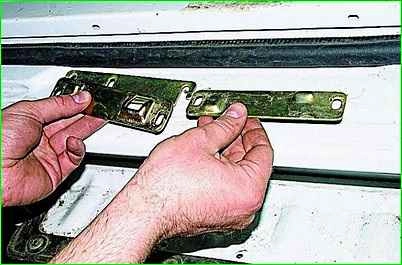
Remove the latches
Remove the upper latches of the stops in the same way
Assemble the lock in the reverse order, lubricating all rubbing joints with engine oil.
Removing the rear door of the car
We work together.
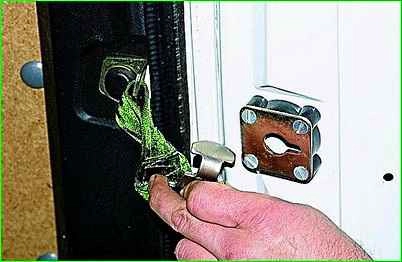
Having closed the door, turn and remove the limiter from the bracket.
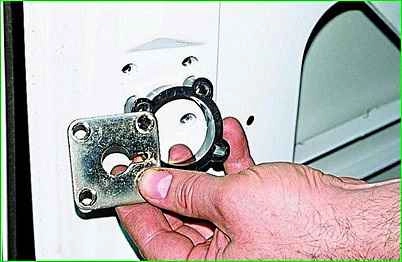
Use a screwdriver to unscrew the four screws securing the limiter bracket to the door and remove the bracket
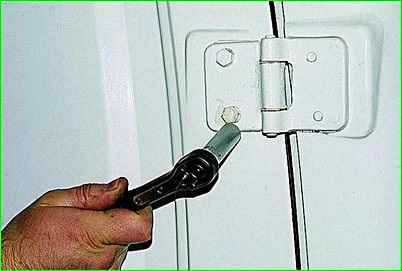
Use a 12mm socket to unscrew the bolts securing the door to the hinges
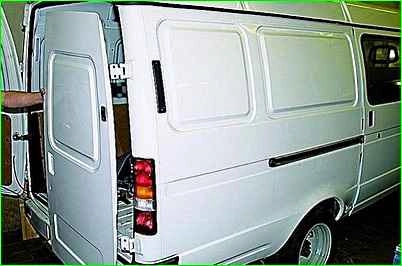
Removing the door
Install the door in reverse order.


