When operating a vehicle, it is necessary to periodically check the condition of the brake drums, brake pads, tension springs, and protective covers that affect the performance of the brake mechanisms
As the brake linings wear, the gap between them and the drums is maintained automatically and does not require additional adjustment.
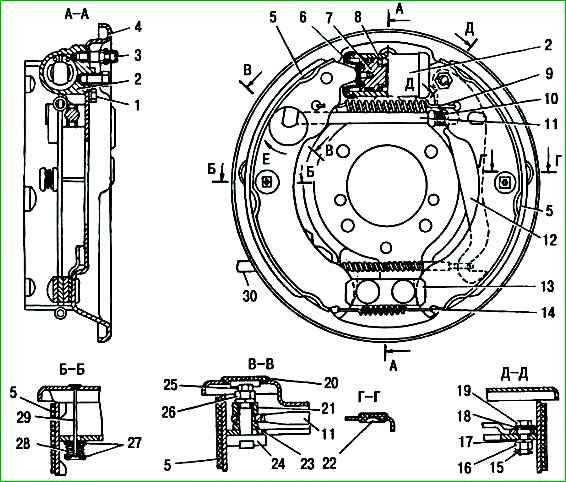
We replace the rear wheel pads if they are damaged, oily, or if the linings are worn to a thickness of less than 1 mm.
We replace the drum if it is damaged, cracked, or if the working surface is worn to a diameter of more than 283 mm.
We replace all four rear wheel pads at the same time.
ATTENTION: The brake drums are machined together with the hubs, so we install the removed drums only in their original places.
Before installing them on a car, the factory instructions recommend grinding new drums together with the hub.
Do not press the brake pedal after removing the brake drum.
Remove the rear wheels
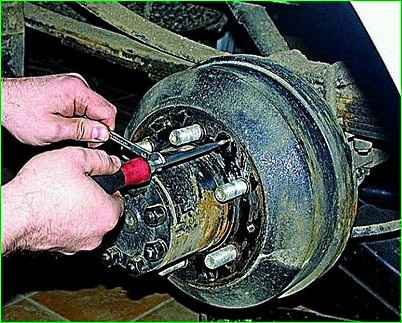
Use a large slotted screwdriver to remove the three screws securing the brake drum to the hub.
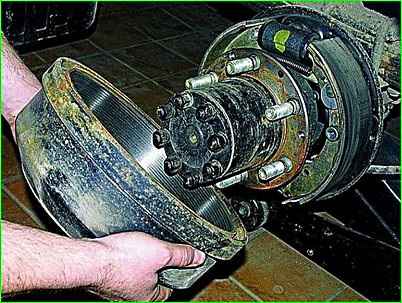
Remove the drum.
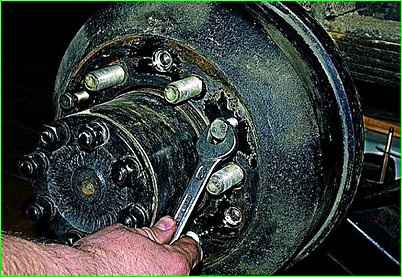
In case of a tight fit or “sticking” of the drum to the hub, you can compress it by screwing three M10 bolts into special holes.
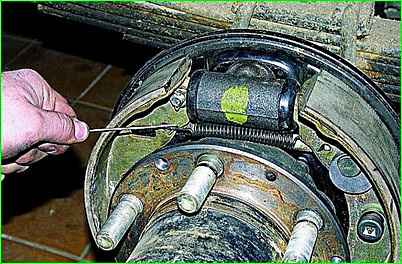
Using a hook or thin pliers, remove the end of the tension spring from the hole in the rear brake shoe
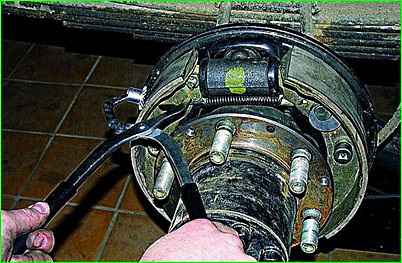
It is more convenient to use a special device for this.
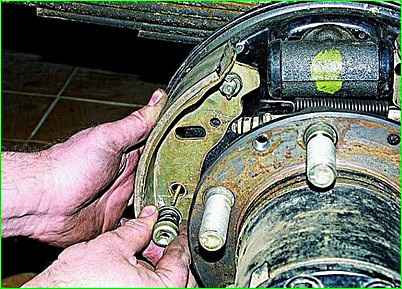
From the inside of the brake shield, press the cap of the rear brake pad rod with one hand, and press the cup with the other hand, compressing the spring.
Rotate the spring cup 90°. In this case, the slot on the cup will align with the tip of the axle.
Remove the cups with the spring.
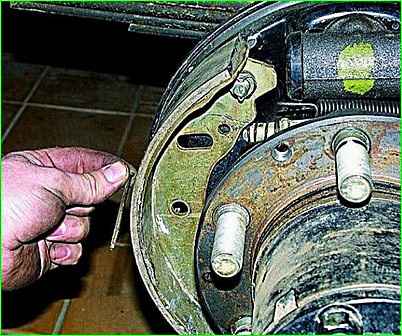
Remove the rod from the hole in the brake shield
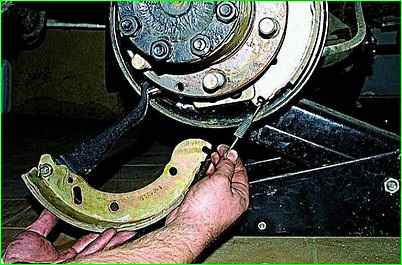
Turning the rear block, remove the lower tension spring
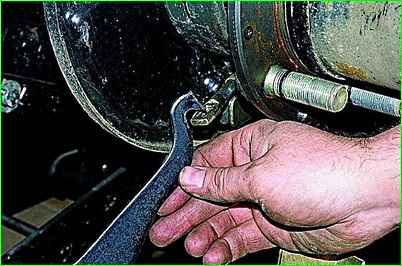
We remove the parking brake lever from the cable end.
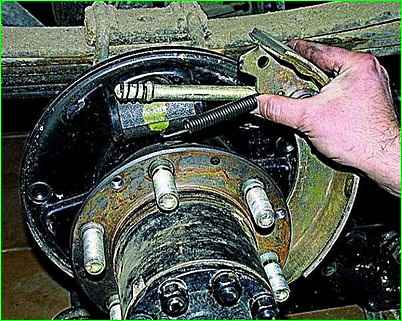
In the same way, remove the fastening of the front brake pad to the brake shield, and remove the front pad.
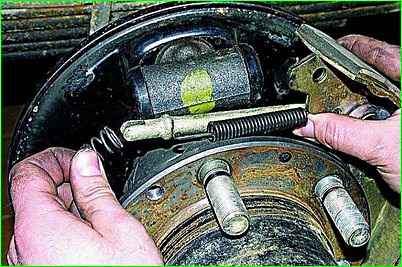
Remove the tension spring and the spring from the spacer rod from the block
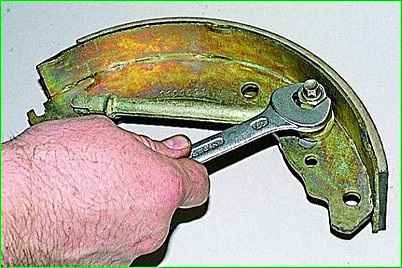
Use a 17mm wrench to unscrew the nut securing the rod to the block
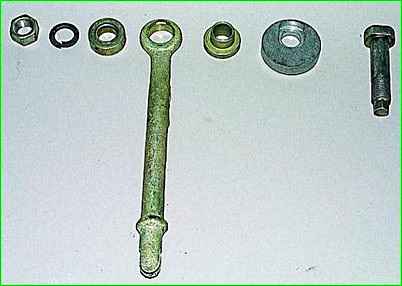
Remove the parts of the parking brake adjustment mechanism.
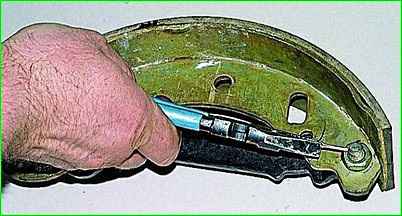
Use pliers to unscrew the nut securing the parking brake lever.
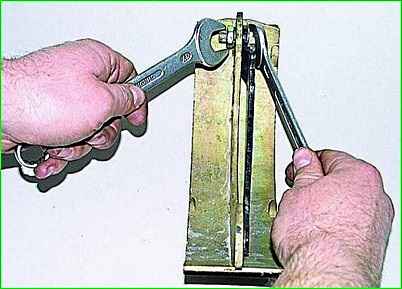
Holding the mounting bolt with a 17mm wrench, use the same wrench to unscrew the nut
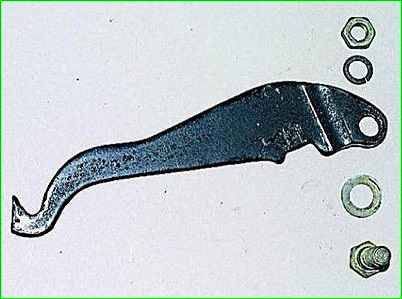
Remove the bolt and remove the parts securing the parking brake lever to the block.
We rearrange the removed parts onto new pads.
We install new brake pads in the reverse order, and then adjust the gap between the pads and the brake drum (see "How to repair and adjust the parking brake of a Gazelle car").
Install the drum, lubricating its seating belt with CV joint grease or graphite grease.
ATTENTION: The brake drum is installed on the hub in only one position, since the holes for the screws are made with a variable pitch around the circumference.
Install the wheels and press the brake pedal several times to self-install the brake components.


