The parking brake should hold the vehicle on a 25% grade when the parking brake lever is moved 15-20 teeth (clicks) of the ratchet device
To check that the parking brake is adjusted correctly, find an overpass or loading ramp with a height of H = 1.25 m and an entrance length of L = 5 m near the parking area of your car.
This ratio corresponds to a slope of 25%
If such a ramp is not available, for a simplified check of the parking brake, place the vehicle on a level surface.
Set the gear shift lever to the neutral position, raise the parking brake lever fully.
Get out of the car and try to move it. If you succeed, you need to urgently adjust the parking brake drive
Disassembling the parking brake mechanism
It is more convenient to work on an inspection ditch.
Lower the parking brake lever all the way down.
Unscrew and remove the equalizer axis.
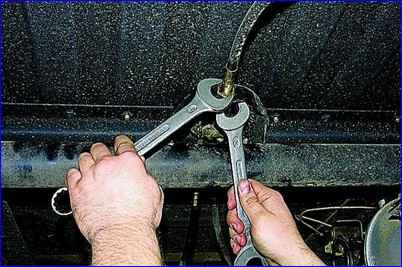
Using two 24mm wrenches, loosen the rear fastening nuts of the central cable sheath and completely unscrew the outer nut.
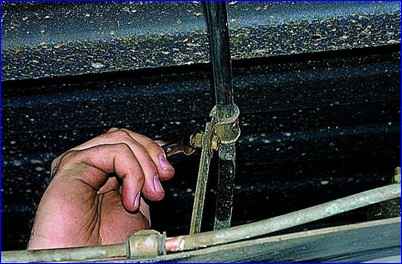
Use a 10mm wrench to unscrew the bolt securing the cable to the cross member bracket.
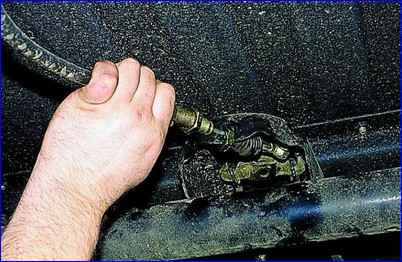
Disconnect the cable from the main bracket
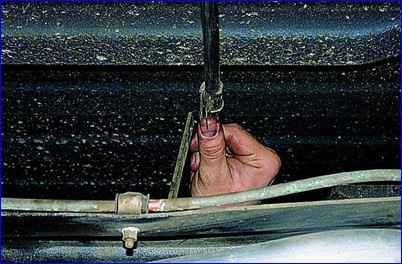
Disconnect the cable from the additional bracket.
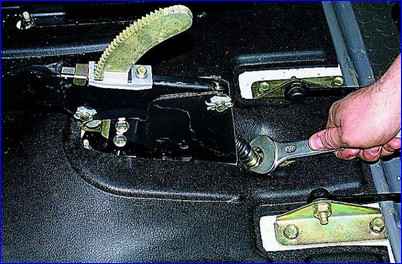
Remove the driver's seat. Using a 24" wrench, unscrew the nut of the front fastening of the central cable 2-3 turns.
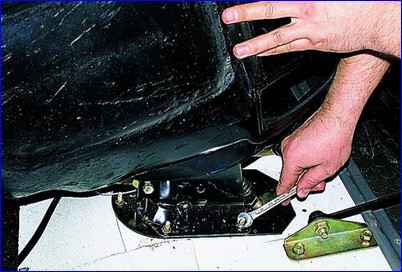
Lift the edge of the mat and use a 10mm wrench to unscrew the six nuts securing the mechanism to the floor
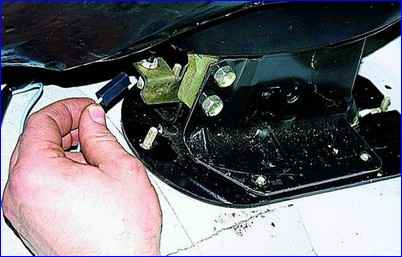
Remove the connector from the parking brake warning switch
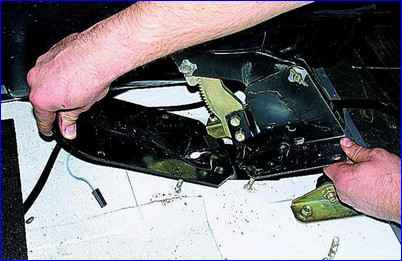
Remove the cable bracket
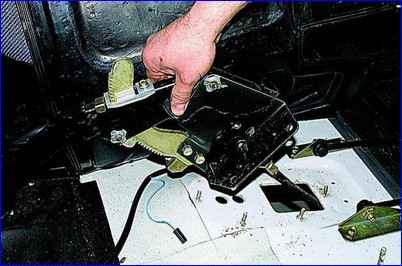
Remove the mechanism.
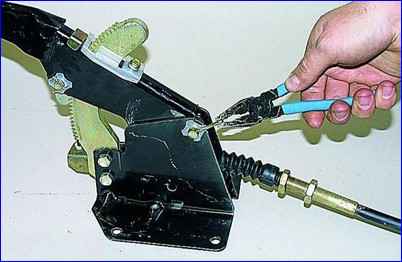
Unsplint the lever axis
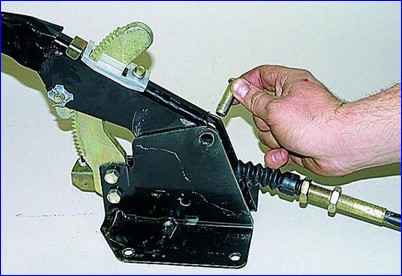
Remove the lever axis.
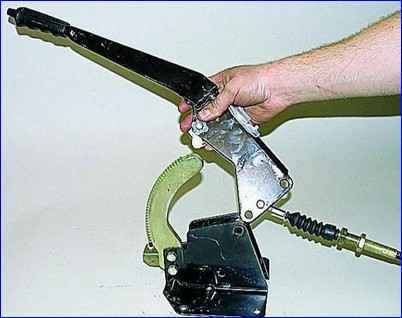
Retract the lever
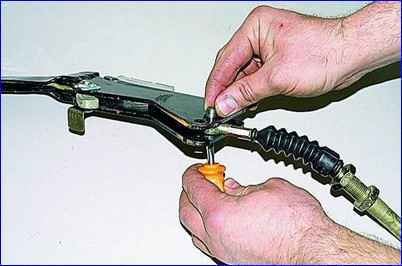
Remove the cable axis from the lever
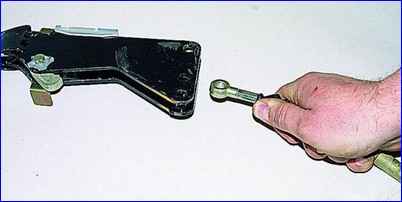
Remove the cable itself
Assemble the mechanism in the reverse order, lubricating the lever and cable axles with any grease. After installation, we adjust the drive.
Replacing parking brake cables
If necessary (corrosion, damage), we replace the parking brake cables for what:
- - remove the rear wheels;
- - remove the brake drums and pads (see Repair of rear wheel brakes of GAZ-2705).
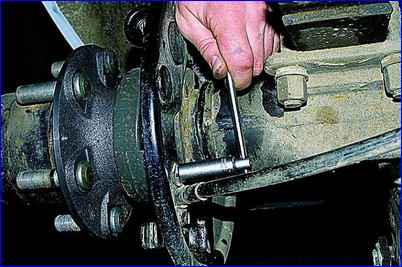
Using a 12mm socket, unscrew the two bolts securing the cable to the brake shield.
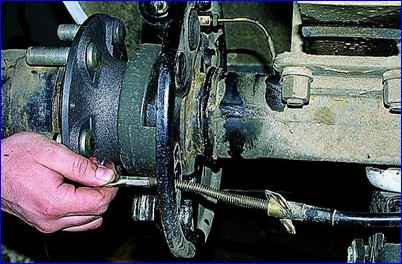
Remove the cable from the hole in the shield.
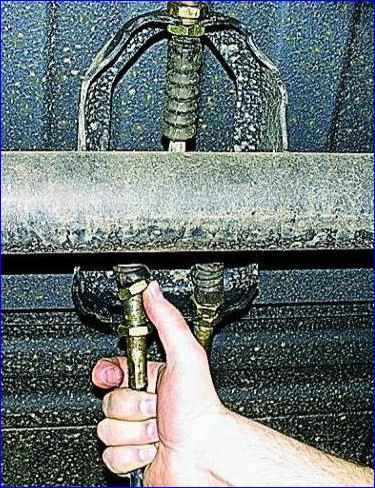
Using two 22mm wrenches, loosen the tightening of the adjusting nuts of the cable end.
Unscrew the outer nut from the threaded part of the tip. We remove the cable from the slot in the bracket.
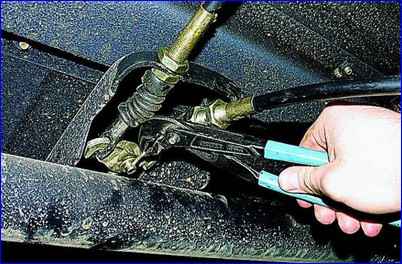
Use pliers to unscrew the equalizer axis
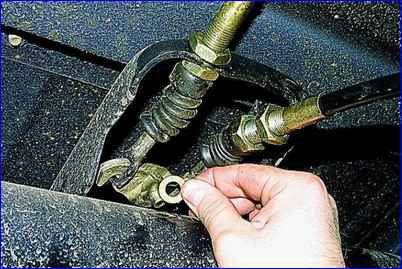
Remove the washer
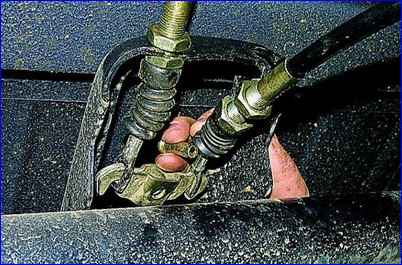
Remove the axle
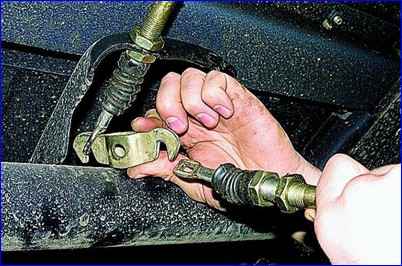
Having lowered the equalizer down, remove the cable from it. Similarly, disconnect the second cable
Install the cables in the reverse order, and then adjust the drive.
Adjusting the parking brake drive
Lower the parking brake lever to its lowest position.
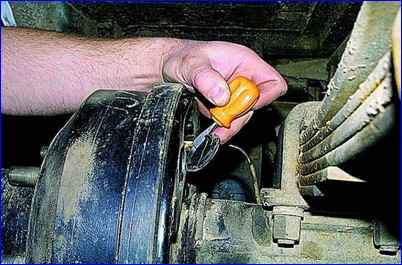
Use a screwdriver to pry up and remove the two plastic plugs of the brake shield (the wheels have been removed for clarity).
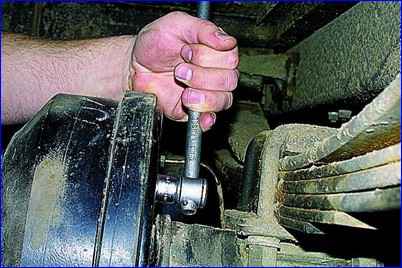
Using a “17” socket, loosen the brake eccentric nut by 1-2 turns.
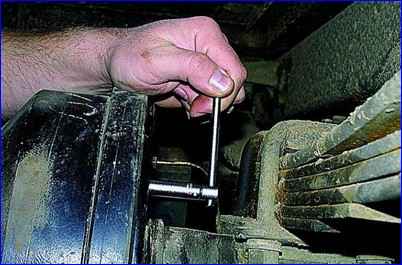
Using a long “9” socket or a special tubular wrench, turn the eccentric bolt until resistance to rotation is felt, which is caused by the decompression of the pads.
The start of movement of the blocks can also be determined through the inspection windows in the panel.
Using a “17” socket, tighten the eccentric nut to a torque of 2.4–3.5 kgf.m. At the same time, keep the bolt from turning with the “9” head.
We similarly adjust the brake mechanism on the other side of the car and install plastic plugs in the brake shields.
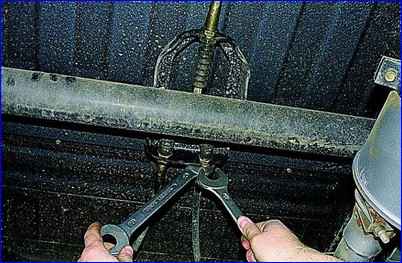
We eliminate the backlash between the tips of the cables and the depressions on the equalizer, for which: with two “24” wrenches, we loosen the tightening of the nuts securing the cable sheath and, by moving the nuts along the threaded part of the sheath, we achieve elimination of the backlash between the tip of the cable and the VPadina on the equalizer.
We similarly eliminate the play at the other cable end.
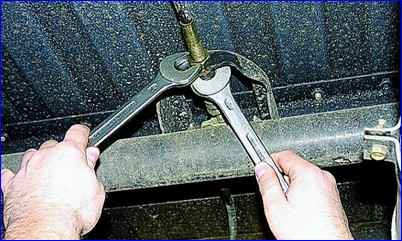
Tighten the locknuts of both cables. In this case, the leveler bar must be perpendicular to the longitudinal axis of the car.
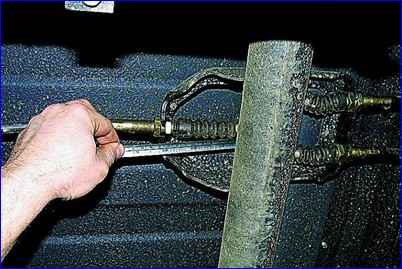
Use a ruler or tape measure to measure the distance between the equalizer and the front wall of the bracket. It should be between 144–150 mm.
If necessary, adjust the position of the central cable in the same way as adjusting the rear cables.
If after this there is play between the tips of the rear cables and the equalizer, repeat the adjustment described above.
When the drive is correctly adjusted, the parking brake lever should not move more than 15 sector teeth (clicks).


