To do the job we will need: a can of carburetor cleaning fluid; a suitable 0.5 meter hose; a receiver sealing gasket; a 13 mm socket and open-end wrench; a 10 mm wrench; a flat and Phillips screwdriver; wires with tips for connecting to the injector
We carry out the work on a cold engine.
We relieve pressure in the fuel system, article - "Reducing fuel pressure Niva Chevrolet".
We disconnect the negative terminal of the battery with a 10 key.
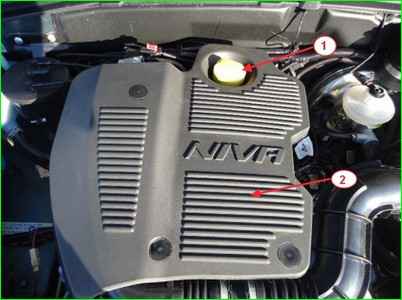
Unscrew the oil filler cap and remove the upper engine protection, install the oil filler cap in place, Figure 1.
If you do not need to flush the throttle assembly, it is better not to remove the throttle assembly so as not to replace the gasket under the throttle assembly.
In a car equipped with a throttle assembly with a cable drive throttle valve:
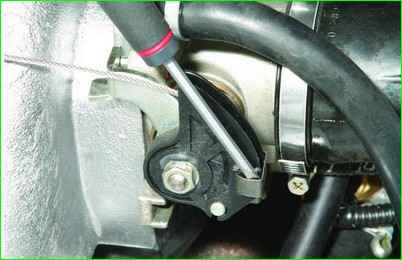
- using a screwdriver, disconnect the cable from the throttle drive sector, Figure 2.
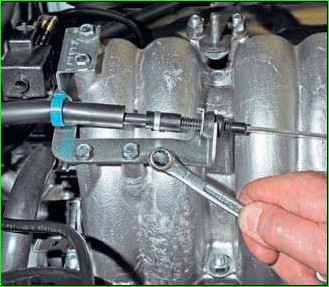
- using a 10 key, unscrew the two bolts securing the cable bracket to the receiver, Figure 3.
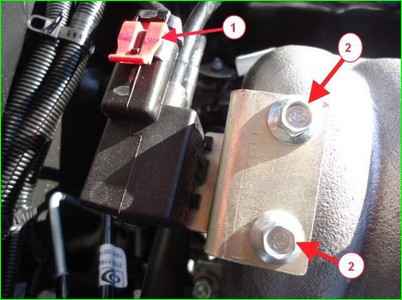
- pressing the lock of the engine management system wiring harness connector, disconnect the block from the adsorber purge valve, use a 10 mm open-end wrench to unscrew the two bolts securing the adsorber purge valve bracket, Figure 4;
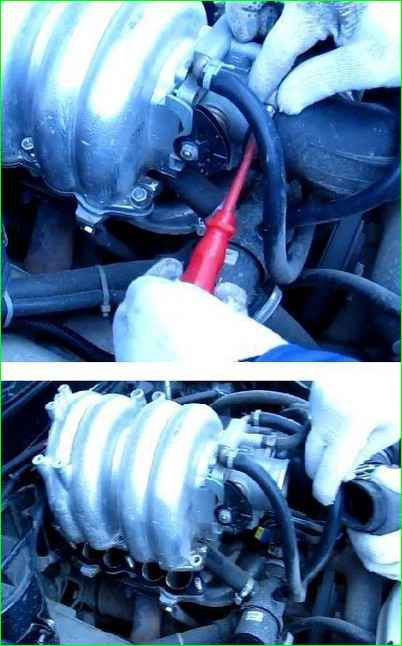
Using a screwdriver, loosen the clamp of the air supply hose to the throttle assembly and move it away hose aside, figure 5.
For a car equipped with a throttle assembly with an electronic throttle actuator:
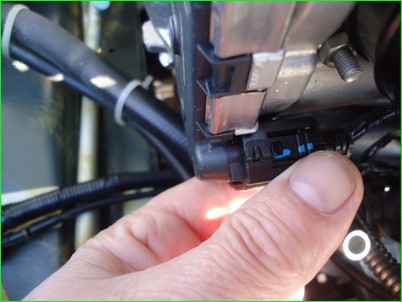
Disconnect the wiring harness connector from the throttle assembly, figure 6.
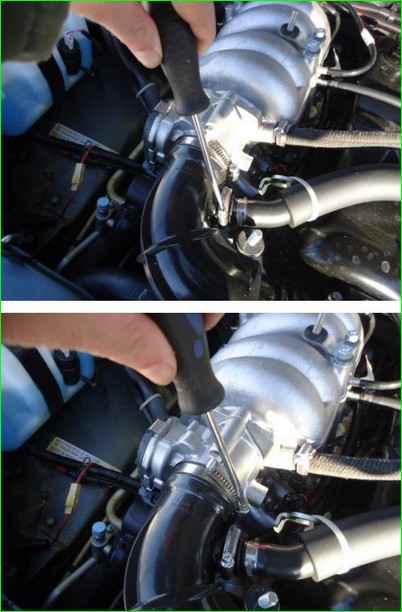
Using a screwdriver, loosen the crankcase ventilation gas supply hose and loosen the air supply clamp to the throttle assembly.
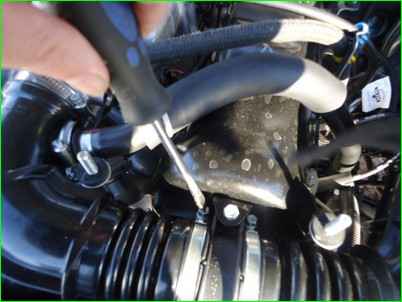
Loosen the right clamp of air supply to the throttle assembly and move the hose to the side.
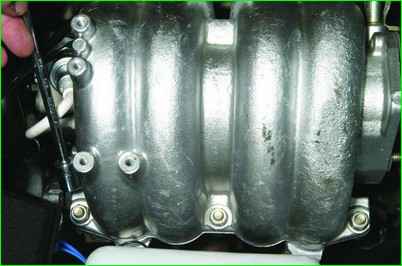
Using a 13 head, unscrew the five nuts securing the receiver to the intake pipe, Figure 9.
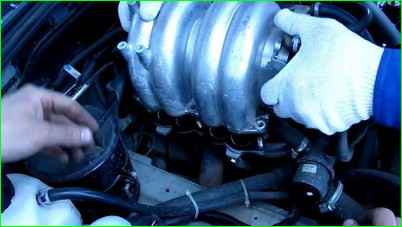
Remove the receiver from the studs and move it to the side, figure 10.
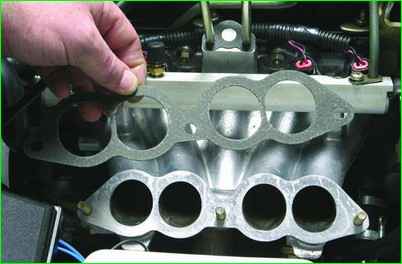
Removing the receiver gasket, Figure 11.
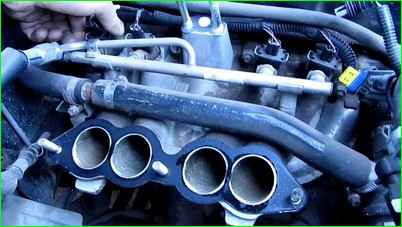
Squeezing the spring clip of the wiring harness connector, disconnect the connector from the injector connector, Figure 12.
Similarly, disconnect the wiring harness connectors from the other injectors and move the wiring harness away from the ramp.
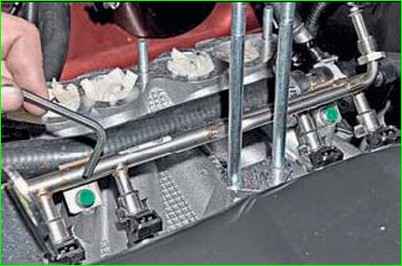
Using a 5 mm Allen key, unscrew the two screws securing the ramp to the intake manifold. pipe.
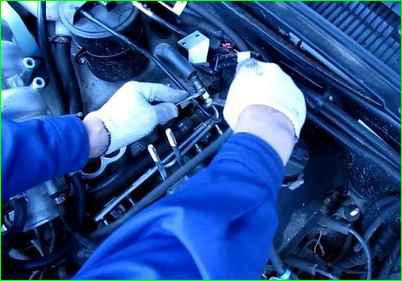
Using a 17 mm wrench, unscrew the fuel rail tube fitting, holding the same wrench by the hexagon on the upper end of the fuel supply hose to the fuel rail, Figure 14.
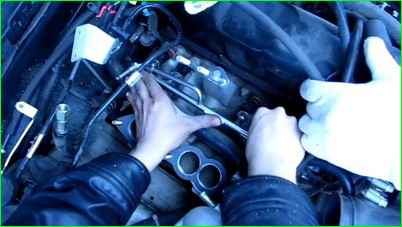
Pull the ramp along the axes of the injectors and, overcoming the resistance of the rubber sealing rings of the injectors, remove all four injectors from the holes of the intake pipe (Fig. 15).
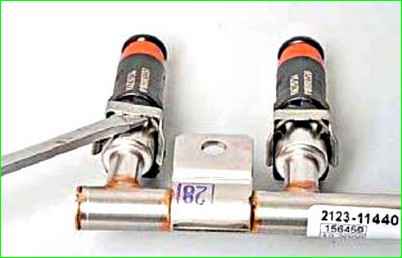
To remove the injector, use a screwdriver to move the injector retainer and remove it.
To more easily remove the injector from the ramp, you need to spray the joint of the injector with penetrating lubricant WD-40.
Wobbling the injector, remove it from the ramp.
Pry it off with a screwdriver with a thin blade, remove the sealing rings from the injector body and sprayer.
The injector sealing rings are the same.
Similarly, dismantle the other injectors.
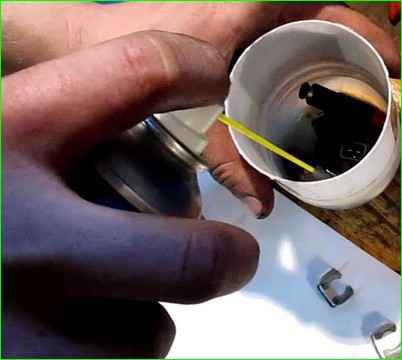
Place the injectors in a suitable container and thoroughly wash the outer parts of the injectors from a can for washing the carburetor and injectors (Fig. 17).
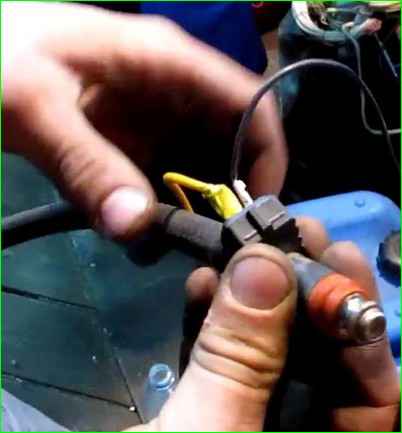
Connect the wires with tips and a suitable 0.5 meter long hose to the injector (Fig. 18).
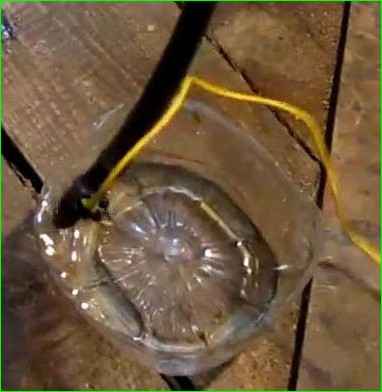
Pour in the flushing liquid through the funnel connected to the hose.
Connect the hose with a gun with compressed air to the hose and, having connected the ends of the wires to the battery, clean the injector sprayers (Fig. 19).
Monitor the quality of the injector spray. If the spray is poor or the nozzle "pours", then the nozzle needs to be replaced.
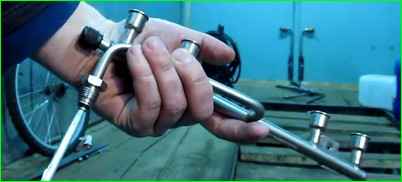
Flush and blow out all the holes in the ramp (Fig. 20).
Installation
Install all the parts in the reverse order.
Replace the sealing rings, apply a thin layer of engine oil to them during installation.
Install a new gasket under receiver.
Tightening torque of the ramp mounting screws is 9–13 Nm, and the ramp tube fitting is 20–34 Nm


