Removing the front wheel drives
We carry out the work on an inspection ditch or overpass.
Drain the oil from the gearbox.

Unscrew the screws securing the decorative caps of the front wheels and remove the caps

Use a screwdriver to pry off the front hub caps
The caps have rubber sealing rings. Don't lose them

Unlock the hub nuts by straightening the bent flanges of the nuts.
Using a 30 mm socket wrench, loosen the tightening of the wheel mounting bolts and hub nuts
The hub nuts are tightened with a high torque, you need to use a piece of pipe as a lever
When loosening and tightening the hub nuts, the car must be on the ground.
The hub nuts must be installed new
We brake the car with the parking brake, put stop blocks under the rear wheels and lift the front of the car, installing reliable stops
We remove the front wheels
After that, we finally unscrew the hub nuts and remove the thrust washers under them
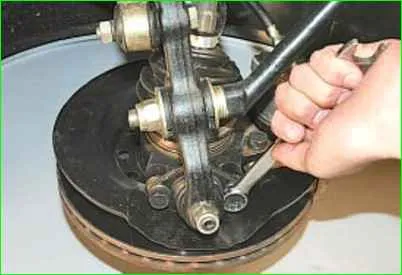
We disconnect the steering knuckles from the suspension arms, unscrewing two ball joint mounting bolts on each side with a 17 key
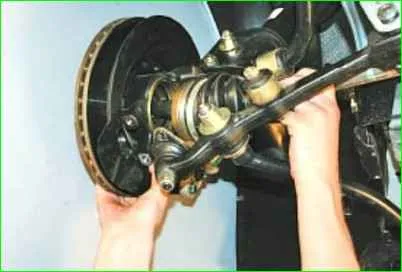
Moving the shock strut outward, we remove the splined tailpiece of the inner joint housing of the left drive from the wheel hub
Also disconnect the right drive from the hub
The steering rods prevent the shock struts from moving.
To eliminate their influence, when disconnecting the left drive from the hub, turn the steering wheel all the way to the right, and when disconnecting the right drive, turn it all the way to the left.
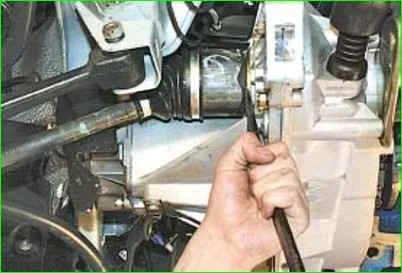
Using a mounting blade, press out the inner joint tailpiece from the differential axle shaft gear
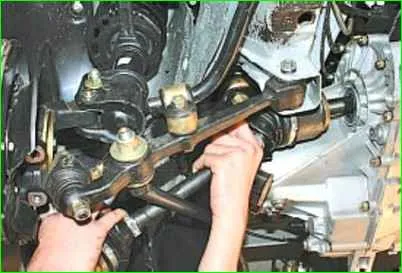
And remove the left drive
If it is necessary to remove both drive, then after disconnecting one of them, you need to insert a technological plug or the old housing of the inner joint.
After this, you can remove the second drive.
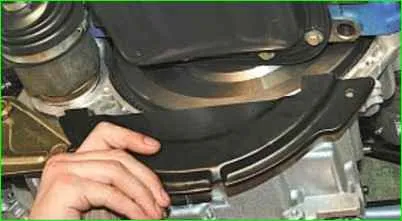
Before disconnecting the right drive from the gearbox, you need to remove the front cover of the clutch housing, so as not to crush it with a mounting blade when removing the drive.
Installing the front wheel drives
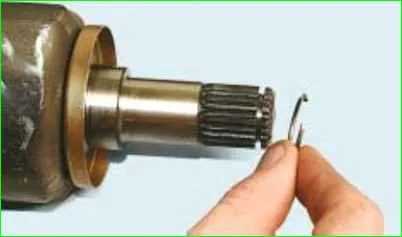
Install a new ring in the groove of the inner joint housing tailstock.
Reusing retaining rings is not allowed.
Insert the splined tailstock of the outer joint housing into the hole in the wheel hub, install the washer and tighten (without tightening) the hub bearing nut.
Then insert the tailstock of the inner joint housing through the hole in the drive oil seal and, turning the shaft, align the splines of the tailstock with the splines of the drive gear.
Pulling the suspension arm down, with a sharp movement of the strut with the steering knuckle towards the gearbox, send the drive to places.
By pulling the inner hinge housing towards you or by prying it with a mounting blade, we make sure that the housing tail is fixed in the drive gear.
We carry out further assembly in the reverse order linity.
Tightening torques of the main threaded connections when replacing drives:
- - hub bearing nut 225.6–247.2 N⋅m (23–25.2 kgf∙m);
- - ball joint mounting bolt to steering knuckle 49–61.74 N⋅m (5.0–6.3 kgf∙m);
- - wheel mounting bolt 65.2–92.6 N⋅m (6.65–9.45 kgf∙m).
Removing the outer joint
We perform the work when replacing the joint or its boot.
Remove the front wheel drive.
Clean the joint from the outside and clamp the shaft in a vice with with soft metal jaw pads.
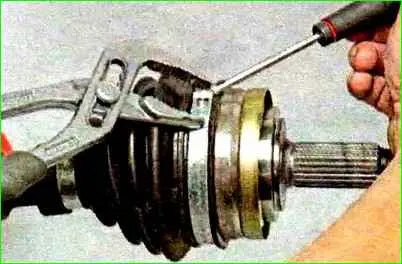
Squeezing the large clamp by the protrusions with sliding pliers and prying up the end of the clamp with a screwdriver.
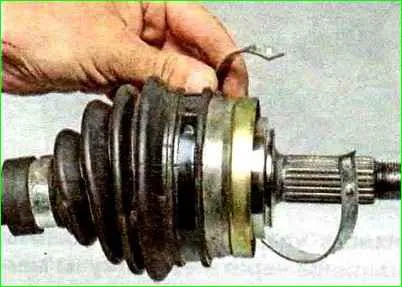
Disconnect and remove the clamp
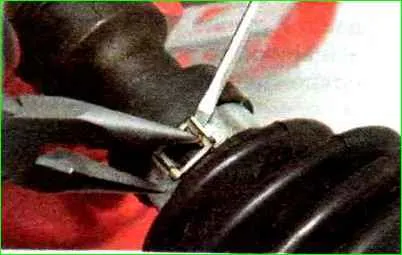
Bending back the ends of the small clamp with a screwdriver, squeeze them with round-nose pliers and pry the lock with a screwdriver.
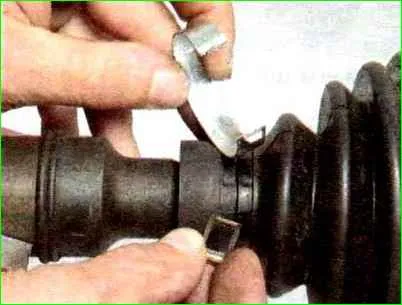
Remove the lock and clamp.
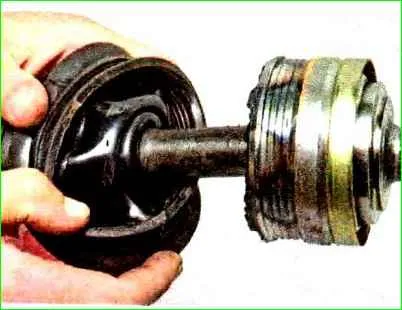
Slide the cover off the hinge housing and turn the cover inside out.
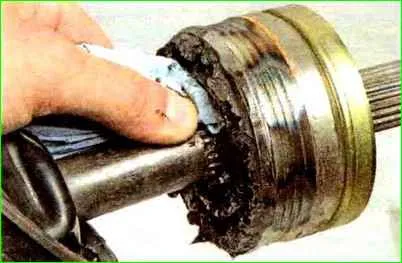
Use a rag to remove grease from the end of the joint.
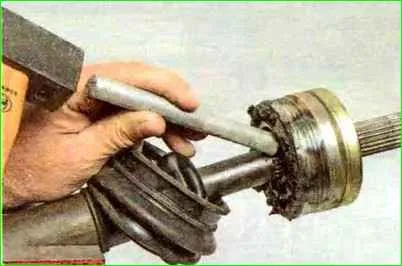
By striking the end of the joint cage with a soft metal punch, knock off the joint.
The punch should not transfer force to the separator and balls to avoid damaging them.
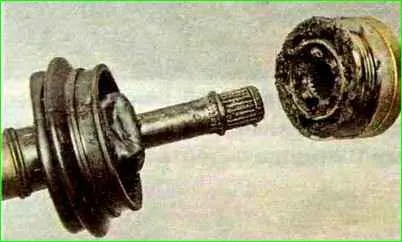
Removing the joint.
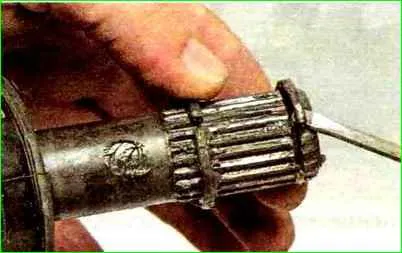
Pry off the retaining ring with a screwdriver
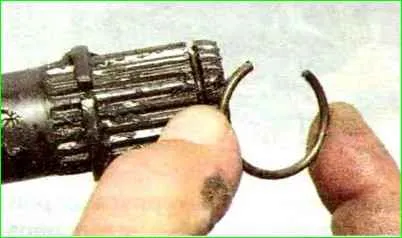
Remove the retaining ring.
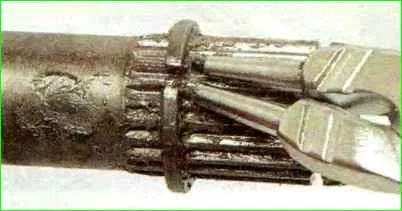
Remove the thrust ring, which limits the movement of the joint to the middle of the shaft, only if it is being replaced.
Unclamp the thrust ring with pliers and remove it.
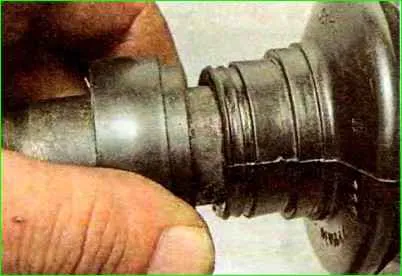
Slide the valve cover along the shaft.
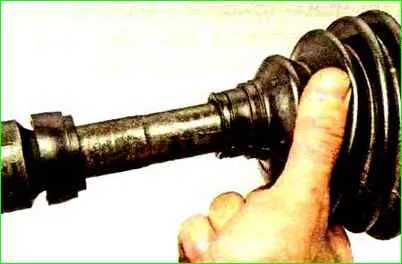
Remove the cover hinge.
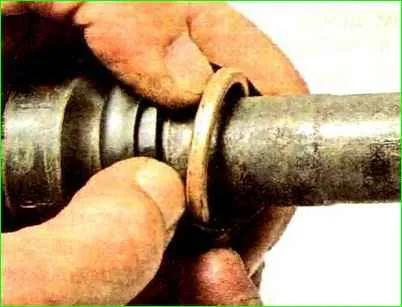
To replace the valve housing.
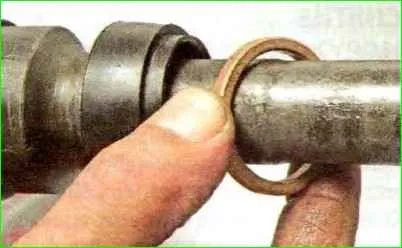
Unscrew the housing and take out the ring from it. valve
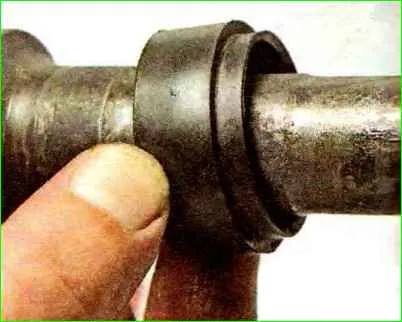
Remove the valve ring from the shaft
Remove the valve cover
Secure the hinge cover with new clamps.
Removing the inner hinge
We perform the work when replacing the hinge or its cover.
Remove the front wheel drive.
Clean the hinge from the outside and clamp the shaft in a vice with soft pads.
After removing the clamps, remove the cover from the inner hinge housing and slide the cover along the shaft.
Slide the hinge (outward) along the shaft until it stops.
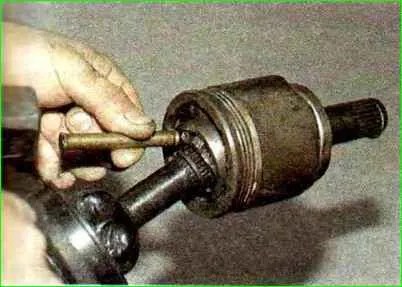
By striking the end of the joint cage with a soft metal drift, knock off the joint.
The drift should not transfer force to the separator and balls to avoid damaging them.
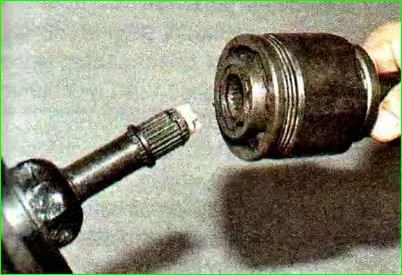
Removing the joint.
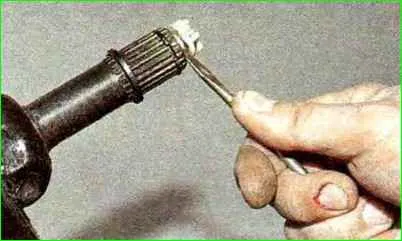
Pry off the plastic stop with a screwdriver
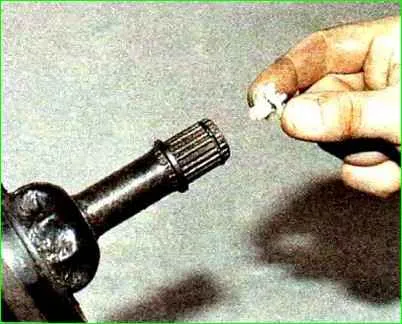
Remove the plastic stop.
Pry off the retaining ring from the groove with a screwdriver. shaft.
Remove the boot, casing and valve ring.
To remove old grease from the joint when replacing the boot, mark the relative positions of the housing, sleeve and joint separator so that they take their original places when assembling the drive.
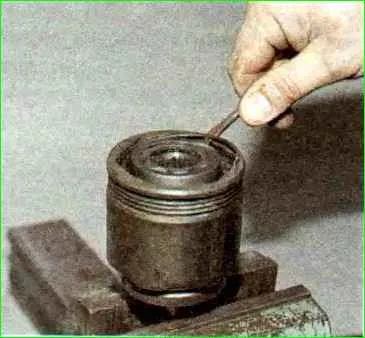
Use a screwdriver to pry off the inner joint retainer
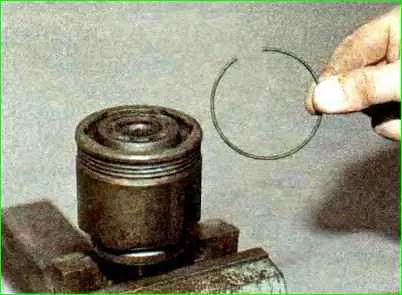
Removing the retainer
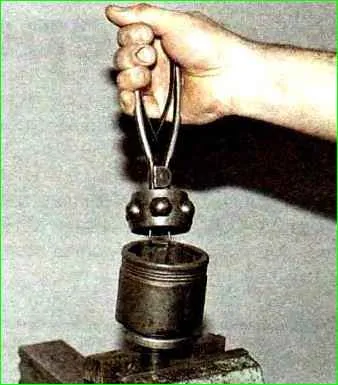
Removing the separator with the cage and balls.
Further disassembly of the joint is not recommended. We remove the old grease from the joint and wash it in kerosene.
We wipe the joint with a rag and blow it with compressed air. Inspect the balls, separator, cage and the inner cavity of the housing.
Scuffs, dents, cracks, traces of corrosion are not allowed, such a hinge is replaced.
Put 80 g of SHRUS-4 grease into the cavity of the hinge (new or cleaned old) and insert the separator with the cage and balls.
Install the retainer in the hinge housing.
Clean the shaft from old grease and apply a thin layer of new grease to it.
Put the casing and valve ring, hinge boot on the shaft.
Put a new retaining ring on the shaft and press the hinge onto the shaft through a wooden block.
Make sure that the hinge is securely fixed with the retaining ring.
Put the boot on the hinge housing, install the ring and valve boot on the boot, and secure cover with clamps.


