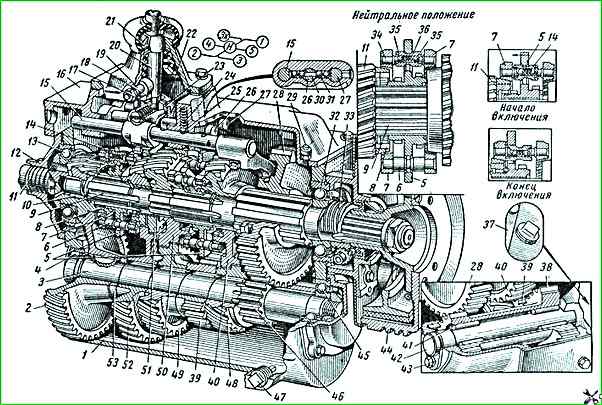
Removing the ZIL-5301 gearbox in field conditions
Before removing the gearbox, it is advisable to drive into an inspection pit, if this is not possible, then you will have to lift the front of the car one by one and lift it as much as possible on stumps or bricks so that you can dismantle and install the gearbox.
Unscrew the four bolts securing the driver's seat and remove it from the cabin so that it does not interfere with dismantling and assembling the gearbox.
In the cabin, unscrew the lower hatch, bolts for 6.
Unscrew the gear shift lever (nut for 12).
Disconnect the wires connecting the reverse speed sensor.
Unscrew the union nut of the speedometer drive and tie the speedometer cable in the cabin so that it does not interfere.
Disconnect the spring on the PGU.
Use pliers to remove the cotter pin and remove the pin securing the lever fork with the PGU pusher.
Remove the PGU boot and remove the pusher.
Unscrew the upper PGU mounting bolt.
Unscrew the two bolts securing the fork flange.
Unscrew the three nuts securing the gearbox to the clutch housing, only loosen the fourth upper nut (leave it for safety).
Unscrew the upper gearbox cover (7 x 10 bolts) and the breather, and remove it.
Work from below:
Drain the oil from the gearbox. If the work is carried out in winter and the box has already cooled down during this time, it is advisable to warm up the box before draining the oil).
Unscrew the bolts securing the clutch housing cover and remove the cover.
Unscrew the four bolts securing the propeller shaft to the gearbox.
(if a power take-off box is installed, then unscrew the propeller shaft from the power take-off box).
Unscrew the lower bolt securing the PGU and carefully place it along with the PGU hoses on the left spring, you can tie it with wire.
Unscrew the three bolts securing the PGU bracket (or as they say, the PGU plate and also the PGU bracket).
If there is a power take-off mechanism, then unscrew its 6 bolts by 10.
Use a screwdriver or a suitable pry bar to pry up the clutch fork sleeve and slightly remove it from the clutch housing so that the necessary gap so that the fork does not interfere when removing the gearbox.
In principle, our gearbox is already ready for removal.
Take a 2 m or 2.5 meter pipe, if there is no pipe, then find a block or log that can withstand the weight of the gearbox.
Open the left or right door of the cabin and place it on top of the hatch in the cabin.
Tie the gearbox with a belt or cable and wind it onto the pipe or log with a margin, taking into account how much we will lower the gearbox.
Next, work is carried out with an assistant.
The assistant holds or insures from above.
Unscrew the fourth nut securing the gearbox to the clutch housing.
Using the assembly tool, slowly move the gearbox out of the clutch housing, paying attention to the release bearing so that it does not hooked onto the release fork.
We take out the gearbox and put it on a previously prepared platform.
")

")
")
")
")
")
")
")