We remove the heater elements for inspection or replacement.
In the previous article, we looked at removing the heater control unit
In this article, we will look at removing the fan, additional fan resistor and removing the heater radiator.
You will need tools: Torx keys T-20, T-30, T-50, socket head for 13, plastic mounting blade, pliers
Removing the heater fan
To remove the fan, remove the instrument panel (article - How to remove the Lada Largus instrument panel)
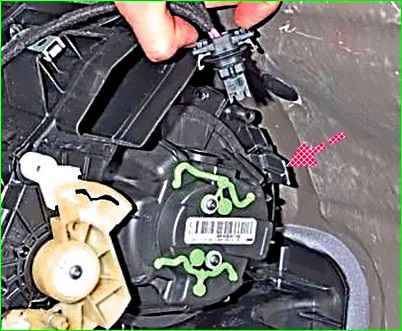
Press the two clamps of the wire block, disconnect the block from the fan motor connector.
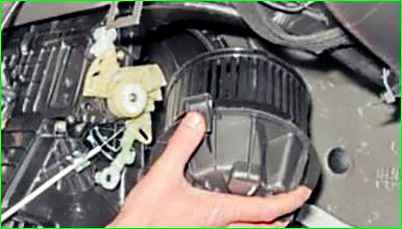
Press the plastic clamp (shown by the arrow), turn the heater fan clockwise until it stops and remove the fan from the housing heater.
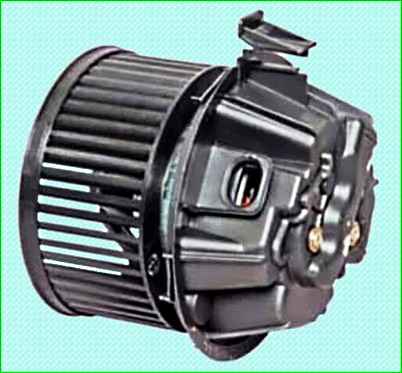
Install the heater fan in the reverse order
Removing the additional heater fan resistor
The additional resistor allows the fan to turn on at four different speeds.
Remove the additional resistor for replacement.
Disconnect the negative terminal from the battery
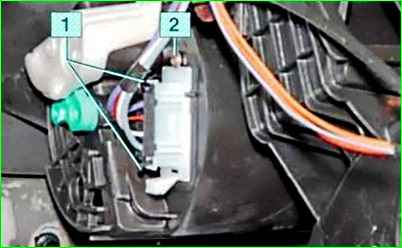
Pressing the clamps 1 of the wiring harness connector, disconnect the connector from the additional heater fan resistor. Using a Torx T-20 key, unscrew screw 2 securing the resistor.
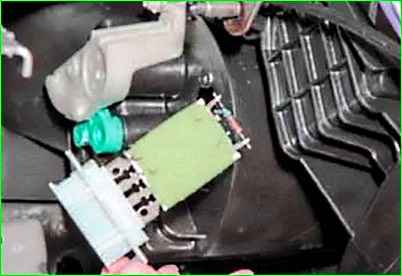
Moving the resistor up, remove it from the heater housing.
Install the additional heater fan resistor in the reverse order.
Removing the heater radiator
If a coolant leak is detected through the heater radiator, replace it.
Prepare the car. Drain the coolant.
Remove the instrument cluster (article – How to remove the instrument cluster of the Lada Largus car)
Remove the floor tunnel trim
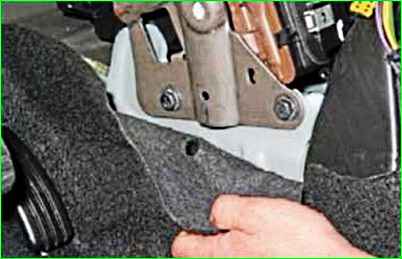
On the left side of the console, remove the clip securing the carpet to the crossbar bracket and bend back the edge of the carpet.

Using a 13 mm socket, unscrew the two bolts of the lower crossbar bracket mount (shown with the instrument panel removed)
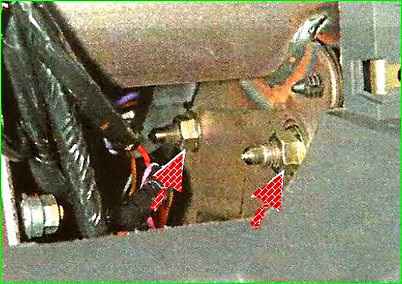
Using a 13 mm wrench through the hole in the instrument panel (under the instrument cluster), unscrew the two nuts of the upper crossbar bracket mount
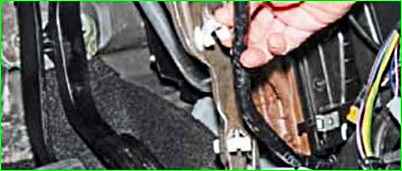
Remove the wiring harness from the holders located on the inside of the bracket and remove the crossbar bracket.
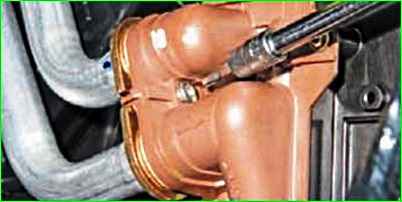
Using a Torx T-20 key, unscrew the screw securing the heater radiator tube pressure plate
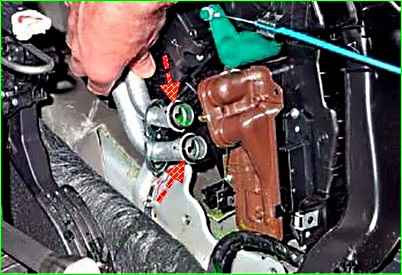
Removing the tubes from the holes in the heater radiator tank
Residual coolant may leak from the pipes and radiator. Take measures to prevent it from contaminating the floor mat.
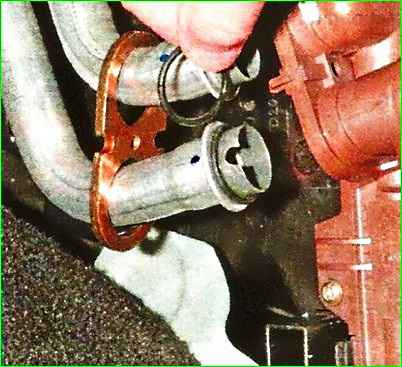
The ends of the tubes are fitted with rubber sealing rings
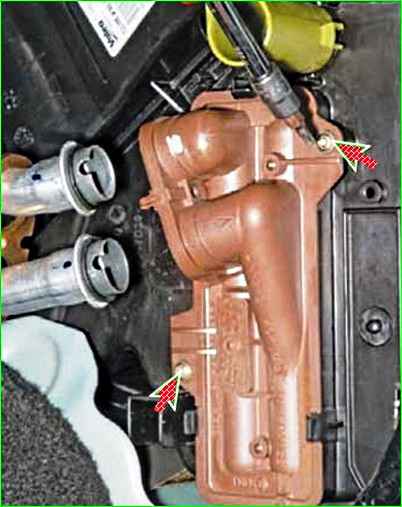
With a Torx key T-20 we unscrew the radiator mounting screw
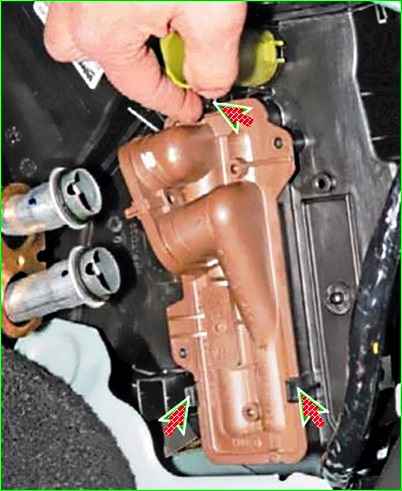
We press three latches
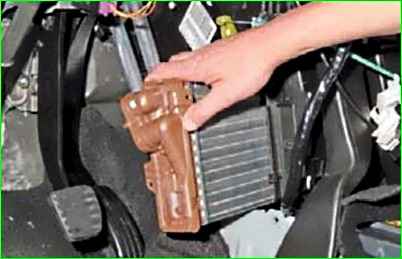
We take the radiator out of the housing heater.
Before installing the radiator, install new rubber sealing rings on the ends of the tubes.
Install the radiator in the reverse order.


