We check the oil level in the oil pan with the engine not running on a horizontal platform. If the engine was running before checking, then stop it
Wait at least three minutes (the oil should have time to drain into the engine sump) and remove the oil level indicator (dipstick).
Wipe the pointer with a clean rag and insert it into the fitting of the cylinder block until it stops.
Remove the indicator again and use the edge of the oil film on it to determine the oil level in the engine sump.
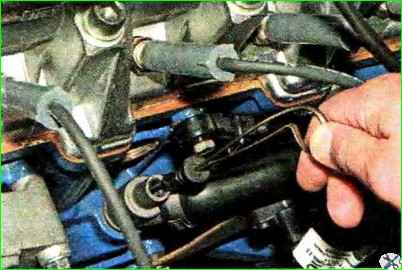
The edge of the oil film should be between the “MIN and MAX” marks.
If necessary, add oil to the engine crankcase.
We wait at least three minutes so that the added portion of oil has time to drain into the pan, and check the level again. We install the level indicator in place.
When adding oil, do not allow the level to rise above the “MAX” mark.
Otherwise, oil will enter the combustion chambers of the cylinders through the crankcase ventilation system, and oil combustion products may damage the exhaust gas catalytic converter.
Changing the oil and oil filter
The first oil change on a new or overhauled engine should be done after 2500-3500 km, then every 15,000 km.
The volume of the lubrication system is 3.5 liters.
The operation should be performed on a warm engine immediately after the trip, until the oil has cooled down.
We install the car on an inspection ditch or overpass.
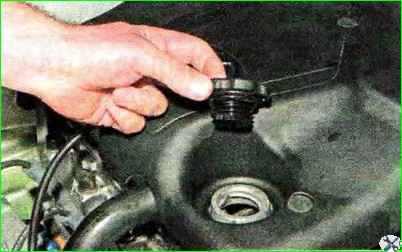
Unscrew the oil filler cap
From the bottom of the car, we clean the oil pan from dirt around the drain plug.
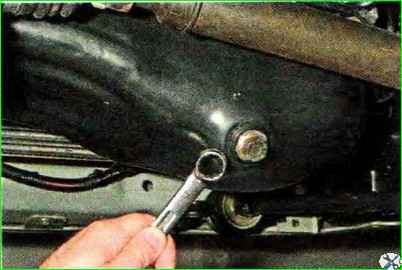
Use a socket wrench or a 17mm socket to loosen the drain plug.
We place a wide container for waste oil with a volume of at least 4 liters under the hole and, unscrewing the plug manually, drain the oil.
Drain the oil for at least 10 minutes.
After wiping the plug, screw it in and tighten it to a torque of 35-45 Nm. We remove oil leaks from the engine oil pan.
Place a container under the oil filter.
To avoid damage, disconnect the wiring block from the crankshaft position sensor.
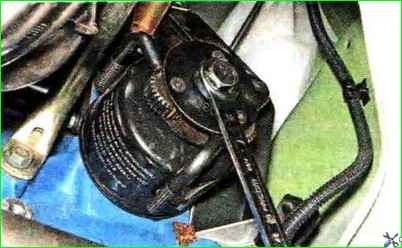
Unscrew (counterclockwise) the oil filter. If this cannot be done manually, loosen the filter with a puller.
If there is no puller, we pierce the filter housing with a screwdriver (closer to the bottom, so as not to damage the engine fitting) and unscrew the filter, using the screwdriver as a lever.
Clean the filter seat on the cylinder block from dirt and oil drips.
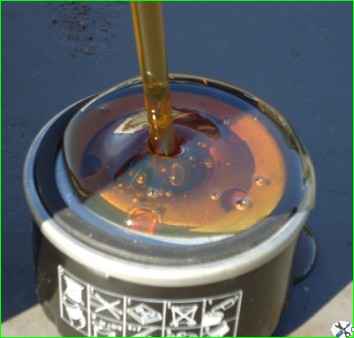
Fill the filter with fresh engine oil to about half its volume
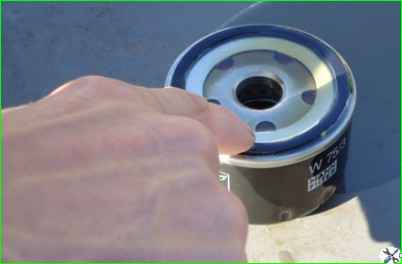
- and apply engine oil to the filter sealing ring.
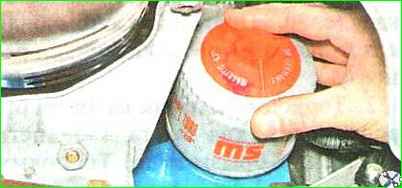
Wrap the oil filter by hand until the sealing ring touches the cylinder block.
Turn the filter another 3/4 turn to seal the connection.
Pour 3 liters of oil into the engine through the oil filler neck
Turn the neck cap clockwise.
Start the engine for 1-2 minutes.
We make sure that the indicator of insufficient (emergency) oil pressure in the engine in the instrument cluster has gone out and there are no leaks from under the plug and filter.
Stop the engine, after a few minutes (so that the oil flows into the oil pan) check the oil level and bring it to normal.
If necessary tighten the oil filter and the drain plug.


