If it is necessary to remove the adsorber, you must first remove the fuel tank, as shown in the article - “Removing the tank.”
But you can remove the adsorber if you lower the tank a little on an adjustable stand
In this case, you do not need to disconnect all the tubes from the tank, and most importantly the filler pipe hose. But there will still be difficulties when dismantling the adsorber.
For greater clarity, let's consider dismantling with the fuel tank removed.
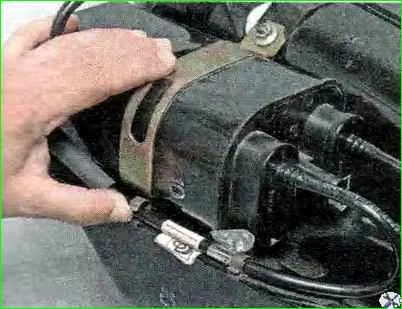
We remove the tube connecting the adsorber to the purge solenoid valve from two metal holders.
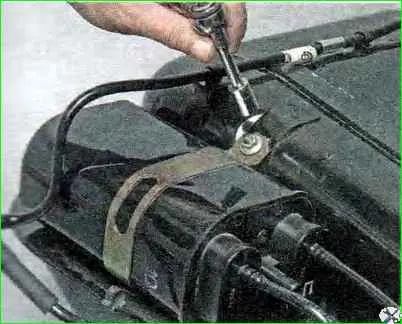
Using a 10mm socket, unscrew the nut of the canister fastening clamp and remove the clamp, removing its other end from the retainer in the tank.
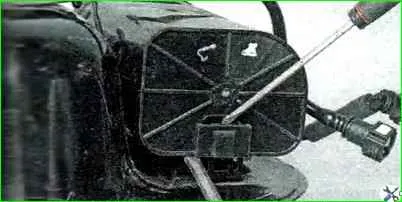
Using one screwdriver to release the bracket lock, use another screwdriver to lift the adsorber.
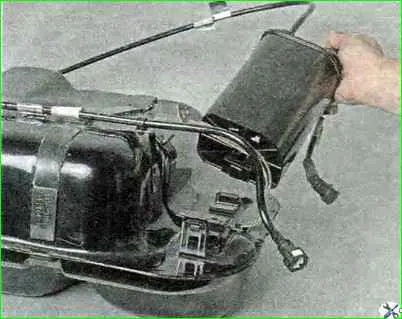
Removing the adsorber
Install the adsorber in reverse order.
Removing the separator
To make it easier to remove the separator, remove the right rear wheel.
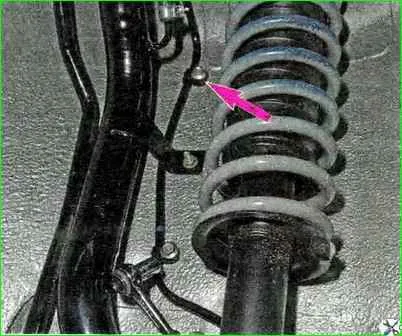
Disconnect the tip of the fuel vapor removal tube from the separator from the tube located on the tank.
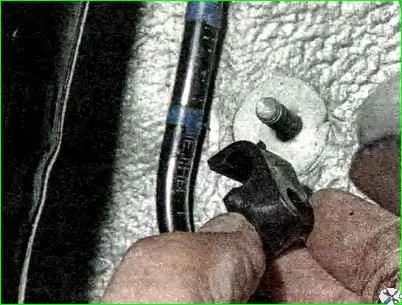
Using a 10mm socket, unscrew the two nuts securing the plastic holders of the fuel vapor removal tube from the separator to the rear wheel arch.
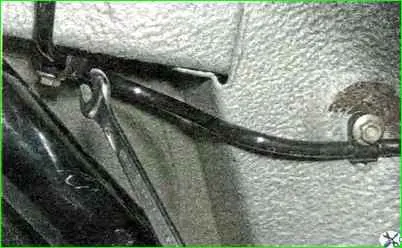
Remove the holders from the studs
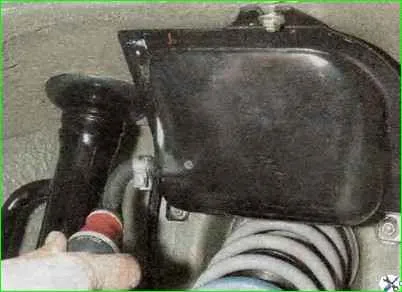
Using a 10mm wrench, unscrew the bolt and nut securing the plastic holders of the fuel vapor removal tube from the separator to the right rear side member, and remove the holders
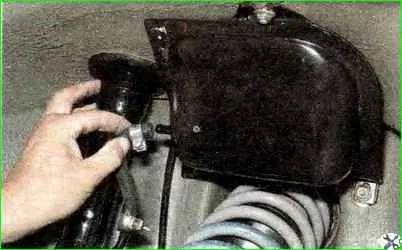
Using a Phillips screwdriver, loosen the clamp securing the fuel vapor supply hose from the fuel tank to the separator.
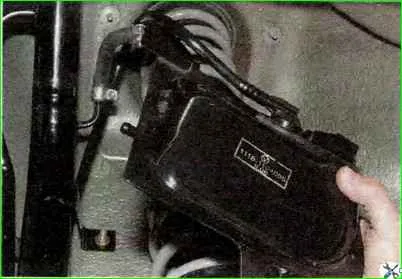
Use a 13mm wrench to unscrew the three separator mounting nuts and remove the hose from the separator fitting
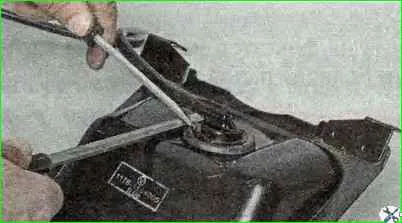
Remove the separator assembly with gravity valve and fuel vapor exhaust pipe
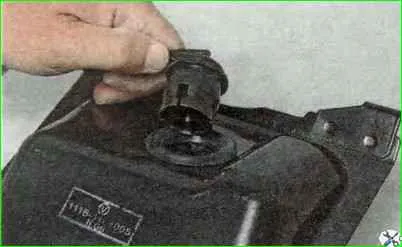
To remove the gravity valve with a tube, use a screwdriver to pry up the valve flange
Remove the valve from the separator hole
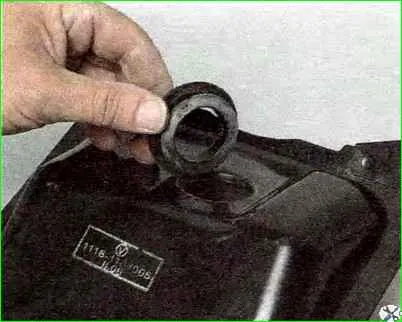
Remove the rubber o-ring
Assemble and install the separator in reverse order.
Replacing the canister purge solenoid valve
To dismantle the solenoid valve for purge the adsorber, remove the mass air flow sensor (article - "Removing the mass air flow sensor") or remove the cover of the air filter housing and move it to the side together with the air supply hose to the throttle assembly (article - "Replacing a replacement uh air filter element").
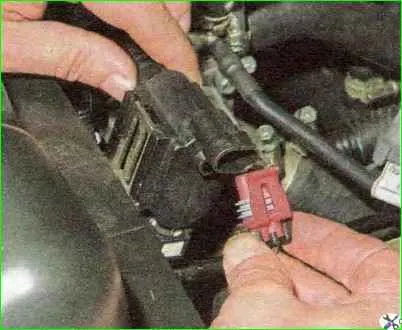
Having released the clamp on the wire block of the solenoid valve for purge the adsorber, disconnect the block from the valve.
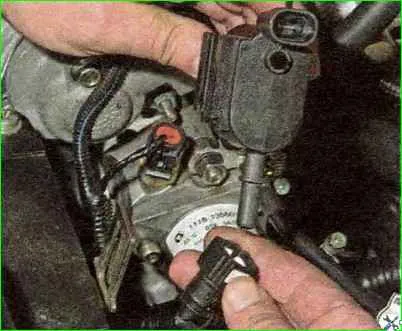
Remove the valve from the bracket on the air filter housing.
Pressing the lock of the tip of the fuel vapor supply tube, remove the tip of the tube from the valve fitting.
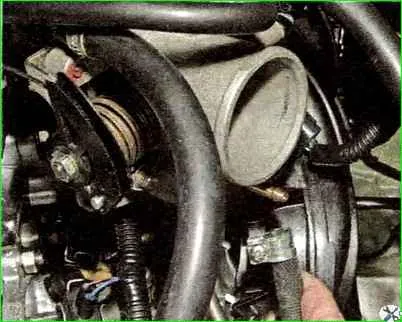
Using a Phillips screwdriver, loosen the clamp securing the fuel vapor supply hose from the valve to the throttle assembly, remove the hose from the throttle assembly fitting and remove the solenoid valve.
Install the canister purge solenoid valve in the reverse order.


