Removing the front bumper
Open and raise the hood
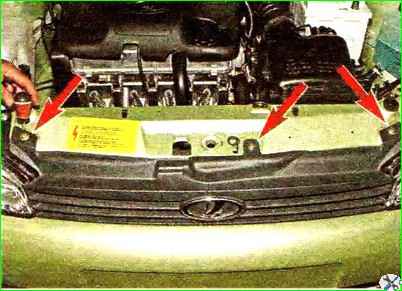
Remove the three screws securing the upper radiator trim.
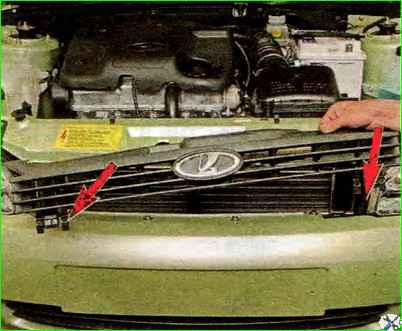
Remove the cladding by removing the two cladding latches from engagement with the brackets.
From the bottom of the car, in the right wheel arch, use a Phillips screwdriver to unscrew the three screws securing the fender liner to the front bumper.
We also unscrew the screws on the left side.
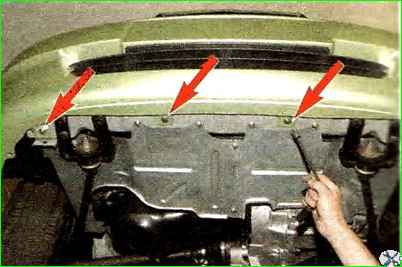
Using a 10mm socket, unscrew the three bolts securing the front bumper to the body.
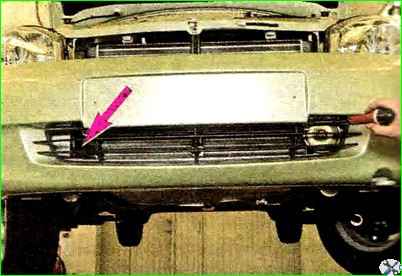
Use a Phillips screwdriver to unscrew the two screws securing the grille to the bumper
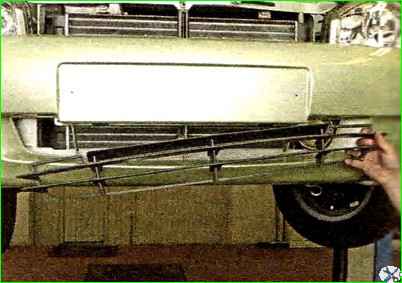
Remove the grille
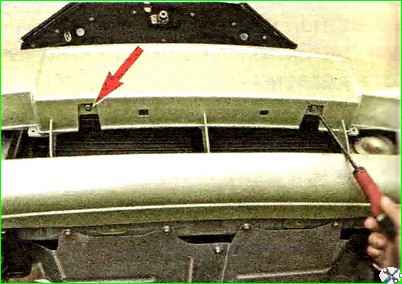
Use a screwdriver to unscrew the two screws securing the bumper to the bumper beam
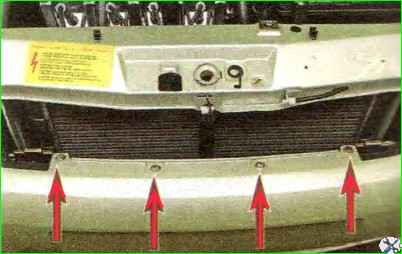
Use a 10mm wrench to unscrew the two outer bolts, and a Phillips screwdriver to unscrew the two middle self-tapping screws of the upper bumper mount
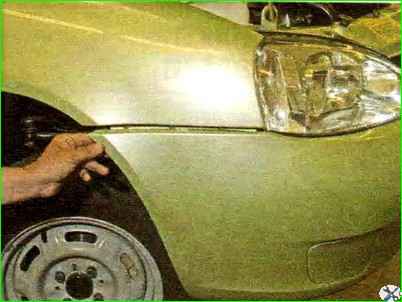
Remove the bumper side flange from the body bracket.
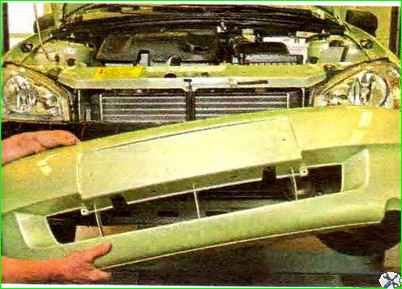
Remove the front bumper.
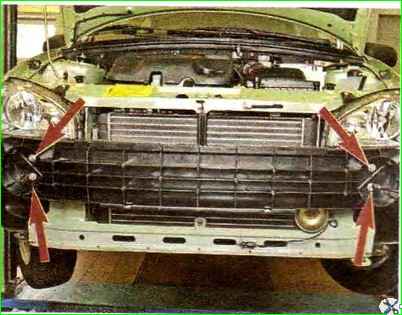
Using a 13mm socket, unscrew the four bolts securing the energy-absorbing beam of the front bumper to the body
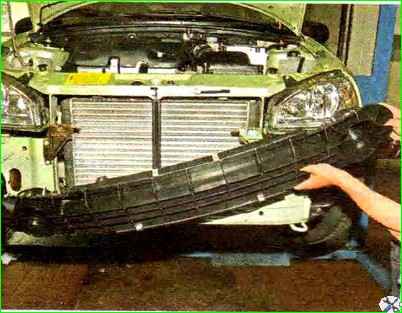
Remove the energy-absorbing beam
Install the front bumper in the reverse order, ensuring uniform gaps between the bumper and body parts.
After the bumper is secured to the body, we press the sides of the bumper against the body brackets until their flanges are fixed on the body brackets.
Replacing the rear bumper
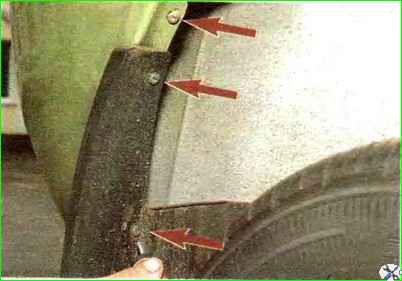
In the wheel arch of the right rear wheel, use a Phillips screwdriver to unscrew the self-tapping screw for the upper bumper-to-body fastening, as well as three self-tapping screws for fastening the rubber mudguard (the third self-tapping screw is not visible in the photo).
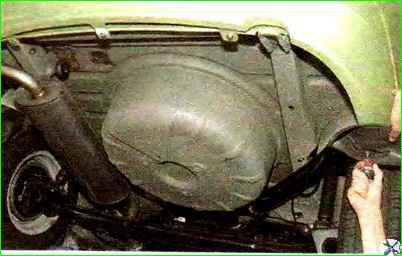
Using a Phillips screwdriver from the bottom of the car, unscrew the screw of the lower fastening of the rubber mudguard and remove the mudguard.
Remove the mudguard of the left wheel in the same way.
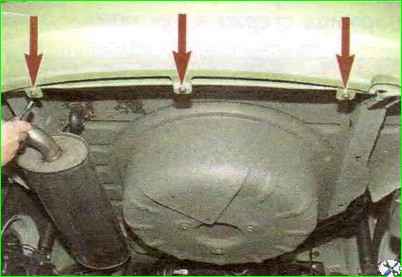
Using a 10-mm socket, unscrew the three bolts of the lower bumper-to-body mounting.
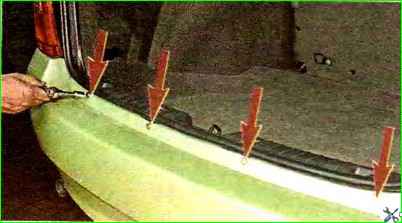
Opening the trunk lid, use a 10mm head to unscrew the four bolts of the upper bumper-to-body mounting.
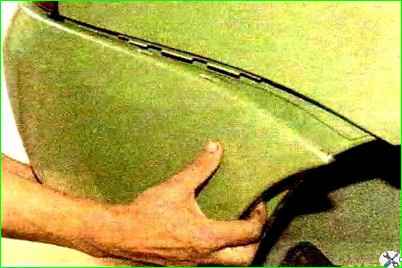
Holding the side of the bumper with both hands and applying the necessary force, remove the top of the side from the flange of the body bracket.
We perform this operation on the other side of the car.
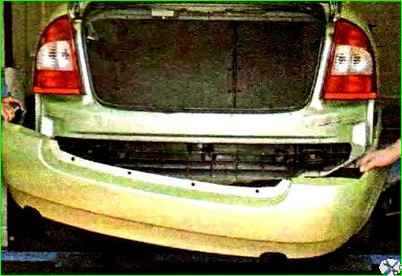
Removing the rear bumper
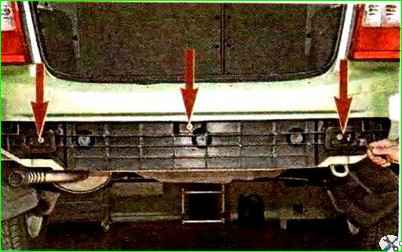
Using a 10mm socket, unscrew the three nuts securing the energy-absorbing beam of the rear bumper
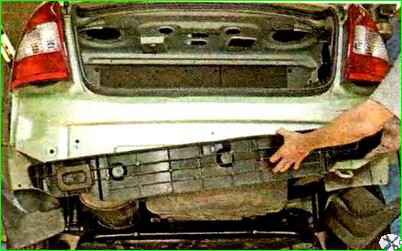
Remove the beam. Install the rear bumper in reverse order


