The fuel module is a housing made of special plastic, in which are mounted: an electric submersible fuel pump, a strainer, a fuel pressure regulator and a fuel consumption indicator sensor
The fuel module is installed in the fuel tank.
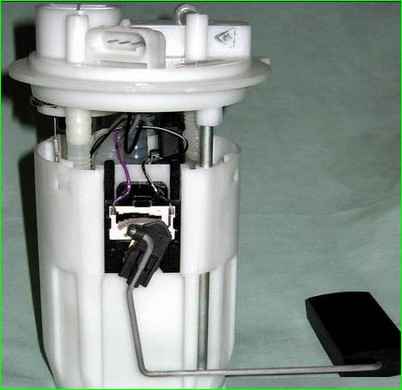
In order to remove the fuel module inside the car, lift the right rear seat cushion.
Relieve the fuel pressure.
After releasing the pressure, a small amount of fuel remains in the fuel line
Disconnect the negative terminal from the battery
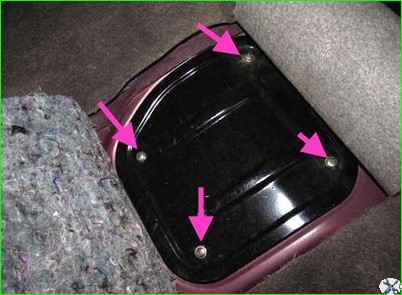
Bend the sound insulation and use a Phillips screwdriver to remove the four screws securing the hatch cover under the rear seat.
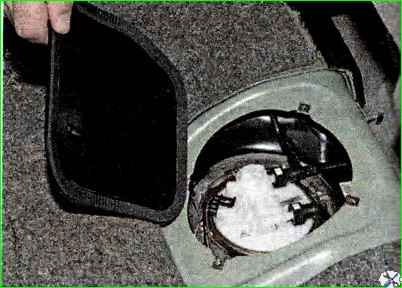
Remove the hatch cover
Remove accumulated dust and dirt from the fuel module.
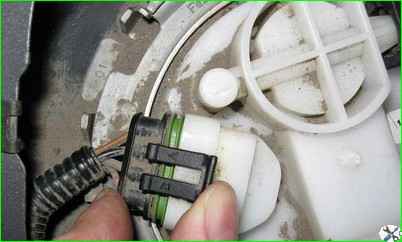
Disconnect the wire block from the fuel module
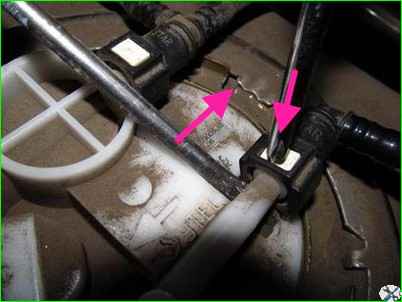
Pressing the latches, one by one disconnect the tips of the fuel pipes from the fittings of the fuel module cover (the figure shows an example using two screwdrivers)
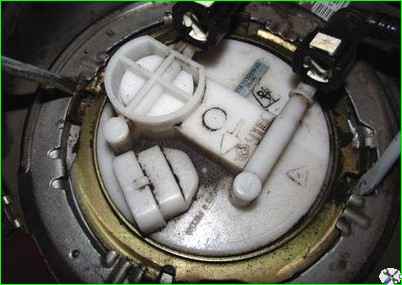
We use a screwdriver to press against the protrusion of the pressure ring, so that the blade of the screwdriver simultaneously enters the recess of the fuel tank flange.
In this case, the ring turns slightly counterclockwise.
Moving the screwdriver to other protrusions, gradually unscrew the ring.
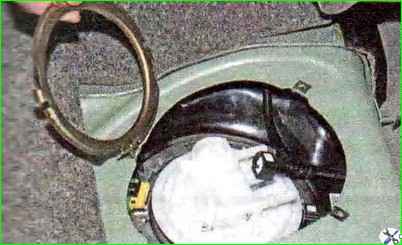
Remove the pressure ring
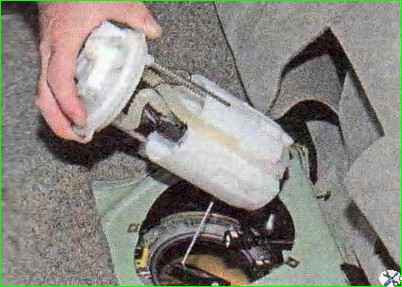
Remove the fuel module from the tank
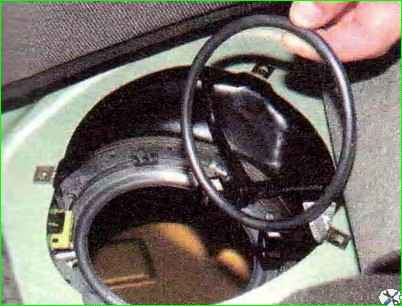
Remove the rubber gasket
Close the hole in the fuel tank to prevent foreign objects from getting into it
Disassembling the module
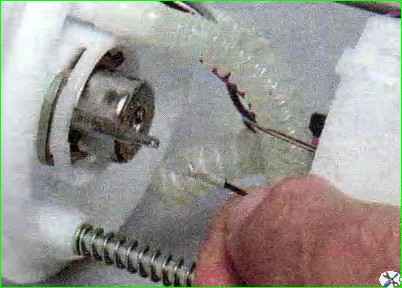
Disconnect the tip of the ground wire from the terminal on the body of the fuel pressure regulator.
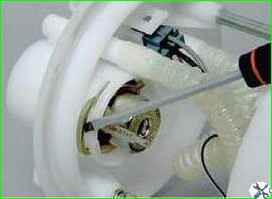
Use a screwdriver and remove the fuel pressure regulator mounting bracket
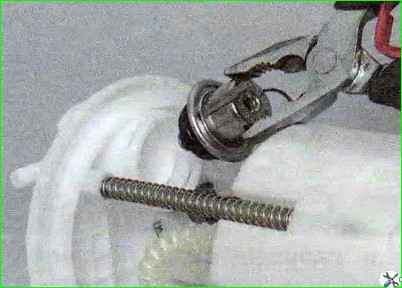
Using pliers, remove the regulator from the module cover slot.
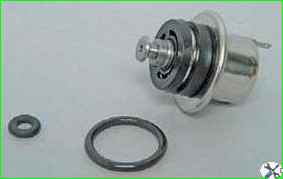
Remove the two o-rings of the regulator.
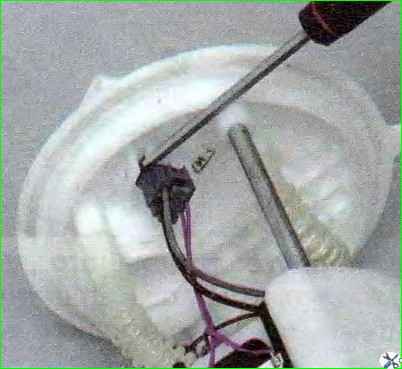
From the inside of the module cover, use a screwdriver to press out the fixing plate of the common wire block
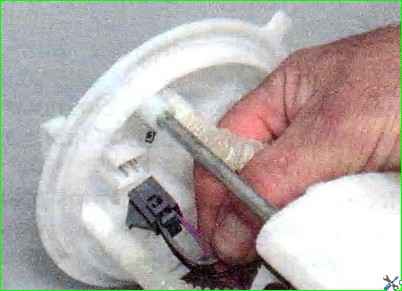
Disconnect the wire block from the cover connector
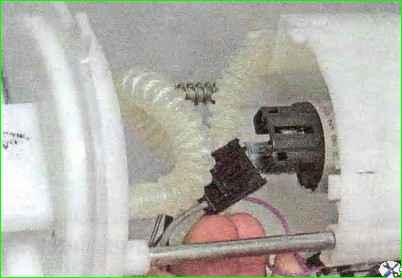
Pressing the latch, disconnect the wire block from the fuel pump
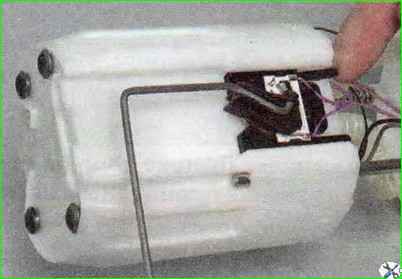
Press the two latches of the fuel level indicator sensor
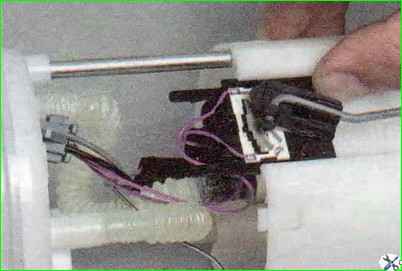
Move the sensor along the grooves of the body towards the cover
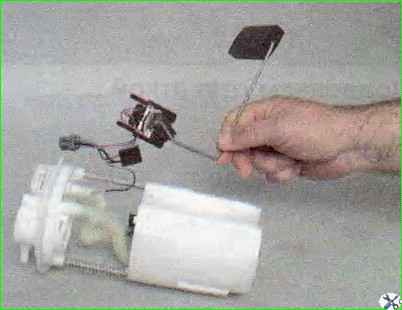
Remove the fuel level indicator sensor with wires and pads
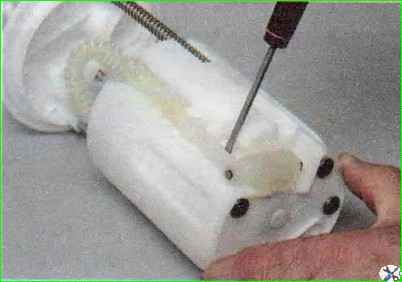
Use a screwdriver to pry up the drain pipe and disconnect it from the body
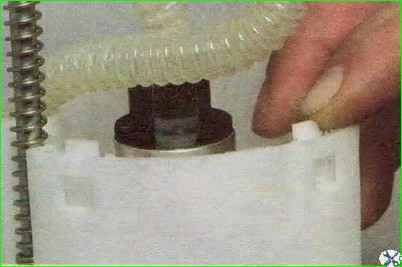
Press the four latches one by one
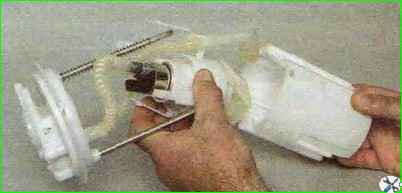
And remove the fuel module cover along with the fuel pump
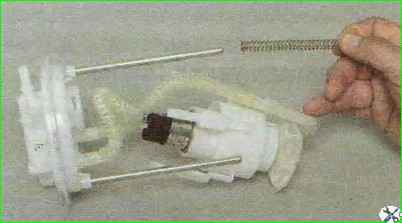
Remove the spring from the guide post
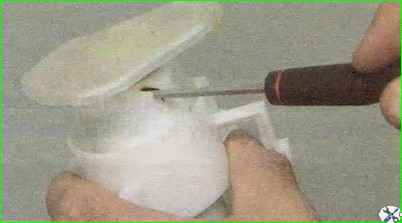
Pry up with a screwdriver and remove the mesh filter
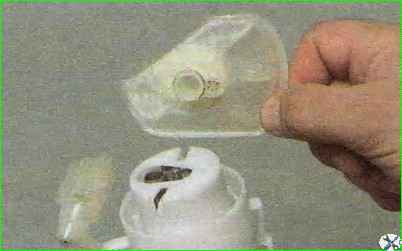
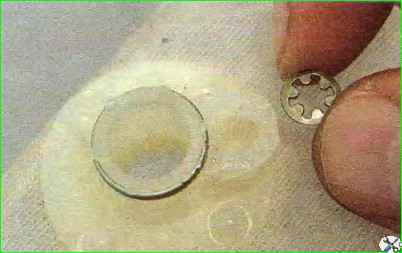
Remove the lock washer from the installation hole of the strainer
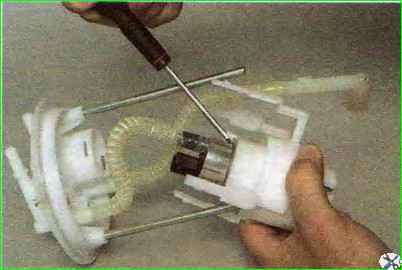
Use a screwdriver to press out the plastic latch
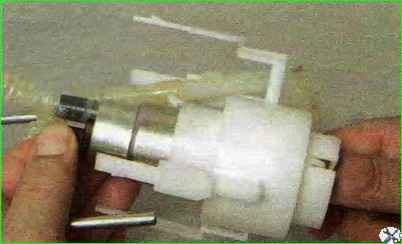
And use your fingers to push the fuel pump out of the holder
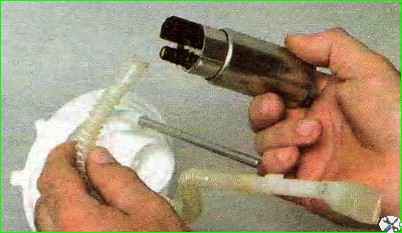
Heat the plastic corrugated tube over a container of boiling water or using a technical hair dryer and remove the tube from the pump nozzle
A valve is installed in the fuel module housing to prevent fuel from leaking out of the housing
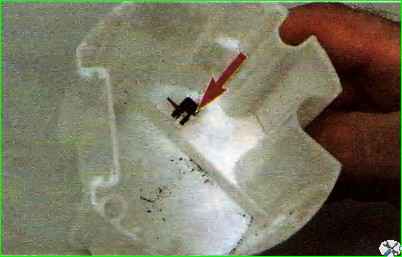
The vehicle is equipped with a BOSCH fuel pump No. 0580 454 035.
We assemble and install the fuel module in the reverse order.
When installing the strainer, pay attention to the condition of the lock washer. If it is dented, it must be straightened or replaced.
Before installing the fuel pressure regulator, apply a thin layer of engine oil to its o-rings.
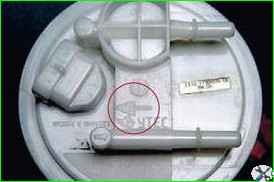
When installing the fuel module into the tank, the arrow on the fuel module cover should be directed back (towards the trunk).
The arrows on the fuel module cover fittings indicate the direction of fuel movement.
Place the fuel pipes onto the module fittings until the spring clamps click.
Having connected the wire terminal to the negative terminal of the battery, start the engine and check the tightness of the connections of the fuel pipes.


