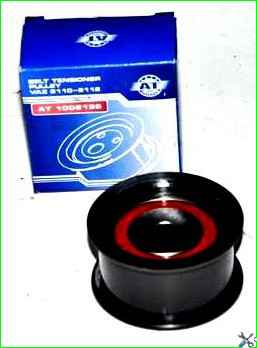
If, when the engine is running, a strong noise of a rotating bearing is heard in the area under the front timing belt covers, you should check the condition of the tension roller and replace it if necessary
This can be done without removing the belt.
The roller should also be replaced during routine replacement of the timing belt (article - “Replacing the timing belt”).

Replacing the timing roller with tension roller
Remove the front timing belt cover
When replacing the tension roller without removing the timing belt, there is a risk of the belt jumping over the pulley teeth, which will lead to a shift in valve timing.
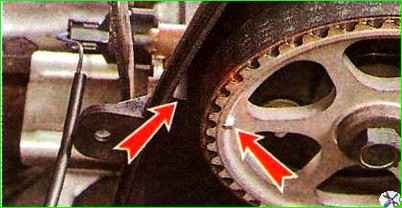
Therefore, before loosening the belt tension, align the mark on the camshaft pulley with the protrusion of the rear belt cover (see the article - “Timing belt - replacement”).
After installing the roller, the mark should not move.
Loosen the nut securing the tension roller and unscrew it completely.
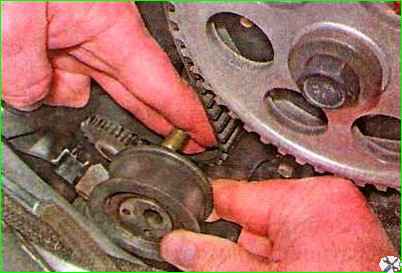
Remove the roller from the pin, keeping the belt taut.

Install a new roller onto the stud and secure it with a nut and washer, preventing the belt tension from weakening.
Adjusting the tension of the timing belt
Installing the front timing belt cover.
Replacing a timing drive roller with an automatic tensioner
We prepare the car for work.
Remove the upper front timing belt cover
After loosening the tension of the timing belt, there is a risk of the belt jumping over the pulley teeth, which will lead to a shift in valve timing.
Therefore, before releasing the belt tension, by turning the crankshaft, align the mark on the camshaft pulley with the protrusion of the rear belt cover.

After installing the roller, the marks should not move.
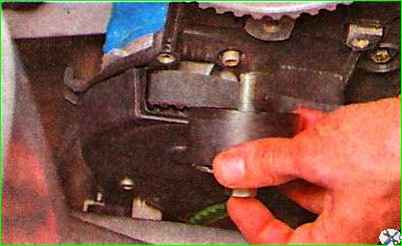
Using a 15 mm wrench, unscrewing the automatic tensioner mounting bolt half a turn, loosen the tension on the timing belt.

Unscrew the tensioner mounting bolt and remove it together with the bolt
Installation
Install the automatic tensioner without tightening the fastening bolt.
We put the timing belt on the tensioner roller, make sure that the marks match and adjust the tension
Install the removed parts in the reverse order of removal.


