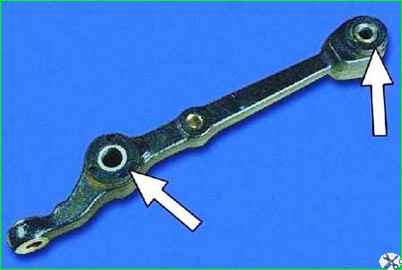
The front suspension arm is replaced if the geometry of the arm is broken (the arm is bent), the rubber-metal hinges are torn, swollen on one side, or their rubber has lost its elasticity
Replacing rubber-to-metal lever joints requires special tools and skill. In garage conditions, it is easier to replace the entire lever assembly.
Only loosen or tighten wheel bolts with the vehicle on the ground. Bolt tightening torque 65–95 Nm (6.5–9.5 kgcm).
Lift and place the front of the vehicle on supports.
Remove the wheel.
Stop the car with the parking brake and place wheel chocks under the rear wheels.
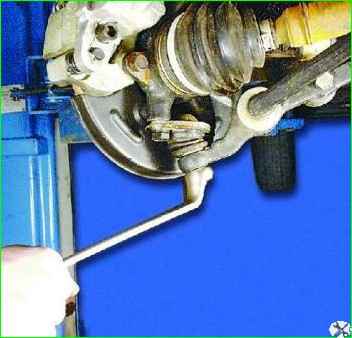
Unscrew the nut securing the ball joint.
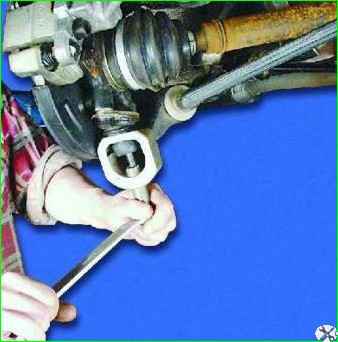
Using a puller, press the ball joint pin out of the lever.
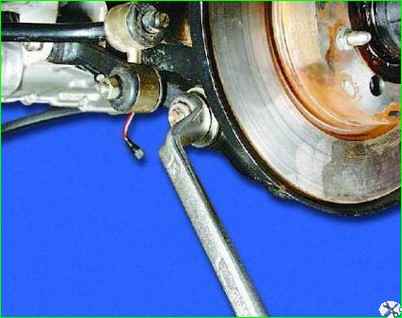
Loosen the rear brace fastening nut.
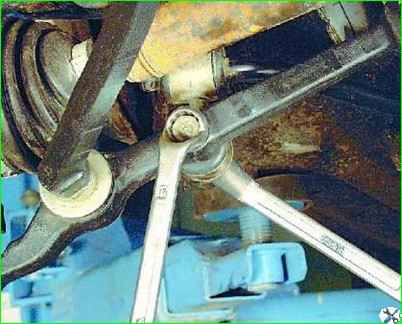
Unscrew the fastening nut and disconnect the stabilizer bar from the lever
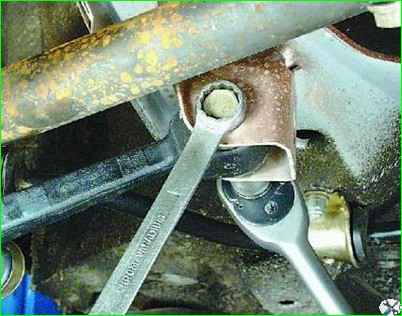
Unscrew the nut securing the lever to the body bracket and remove the bolt
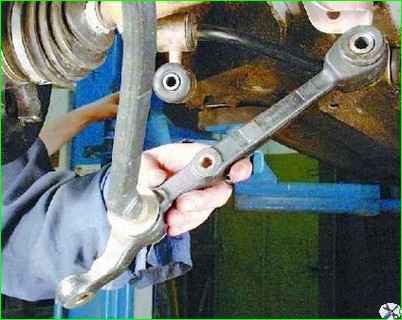
Remove the lever
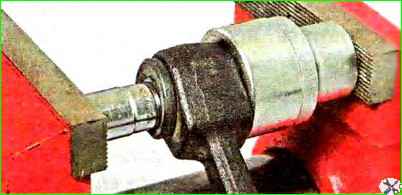
To replace the silent block of the lever, press it out in a vice with tool heads or pipe sections.
Wet the new silent block with a soap solution before pressing in
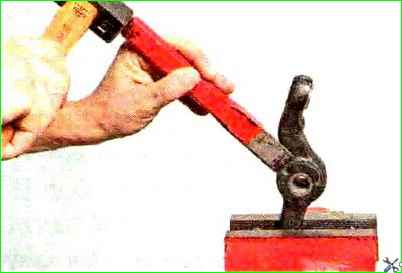
We knock down the silent block of the extension with a chisel.
Having removed from one side, we also remove from the other.
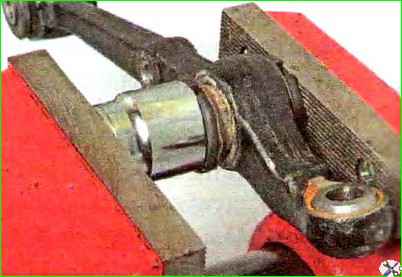
We first press new silent blocks in a vice
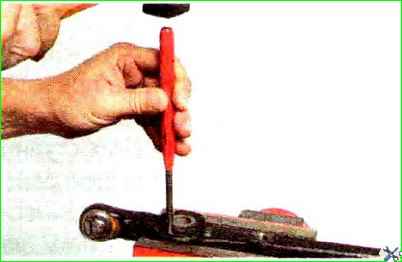
Finally pressed in, striking a drift with a diameter of 8 mm through three windows in the rubber layer
Install the lever in reverse order.
Having lowered the car to the ground, rock it vigorously several times.
Tighten to the appropriate torques: nuts securing the ball joint to the lever and securing the lever to the body bracket - 80-96 Nm (8.0-9.6 kgcm);
nut securing the extension to the lever - 160-180 Nm (16.0-18.0 kgcm);
nut securing the stabilizer bar to the lever - 42-52 Nm (4.2-5.2 kgcm).
After driving 100 km, tighten these threaded connections again to the required torque.


