We remove the trunk lock for replacement or repair
Removing the trunk lock
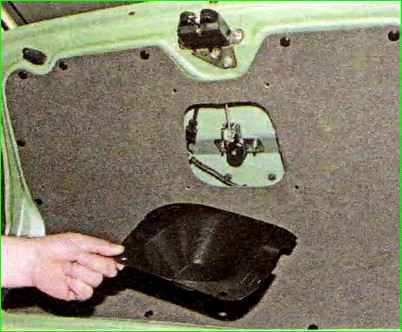
To remove the lock, remove the four clips by prying them with a screwdriver.
Remove the protective cover of the lock drive.
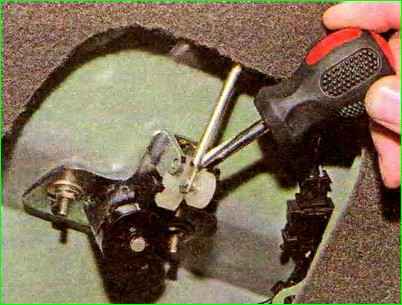
Use a screwdriver to press the rod away from the latch
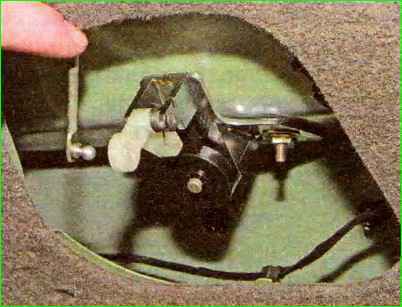
Disconnect the rod from the lock drive
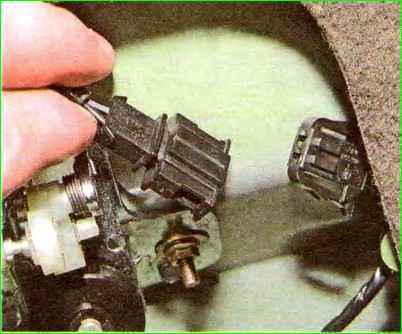
Squeezing the latches with your hand, disconnect the lock wire chip from the rear wiring harness block.
Use a marker to mark the position of the lock relative to the trunk lid.
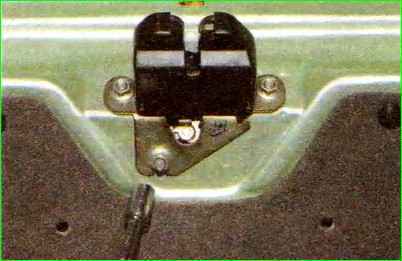
Use a 10mm wrench or socket to unscrew the three nuts securing the lock
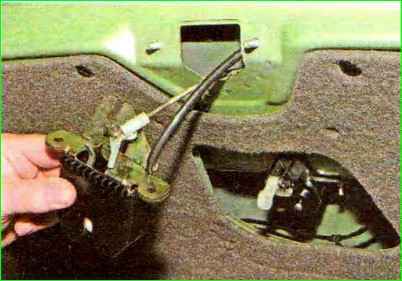
Carefully remove the trunk lock along with the wires and rod
Removing the trunk lock drive
To remove the lock drive, you need to disconnect the lock rod from the drive (see above)
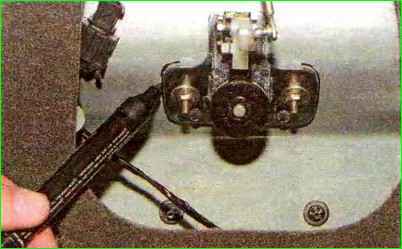
Using a marker or felt-tip pen, outline the position of the lock drive relative to the trunk lid
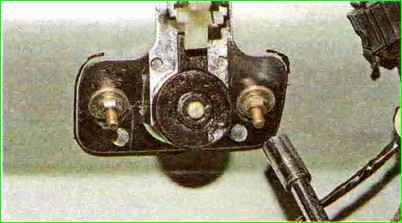
Use a wrench or a socket 8 to unscrew the two nuts securing the lock drive to the trunk lid
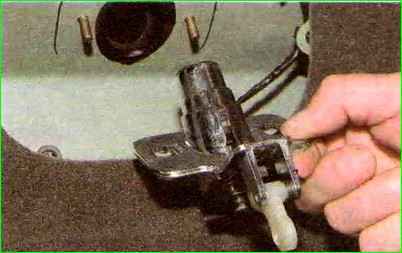
Remove the lock drive
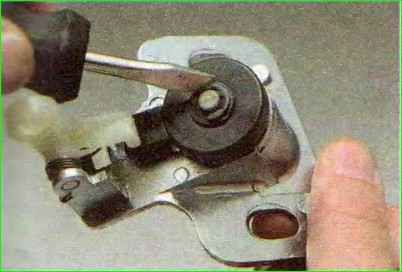
Pry it up with a screwdriver and remove the retaining ring
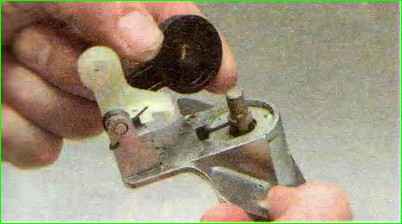
Remove the pressure lever
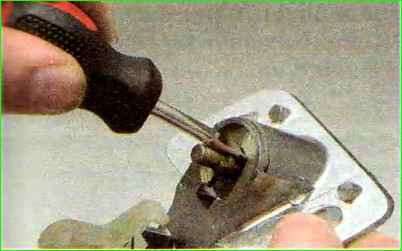
Press it with a screwdriver and remove the fixing plate
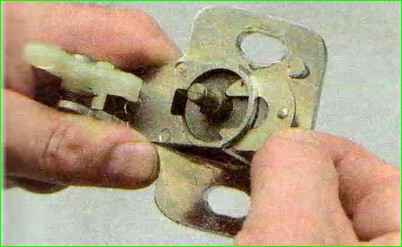
Remove the pusher with washer and spring
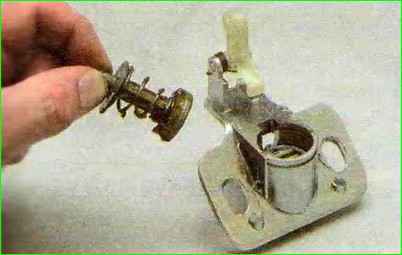
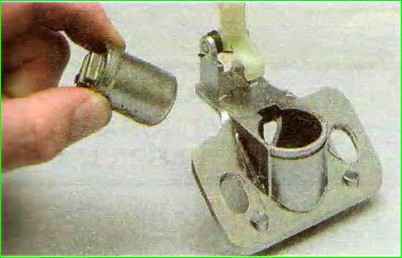
Remove the lock cylinder mechanism
Removing the trunk lid lock latch
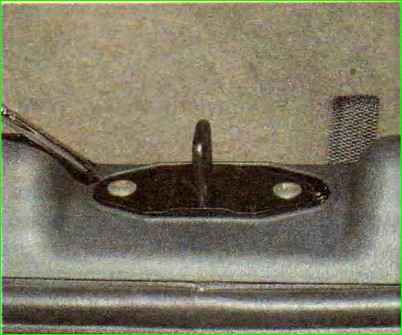
To remove the lock lock, use a screwdriver to unscrew the two screws securing the lock
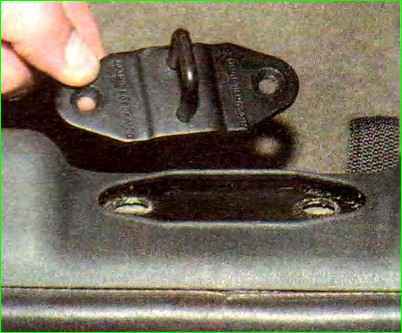
Remove the lock
Install the clamp in its place and tighten the fastening screws without fully tightening them. Close the trunk lid and then open it.
The latch must be in the correct position, therefore, without moving the latch, tighten the screws that secure it.
Removing the trunk lid stops
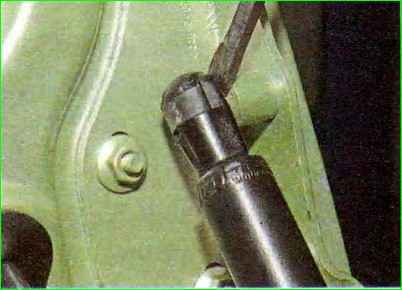
Insert the blade of a large screwdriver between the upper tip of the stop and the cylindrical base of the ball joint and remove the tip from the support.
Remove the lower tip.
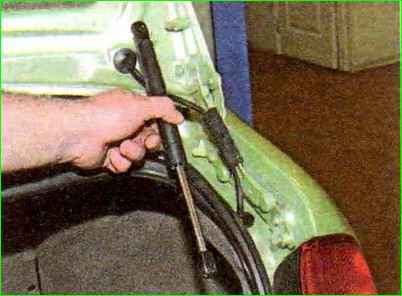
Remove the stop
Install all trunk parts in reverse order.


