When the force on the brake pedal increases, it is necessary to check the functionality of the vacuum booster
Press the brake pedal all the way several times with the engine not running and, holding the pedal pressed, start the engine
In this case, due to the pressure difference in the cavities of the amplifier, the brake pedal should move forward.
If this does not happen, check the tightness of the vacuum booster hose connections and, if necessary, eliminate air leaks.
If this does not give a positive result, then the amplifier is faulty and must be replaced.
To check the tightness of the vacuum booster, you need to open the hood and start the engine for 1 minute.
Approximately 30 seconds after the engine has been turned off, press the brake pedal 2 times, and you should hear a characteristic hiss of air entering the amplifier.
Otherwise, replace the amplifier.
Blow out the hose with the check valve from both ends.
Air should only flow from the check valve side. Otherwise, replace the check valve.
Replacing the vacuum brake booster
Remove the master brake cylinder without disconnecting the brake pipes from it, article - How to remove and install the master brake cylinder of a Gazelle car
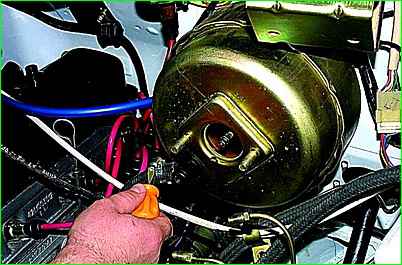
We loosen the clamp with a screwdriver
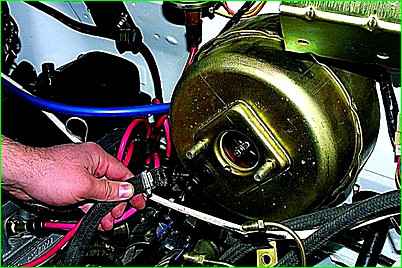
Remove the vacuum supply hose from the fitting.
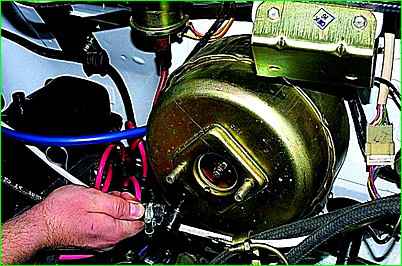
The hose can be removed together with the fitting.
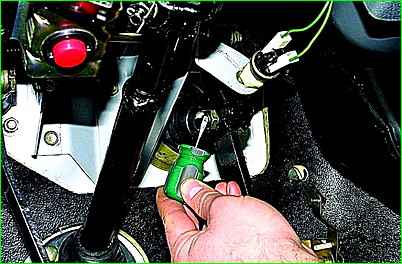
Use a screwdriver from the cab side to remove the lock washer.
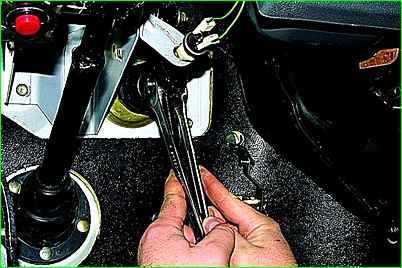
Hold the pusher eye bolt with a 19mm wrench and use a 17mm wrench to unscrew the nut
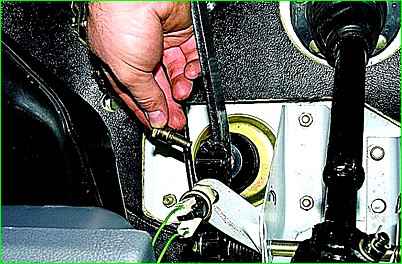
Remove the bolt from the pusher eye.
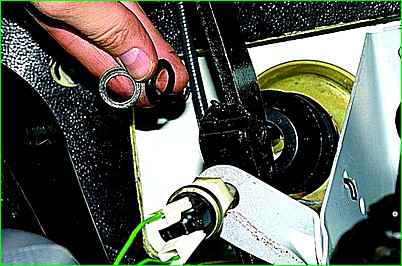
Remove two plastic bushings from the pusher eye
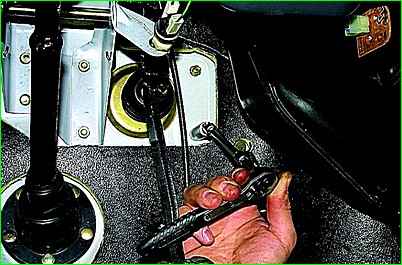
Using a 13mm socket with an extension from the cab, unscrew the four nuts securing the amplifier to the engine compartment bulkhead
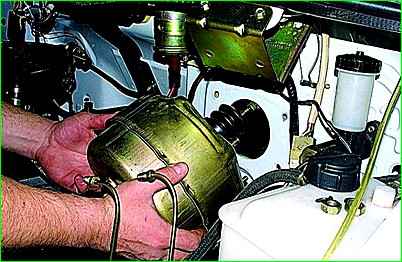
Remove the amplifier.
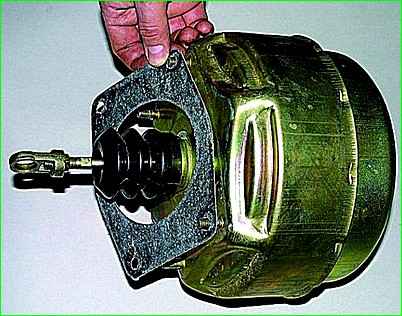
Remove the paronite gasket.
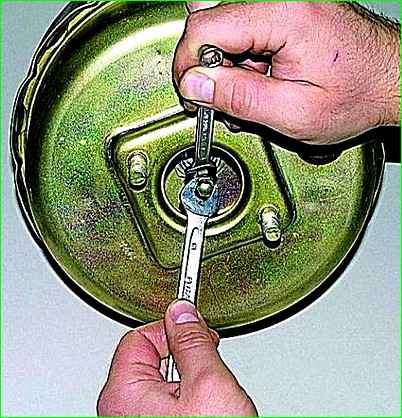
We install the new vacuum booster in the reverse order; in this case, for proper operation of the brakes, the position of the adjusting bolt must be adjusted.
To do this, hold the pusher with the “8” key and turn it towards the “10” key locknut.
Then, using the “8” key, unscrewing or tightening the bolt
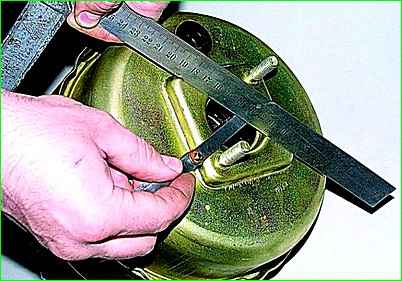
We achieve a position in which the gap between the mating plane of the amplifier and the bolt head is within 1.35-1.65 mm.
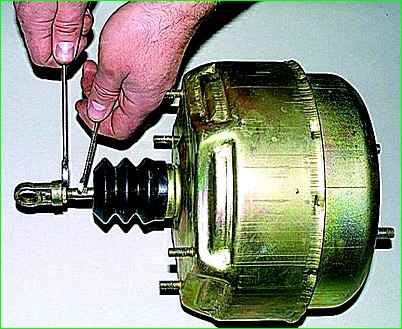
After this, holding the bolt, tighten the locknut.
Having lubricated the plastic bushings, install the amplifier, and then adjust the brake pedal travel.
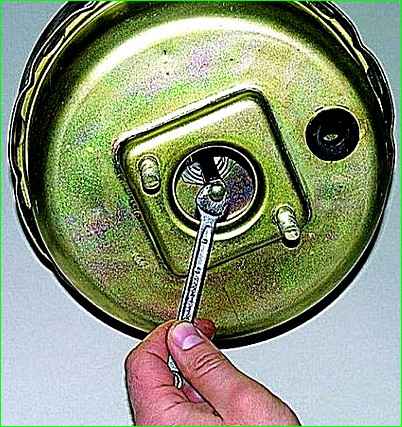
To do this, hold the amplifier pusher with an “8” wrench (for clarity, shown on the removed amplifier), and use a “14” wrench to unscrew the lock nut
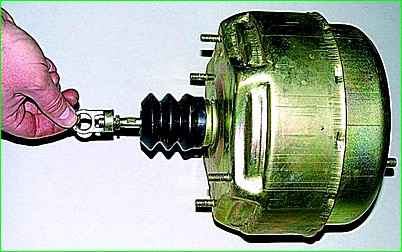
By rotating the pusher eye, we set the distance between the center of its hole and the mating surface of the vacuum booster housing - 131-133 mm.
Installing the master brake cylinder.
The free play of the brake pedal when the engine is not running should be 3–5 mm.


