Sooner or later, the lamps in the rear lights burn out. It would seem that nothing could be simpler: take a new lamp that matches the size of the base and voltage, and install it in place of the burnt-out lamp
However, please note that the rear lights use lamps with the same base, but different powers - 5 and 21 W. And this is an important little detail.
Do not mix up the lamps: 5-watt lamps are used for side lights, 21-watt lamps are installed in turn indicators and brake lights.
If you install low-wattage bulbs in your brake lights and turn signals, other drivers simply won't see your signals in inclement weather.
And powerful lamps in “dimensions” can melt the plastic diffuser and reflector of the flashlight, which is not designed for such a thermal load, and will also greatly disturb drivers driving behind.
Replacing lamps, removing the rear light GAZ-2705
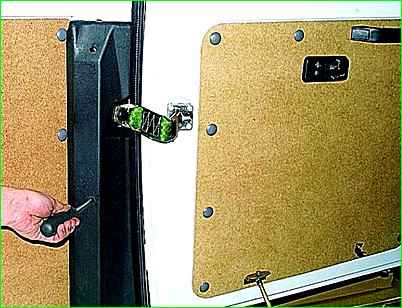
Use a Phillips screwdriver to unscrew the two screws
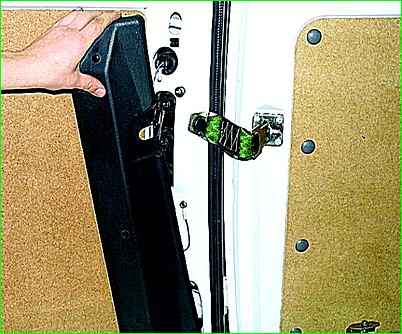
Remove the lining.
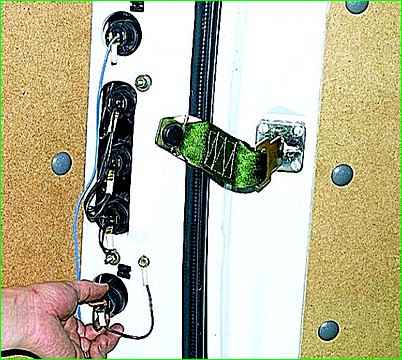
Rotate the cartridge counterclockwise
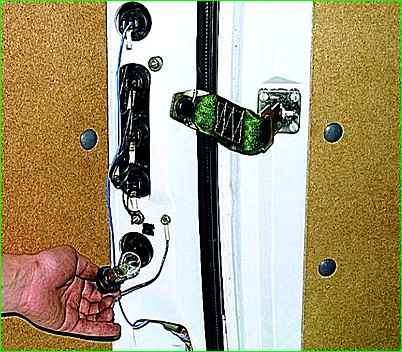
Take out the socket with the lamp. We replace the faulty lamp.
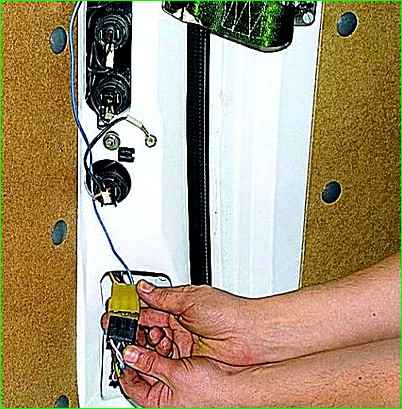
To remove the rear light, disconnect the battery.
Disconnect the plug block, which is installed on the wires going to the rear light.
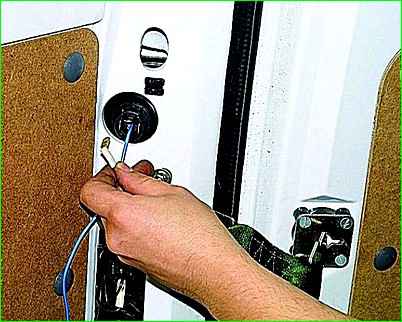
Disconnect the “mass” wire from the upper cartridge (if its supply wire is laid on top of the box)
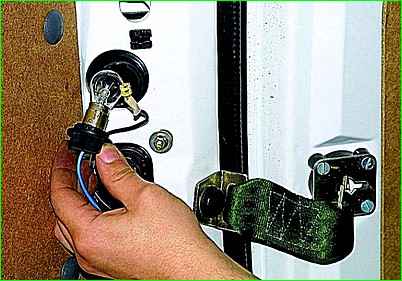
Take out the lamp socket.
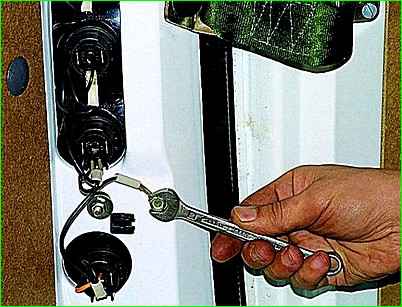
Use a 10mm wrench to unscrew the bolt securing the ground wire.
Next, it is advisable to have an assistant hold the lantern from the outside, or secure the lantern with tape.
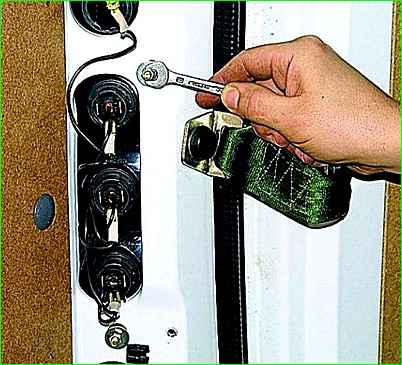
Use an 8 wrench to unscrew the two nuts securing the rear light.
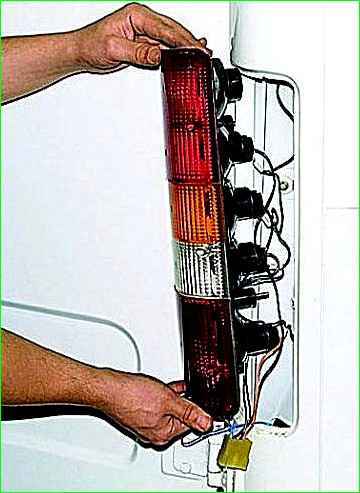
Remove the lantern.
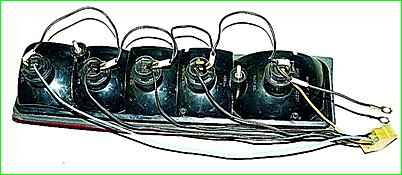
Before installing the rear light, straighten the wires and, if they are mixed up, reconnect them to the terminals of the sockets.
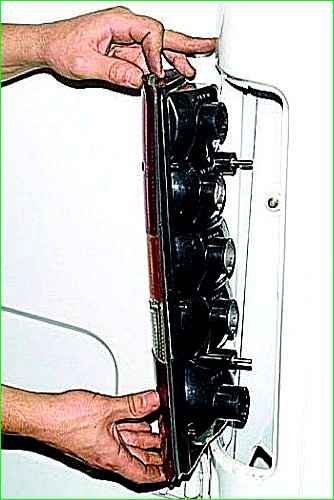
To prevent the wires from rubbing against the edges of the holes during operation, we recommend laying them on top of the box, and not inside.
To do this, mark the order of installation of cartridges in the rear fonar and take them out along with the lamps. Installing the lamp in place
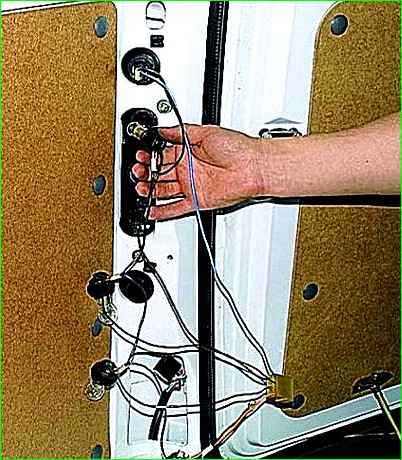
After this, insert the cartridges according to the marks made
Connect the connector and install the cladding
Removing the license plate light, replacing the lamp
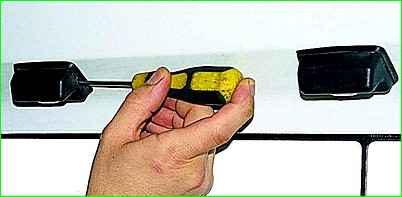
Press the lock with a thin screwdriver
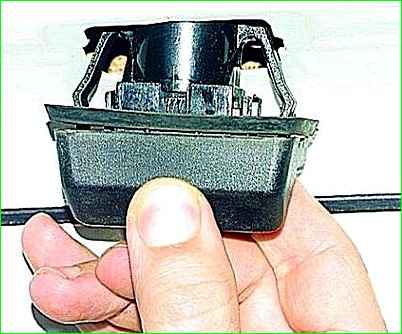
Remove the lantern.
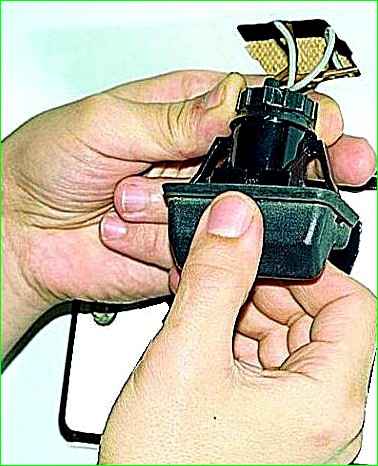
Rotate the cartridge counterclockwise and remove it from the flashlight
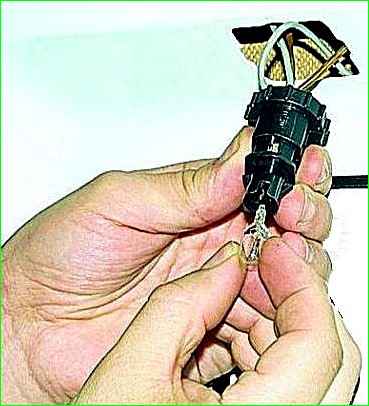
We change the faulty lamp by removing it towards ourselves
Assemble and install the lantern in the reverse order.


