Inspect, check and lubricate the driveline
First of all, inspect the driveshafts and forks - cracks, dents or other deformations are unacceptable.
The polished surface of the sliding fork should not show signs of wear or traces of seizing.
The splines of the sliding fork, the secondary shaft of the gearbox, and the rear hinge must be free of corrosion and signs of wear.
Inspect the support - peeling of the rubber from the reinforcement, cracks and tears are not allowed here.
The support bearing should rotate easily, without jamming or play.
With the cardan drive removed, you can evaluate the condition of the joints without disassembling them.
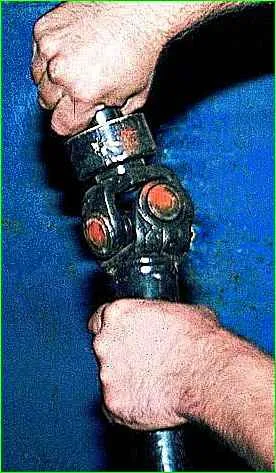
Wiggle each joint in different planes. There should be no noticeable play along the axis of the spikes or jamming.
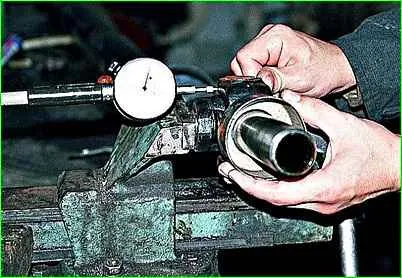
If necessary, you can measure the radial clearance in the bearings of the crosspieces with an indicator.
To do this, hold one of the hinge forks in a vice by the crosspiece bearings.
Pressing the indicator leg to the free ear of the other fork, swing it around the axis of the propeller shaft. Backlash of more than 0.1 mm is unacceptable.
It indicates wear of the hinge and the need to replace the bearings and cross.
If the holes in the fork ears themselves are worn out, the propeller shaft assembly must be replaced.
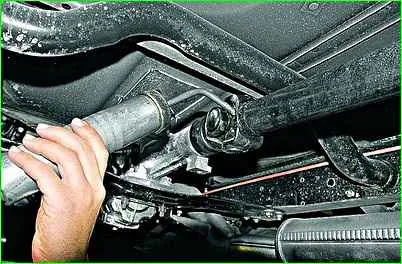
Having cleared the grease nipple of dirt, we pump transmission oil into all joints with a syringe. In this case, its excess should come out from under the cuffs of all four bearings.
If the oil does not come out somewhere, then the joint needs to be rebuilt - the lubrication channel, the oiler valve is clogged, or a spring has come off one of the cuffs.
Removing the cardan drive
If the vehicle's movement was not accompanied by vibrations caused by the cardan drive, then during subsequent assembly the previously existing position relative to the gearbox and rear axle should be maintained.
To do this, we turn on any gear in the box.
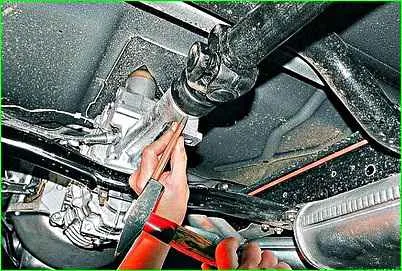
Use a chisel or a file to mark the position of the front fork (mud deflector) of the cardan joint relative to the gearbox extension
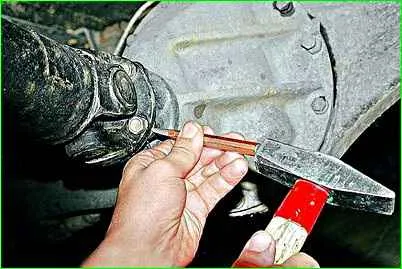
Use a chisel or a file to mark the position of the rear flange of the cardan drive relative to the rear axle flange.
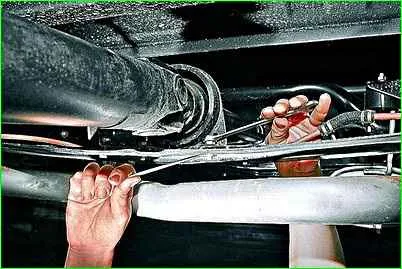
Use a 13mm wrench to unscrew the nuts securing the intermediate support, holding the bolt with a 12mm wrench.
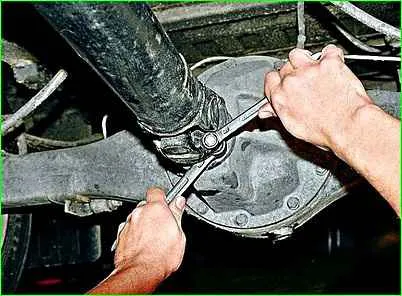
Using keys “14” and “17”, unscrew the bolts securing the cardan drive to the flange of the main gear drive gear.
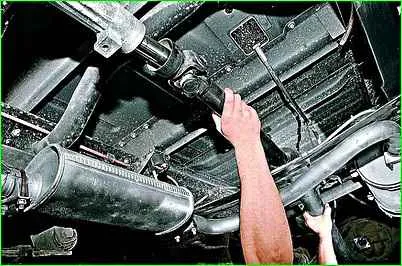
Having moved the cardan gear back, remove the shank of the sliding fork from the extension of the rear gearbox housing and remove the cardan gear.
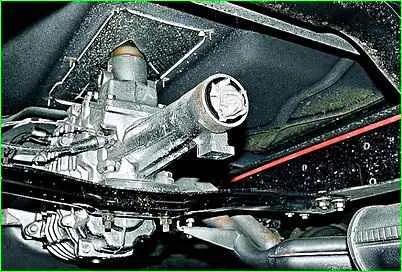
To prevent dust from getting into the gearbox and oil leaking from it, plug the hole in the crankcase with a clean rag
Install the cardan drive in the reverse order, aligning the marks made.
We also look at the article - “Design and malfunctions of the driveshaft of a Gazelle car”


