Main main gear malfunctions:
- - The rear axle gearbox bearings are worn out, their preload is broken, the fit is loose (uniform noise from the rear axle)
- - The teeth of the main gear gears are worn out, the lateral clearance in the mesh is broken, the teeth are scuffed - a howl from the rear axle, which decreases or disappears when the load is reduced (the gas pedal is released)
Disassembling the rear axle of the GAZ-2705
It is more convenient for two people to work on the inspection ditch.
Drain the oil (see How to change the oil in the rear axle gearbox of a gazelle).
Disconnect the driveshaft from the rear axle (see How to remove the driveshaft of a Gazelle car).
We clean the main gear housing from dirt.
We remove the axle shafts from both sides of the car (see How to remove the rear wheels and axle shafts of a Gazelle car).
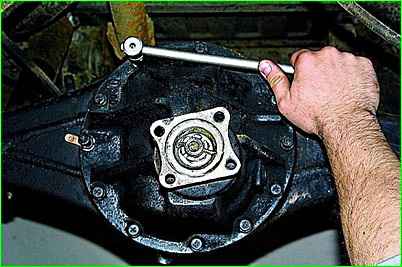
Using a 14mm wrench or socket, unscrew the ten bolts securing the gearbox to the rear axle beam.
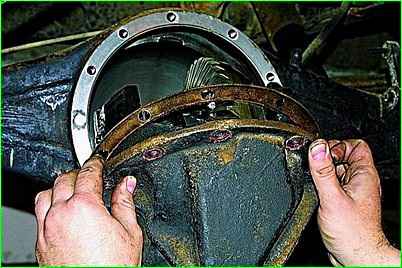
We remove the gearbox from the beam, being careful not to damage the gasket.
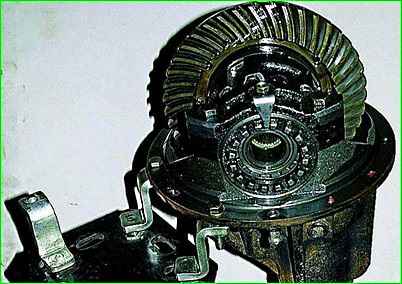
For ease of operation, we install the gearbox on the stand.
Remove the drive gear flange with the cuff.
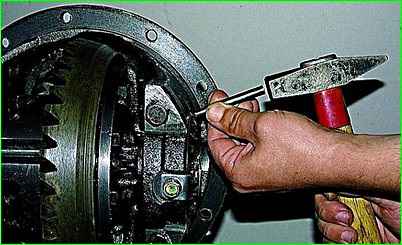
We use a center punch to mark the relative position of the differential bearing caps and their nuts, as well as the covers themselves relative to the crankcase.
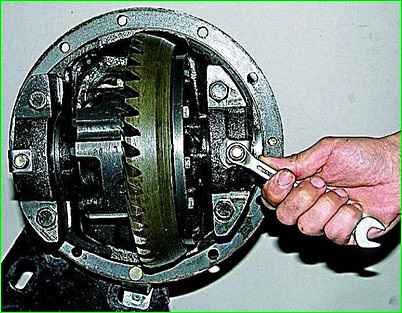
Remove the drive gear flange with the cuff. Using a 12mm wrench, unscrew the bolts of the locking plates
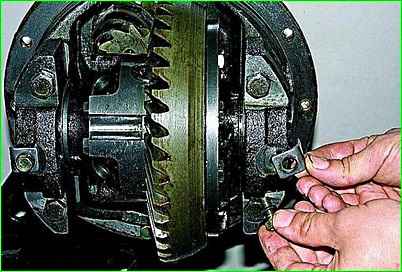
Remove the locking plates
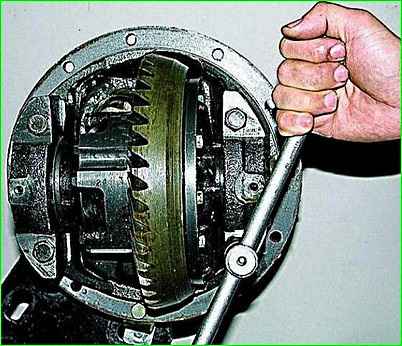
Use a wrench or a 17mm socket to unscrew the bearing cover bolts
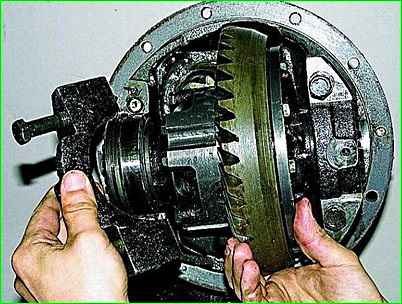
Remove the cover. Remove the second cover in the same way.
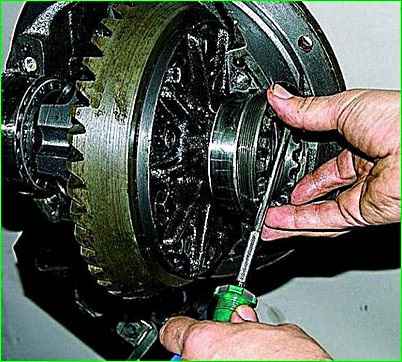
Use a special wrench or a large screwdriver to unscrew the bearing adjusting nuts
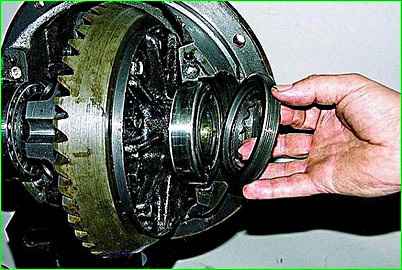
Remove the adjusting nuts
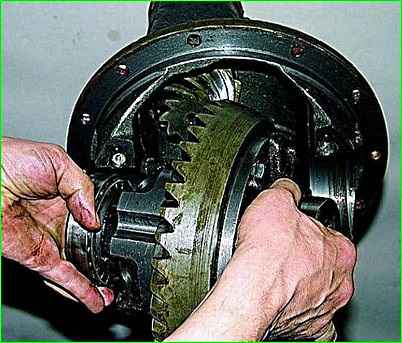
Remove the satellite box with the driven gear.
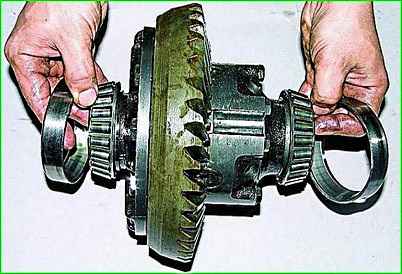
If the bearings are not being replaced, mark their outer rings so that they can be installed in their original places during reassembly.
The driven gear is installed on the gearbox in only one position, therefore, to simplify assembly, we mark the relative position of the gear and housing.
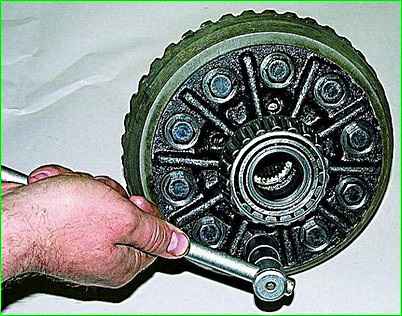
Use a wrench or a 17mm socket to unscrew the 10 bolts securing the gear.
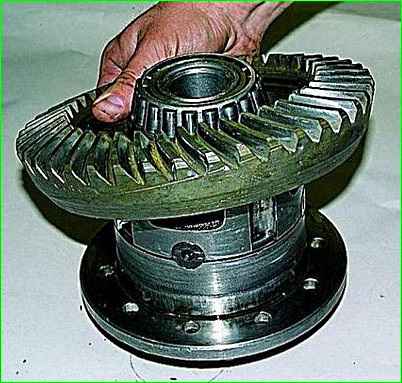
Use light blows of a hammer through a soft metal drift to knock the gear off the gearbox and remove it.
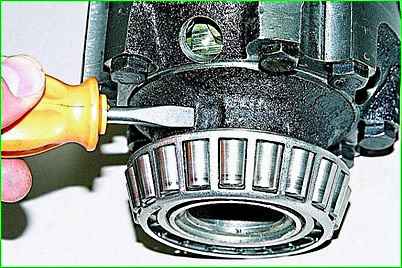
There are special recesses on the satellite box for the puller paws.
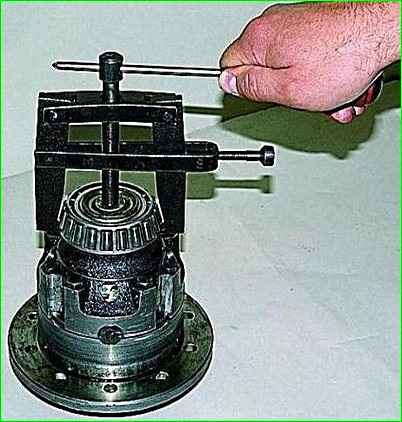
Install a special puller
Use a puller to remove the inner rings of the bearings.
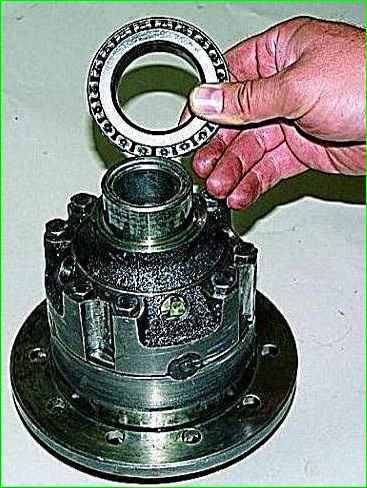
Remove the second bearing in the same way.
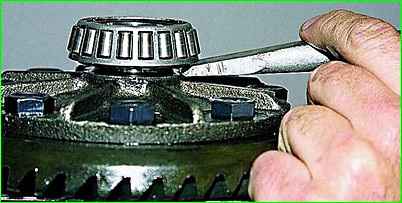
If a puller is not available, insert a chisel between the end of the inner bearing ring and the differential box.
By hitting the chisel, we move the inner ring of the bearing.
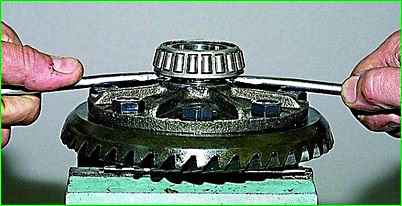
Insert two powerful screwdrivers (or mounting blades) into the gap formed
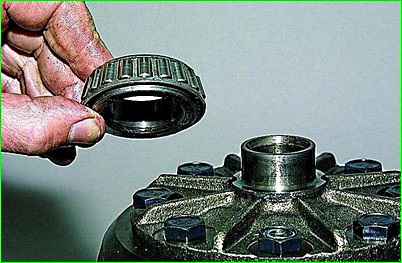
Compress the inner ring of the bearing with the cage and rollers.
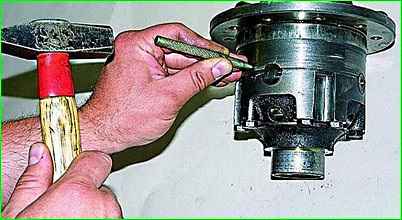
We use a punch to mark the relative position of the parts of the differential box and the axes of the satellites.
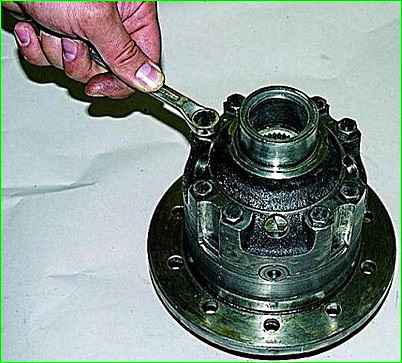
Using a 13mm wrench, unscrew the eight bolts connecting the parts of the differential box
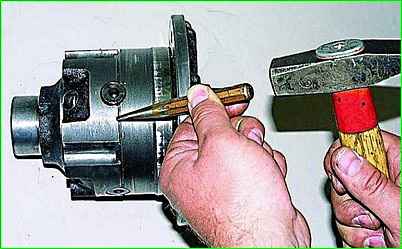
Gently tapping with a hammer through a soft drift
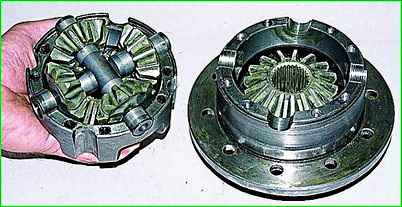
- disconnect the box.
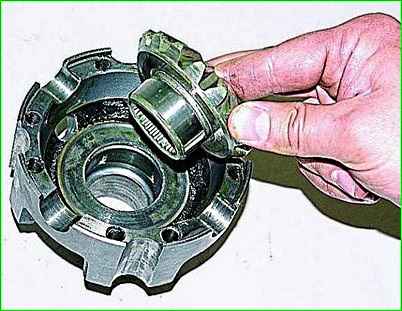
Remove the semi-axial gear from the removed half of the box
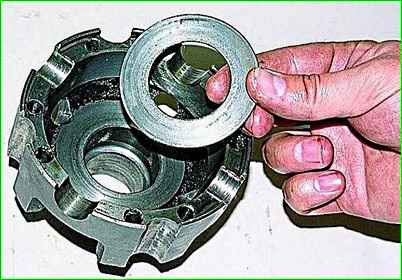
Take out the support washer.
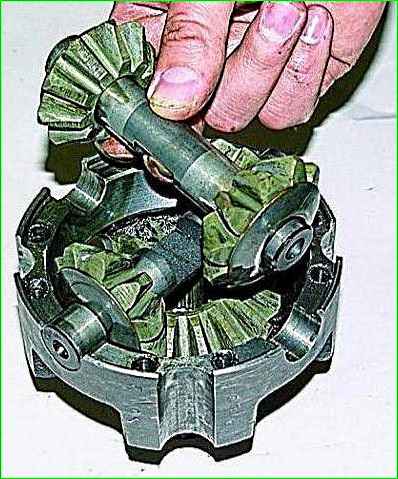
We take out the axles along with the satellites and their washers

Remove the satellites and washers from the axles
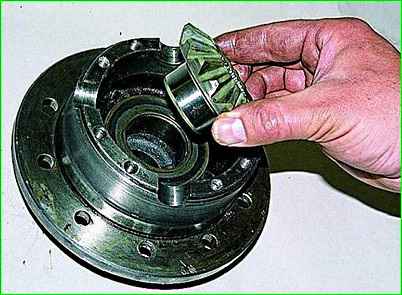
Remove the second side gear
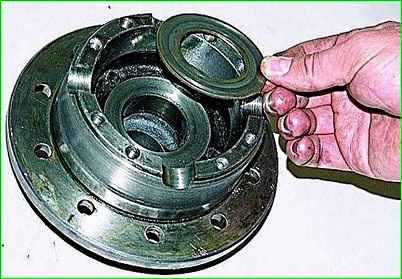
Remove the support washer.
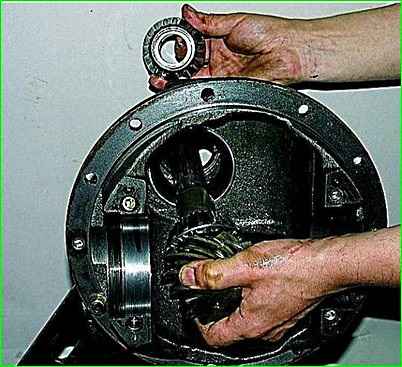
We remove the drive gear from the gearbox housing (it can be knocked out with hammer blows through a soft metal spacer at the end of the shaft) and the inner ring of the front bearing.
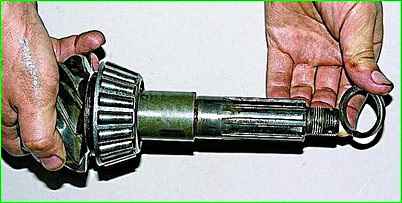
Remove the spacer ring.
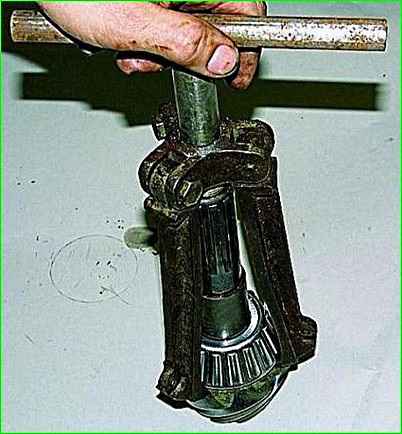
Press the inner ring of the rear bearing from the gear shank
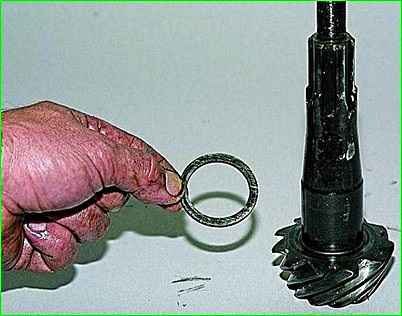
Remove the drive gear adjusting ring
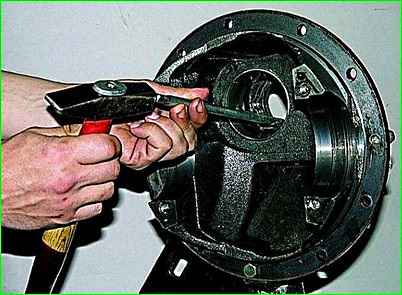
Use a drift to knock out the outer ring of the front bearing
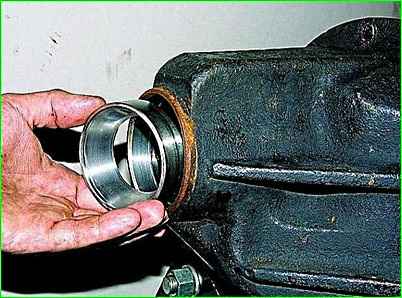
Take out the ring.
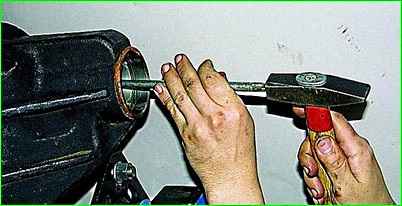
Knock out the outer ring of the rear bearing in the same way
Before assembly, we wash all parts in kerosene or diesel fuel and inspect them
Any cracks on the parts are unacceptable.
The gear teeth should not be scored, chipped or severely worn.
Bearings should rotate easily without clicking or jamming.
Calling, chipping and severe wear are not allowed on the rollers and rings.
Bearing cages must not have ruptures or deformations.
We replace damaged and worn parts.
In any case, after a mileage of more than 100 thousand km, we recommend replacing the bearings, regardless of their condition.
When disassembling the bridge, be sure to mark the parts, especially the outer rings of the bearings.
And when assembling, follow the article on adjusting the tension and contact patch of the gears. Article - Adjusting the GAZ-2705 axle gearbox
Some drivers complain that the bearings quickly break or the gears of the gear pair quickly fail.
In everything, as usual, inattentive assembly and fitting of parts are to blame.
And also proper running-in of parts.
After assembly, it is imperative to run in the parts of the axle gearbox. Do not apply excessive load during the first 2 thousand km after assembly.


