Some types of gazelles use an additional sediment filter.
The sediment filter needs to be washed after 5,000 kilometers of the car, taking into account that you refuel at good gas stations.
It is advisable to drain fuel sludge at least once a week.
During the autumn - winter period, it is advisable to drain the fuel sediment daily and fill the tank with fuel.
In a full tank, less frost forms on the walls of the tank, especially if the tank is made of metal.
In winter, if sediment does not pour out when unscrewing the drain plug, it means that the water in the sump is frozen.
You need to warm up the sump with hot water.
Disassembling the sediment filter
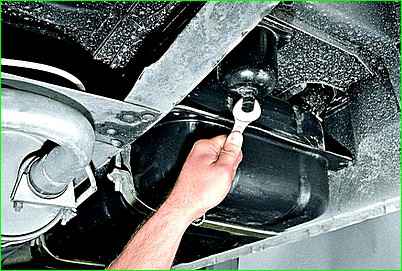
Use the key “17” to unscrew the drain plug and drain the fuel sediment. A copper gasket is installed between the body and the plug.
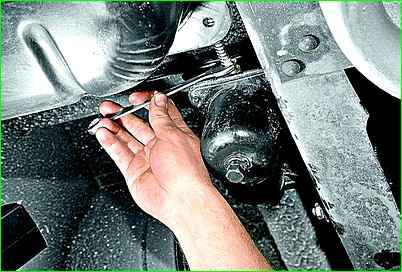
Use a 14mm wrench to unscrew the fitting of the fuel supply line
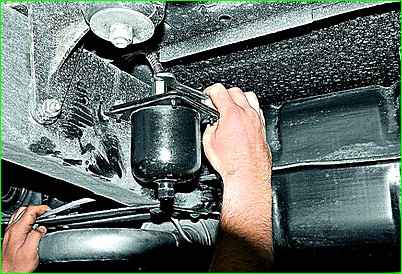
Unscrew the fitting of the fuel outlet pipe.
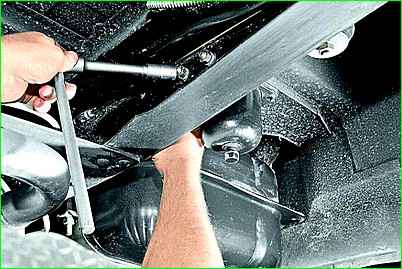
Holding the filter mounting bolts with a 14mm wrench, use a 17mm socket to unscrew their nuts
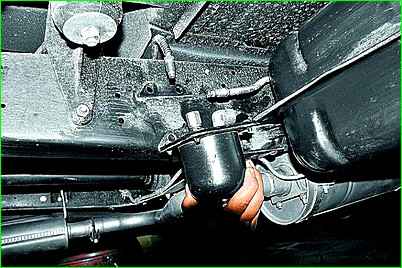
Remove the sediment filter from the frame side member.
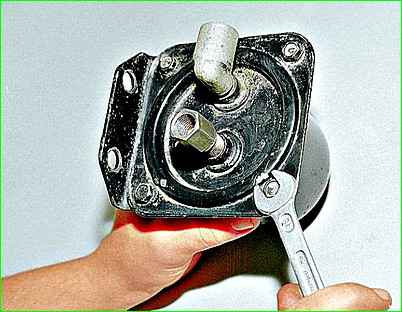
We mark the relative position of the settling filter and its cover with fittings.
Use a 10mm wrench to unscrew the four bolts securing the bracket to the body.
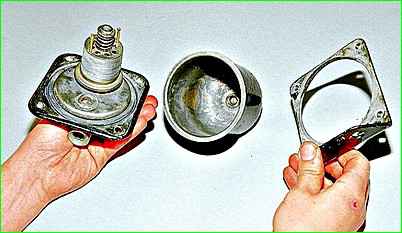
Remove the cover and bracket.
We wash the filter-settler glass to remove dirt and deposits.
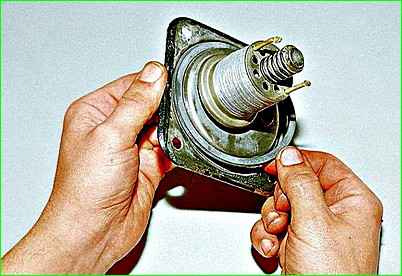
Remove the rubber gasket of the cover.
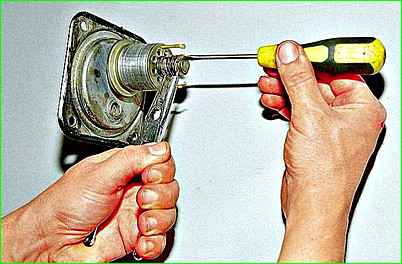
Use pliers and a screwdriver to remove the locking spring washer
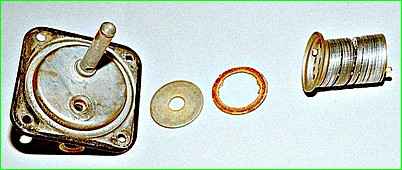
Remove the spring and set of filter element plates
We wash the removed parts (except for gaskets) in solvent, assemble and install the filter-sump in the reverse order.
If the rubber gasket of the cover has lost its elasticity, replace the gasket.


