If coolant is leaking from the heater, then the radiator is leaking and needs to be replaced
Never delay fixing a coolant leak in the car, as its fumes are harmful to your health
You will need a screwdriver.
Remove the glove compartment.
Remove the windshield trim (see Replacing and repairing the Niva Chevrolet windshield wiper).
Drain the liquid from the engine cooling system (see Replacing the coolant in the Niva Chevrolet).
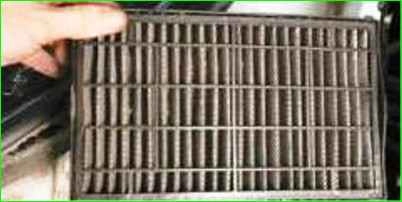
Remove the outside air supply filter
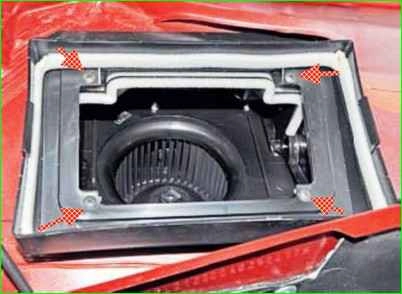
Unscrew the screws securing the filter housing.
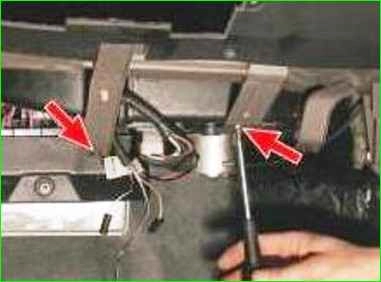
Remove the screws securing the electric fan housing.
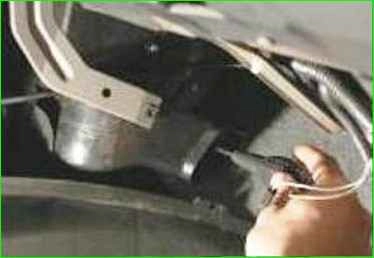
Remove the screws securing the heater bracket.
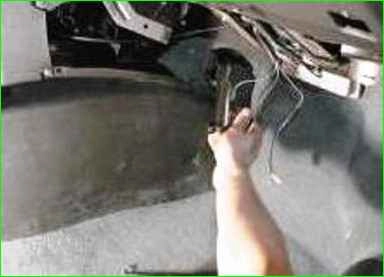
Remove the air duct for heating the passenger's feet.
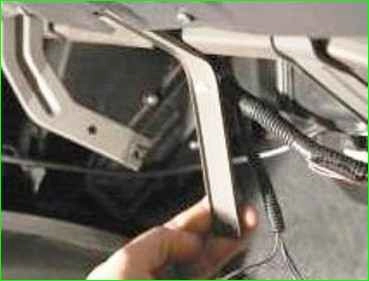
Bend back the heater bracket
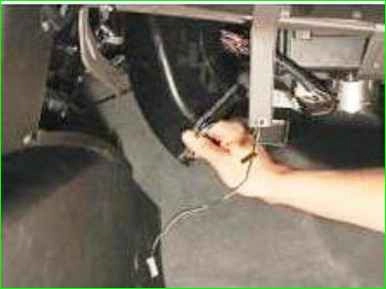
Remove the intermediate air duct.
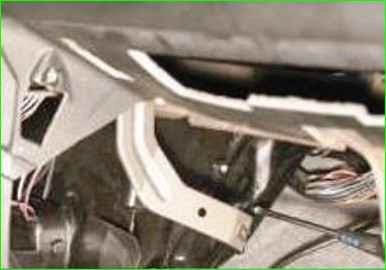
Unscrew the heater radiator mounting screws.
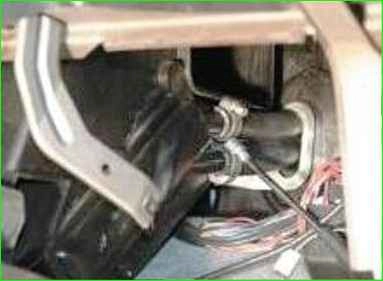
Loosen the clamps on the inlet and outlet hoses of the radiator and remove the hoses
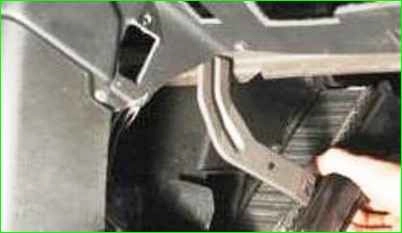
Remove the heater radiator from the casing.
Install the heater radiator and all removed parts in the reverse order of removal.
Fill the engine cooling system with fluid.
Removing the heater radiator on a removed heater
Remove the heater as described in the article - How to replace the heater Niva Chevrolet
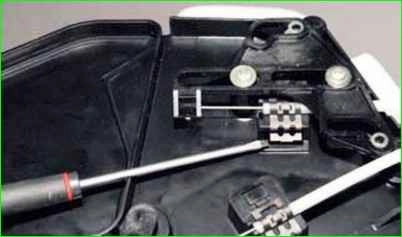
Pry it off with a screwdriver bracket
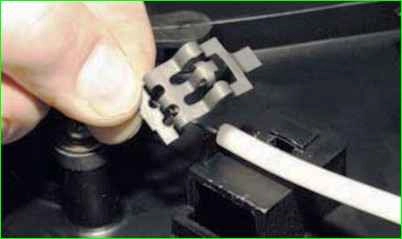
Removing the bracket for fastening the casing of the air distribution flap drive rod
Also removing the bracket for fastening the casing of the temperature regulator flap drive rod
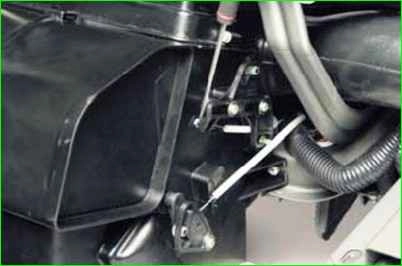
We pry off with a screwdriver and remove the tip of the drive rod of the valve of the distribution air flow
Also remove the temperature regulator flap drive rod end
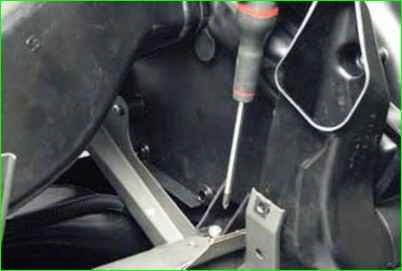
Using a Phillips screwdriver, unscrew the screw of the lower left heater mount to the crossmember
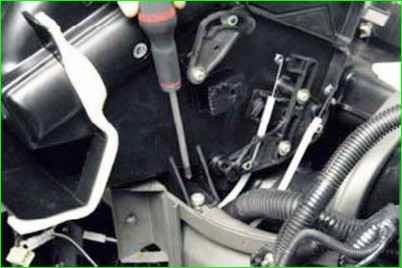
Unscrew the screw of the right lower mount of the heater to the crossbar
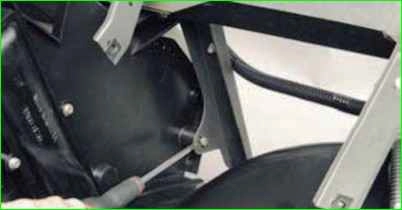
Unscrew the screw of the right upper mount of the heater to the crossbar
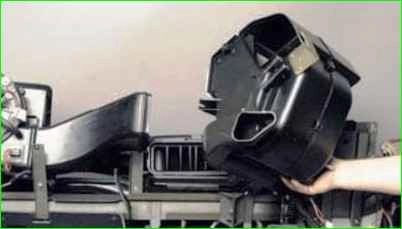
Removing the heater housing from the instrument panel crossbar
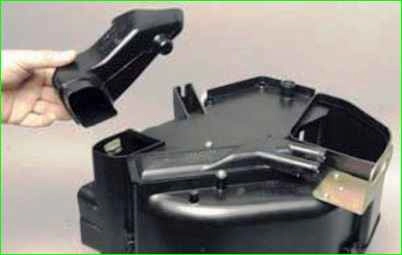
After unscrewing the fastening screw, remove the front footwell air duct passenger
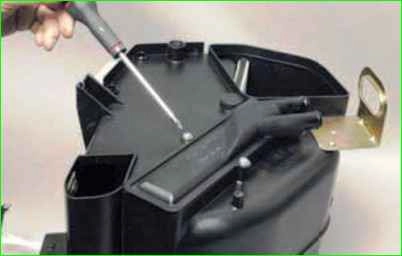
Unscrew the two screws securing the radiator to the heater body
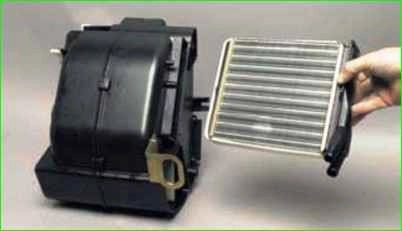
We take the radiator out of it
We assemble and install the heater and radiator in the reverse order


