In this article, we will look at disassembling the door for replacement or repair
Removing the front door trim
Disconnecting the negative battery terminal
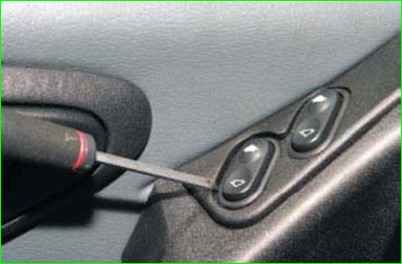
Use a screwdriver to pry the window lift switch out of the armrest handle
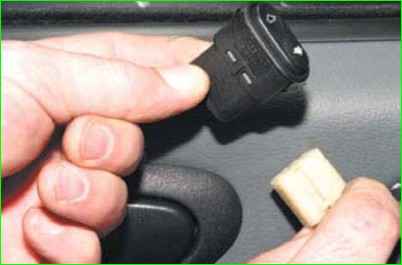
Disconnect the wiring block from the switch.
Also disconnect the wiring block from the second switch
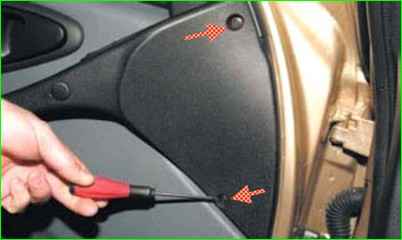
Using a Phillips screwdriver, unscrew the two screws securing the front handle armrest
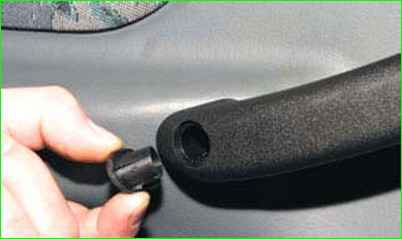
Use a screwdriver to pry off the screw cap for the rear armrest handle mount
Also remove the screw cap for the middle mount
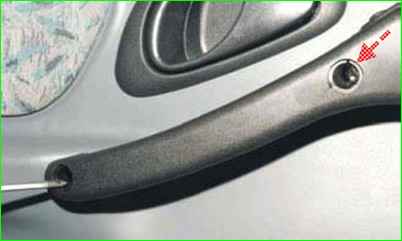
Use a Phillips screwdriver to unscrew the two mounting screws
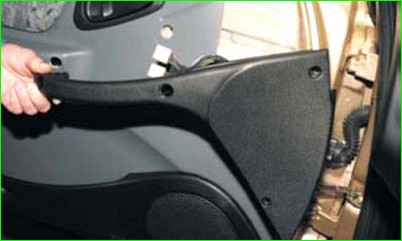
Removing the armrest handle
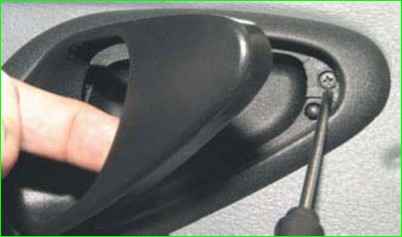
Pull back the inner door handle, use a Phillips screwdriver to unscrew the screw securing the inner handle trim
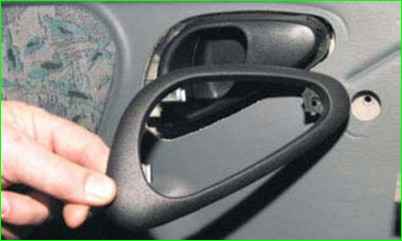
Removing the handle trim
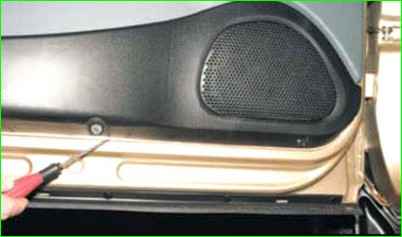
Use a Phillips screwdriver to unscrew the three screws securing the door trim pocket
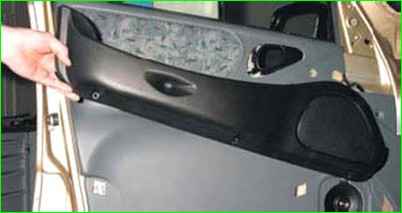
Pull the four pocket tabs down from the holes in the trim and remove the pocket
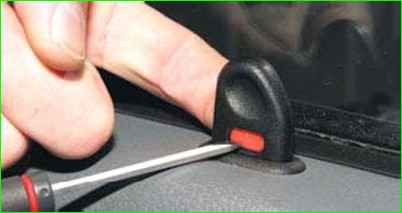
Squeeze the tabs of the retainer
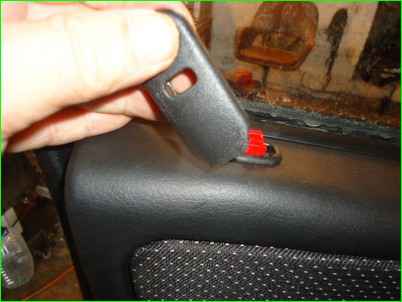
Removing the door lock button
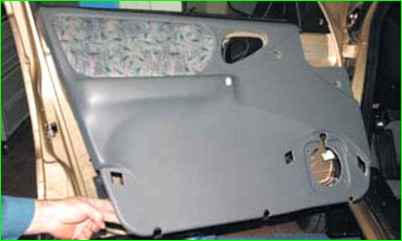
We move the lower part of the trim, remove the five pins of the trim from the holes in the door panel
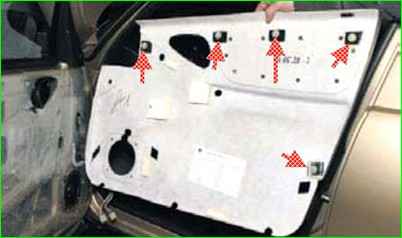
We remove the trim (the arrows show the locations of the pins)
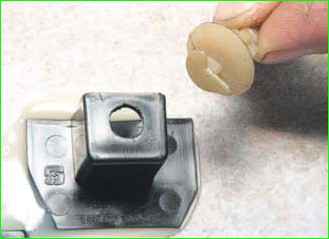
If the pins are broken, then replace them with new ones (the pins fit from the VAZ-2109)
Removing the outside mirror of the front door
Remove the trim as described above
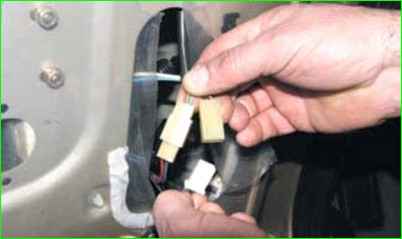
Disconnect the two outside mirror wire blocks
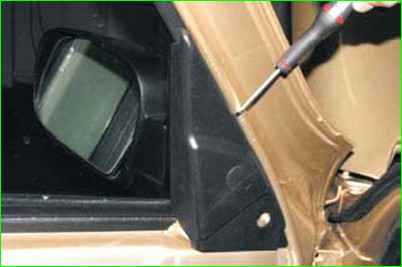
Pry it off with a screwdriver
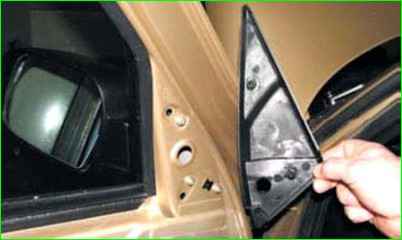
Removing the trim of the outside mirror
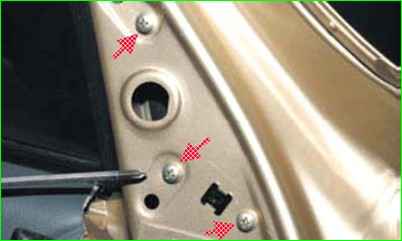
Using a Phillips screwdriver, unscrew the three screws
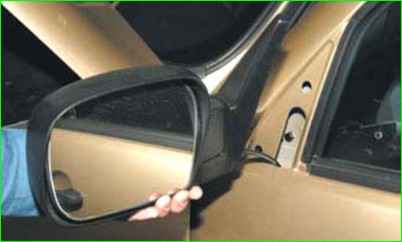
Remove the outside mirror by pulling its wires out of the door
Install the mirror in reverse order
Removing the inside front door handle
Remove the door trim as described above
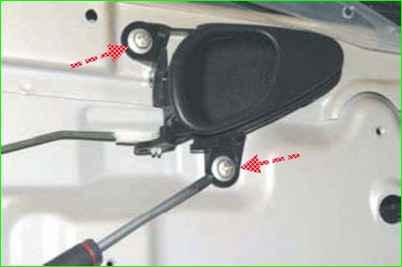
Using a Phillips screwdriver, unscrew the two screws securing the handle
Move the handle back and remove its protrusion from the door opening
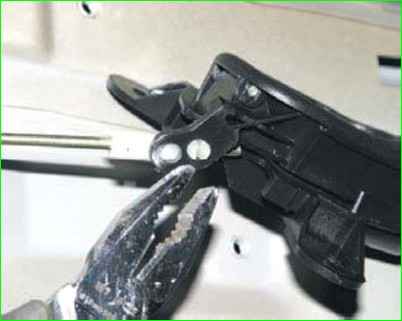
Squeeze the tie rod end petals with pliers
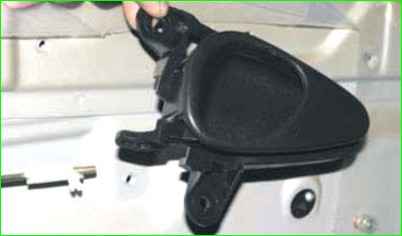
Remove the tip from the handle lever and remove it
Install the handle in the reverse order
Removing the outer door handle
Removing the front door trim
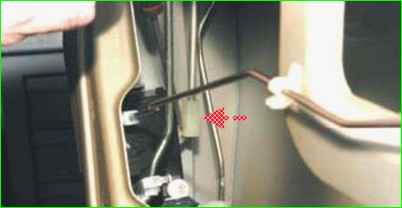
Use a screwdriver to pry the outer handle rod off the lock levers
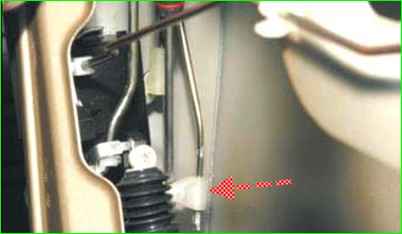
Also disconnect the lock switch rod
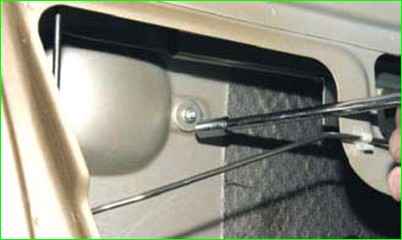
Using an 8 mm socket, unscrew the fastening nut handles
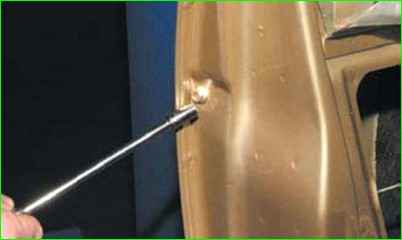
Unscrew the outer handle mounting bolt
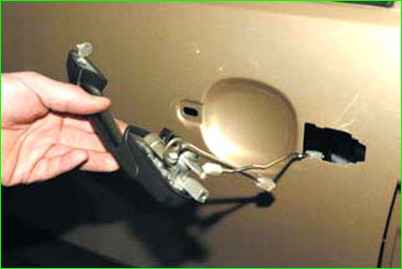
Sliding the handle forward as far as it will go and lifting it, remove it together with the rods from the door
Install the outer handle in the reverse order
Removing the front door lock
Disconnect the negative battery terminal
Remove the front door trim
Disconnect the rod from the inner handle
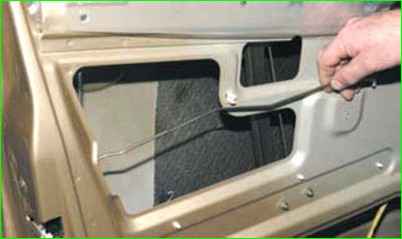
Remove the inner lock drive rod from the holder
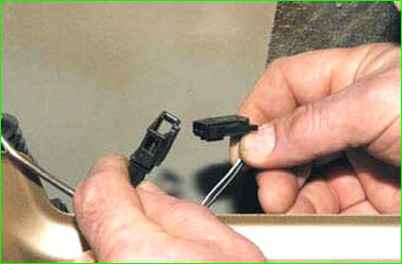
Disconnect the wiring blocks of the interior light switch (the switch is inside the door lock)
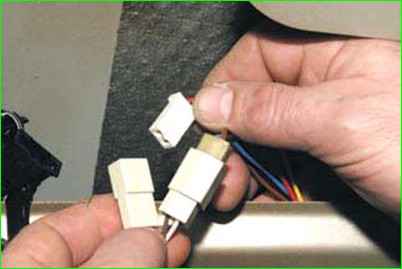
Disconnect the two wiring blocks of the door lock electric drive from the wiring harness blocks of the door
When removing the right door lock, disconnect one wiring block
Disconnect the outer handle rod and the lock switch rod from the lock levers (described above)
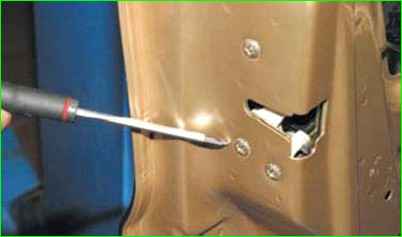
Using a Phillips screwdriver, unscrew the three screw
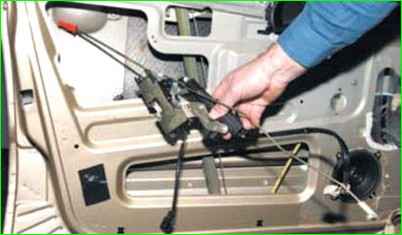
Removing the door lock with the button rods and the internal drive of the lock
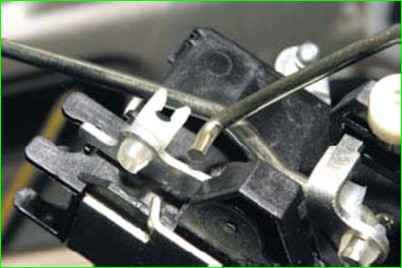
Disconnecting the rods from the levers lock
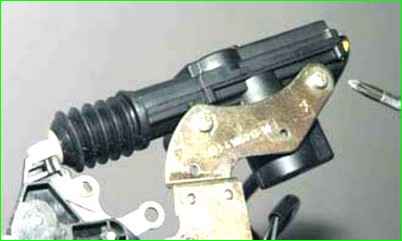
Using a Phillips screwdriver, unscrew the two screws securing the electric drive to the lock bracket
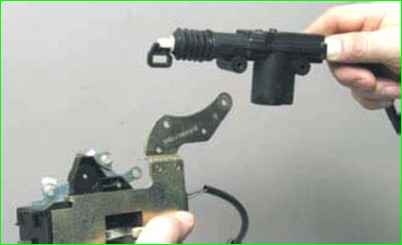
Removing electric drive
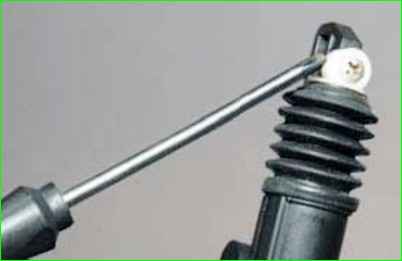
Use a Phillips screwdriver to unscrew the screw securing the electric drive hinge
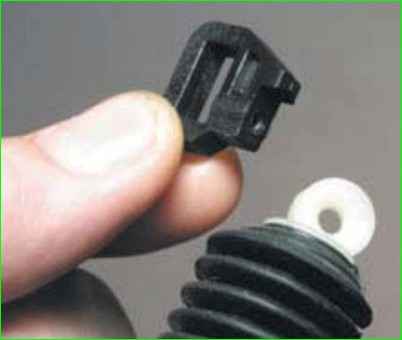
Removing loop
Install the front door lock in reverse order
Removing the front door lock retainer
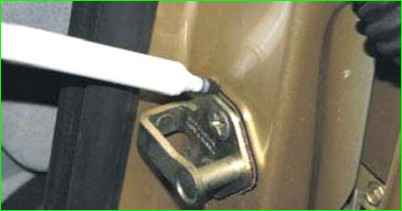
Before removing the retainer, mark its position relative to the body
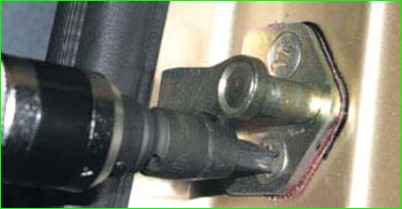
Using a Phillips-head impact screwdriver, unscrew the two retainer mounting screws
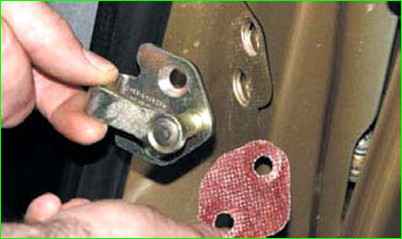
Remove the retainer and gasket
When adjusting the lock retainer, loosen the two retainer screws
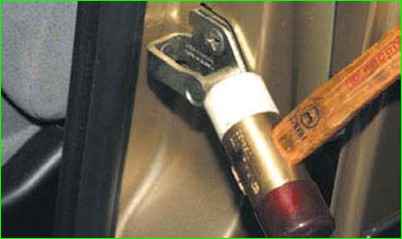
Moving the retainer relative to the holes in the pillar, we adjust the position of the retainer vertically and horizontally.
Tighten the retainer screws and check the position of the closed door.
If necessary, repeat the operation, achieving the correct position of the door.
Removing and installing the front door glass
Lower the glass until it stops
Disconnect the negative battery terminal
Remove the outside mirror as described above
Remove the door trim
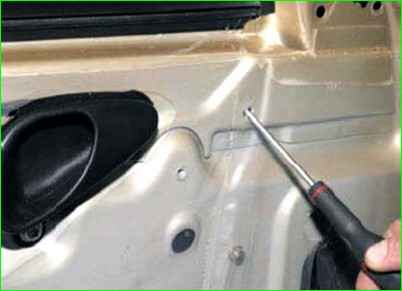
Using a screwdriver through the hole for the trim piston, pry up the edge of the inner seal of the lowering glass
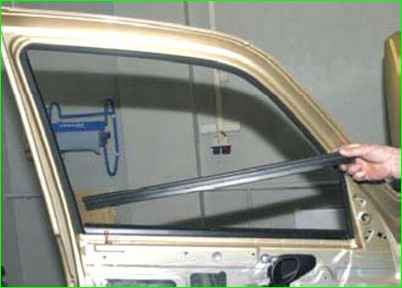
Removing seal
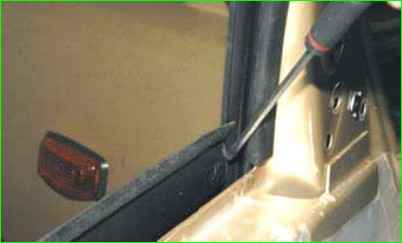
Pry up the edge of the outer seal with a screwdriver
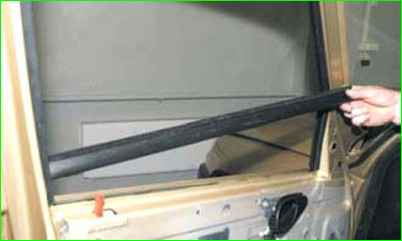
Removing the seal
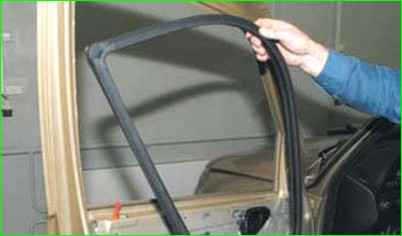
Remove the upper glass seal
Temporarily connect the window switch to the wiring block and attach the negative terminal of the battery.
Lift the glass so that through the lower hole in the inner door panel you can unscrew the bolts securing the glass clip to the slider of the electric window mechanism.
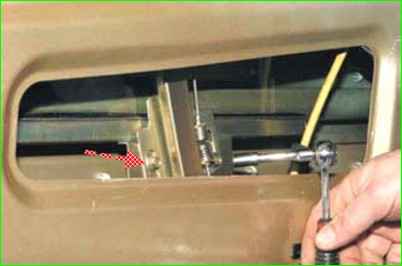
Using an 8 mm head, unscrew the two bolts securing the glass clip to the slider of the window mechanism
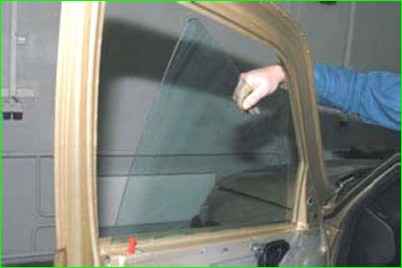
Slightly turning the glass forward, we take it out through the door window.
We install the glass in the reverse order.
Removing the front door window lift mechanism
We remove the front door glass as described above
We disconnect the negative battery terminal
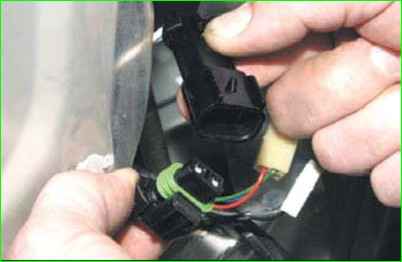
Disconnect the window regulator mechanism wiring block and the door wiring block
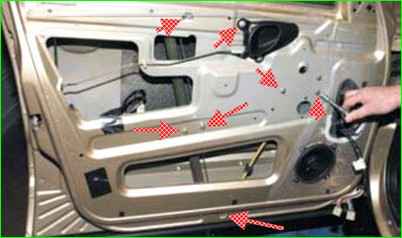
Using a 10 mm head, unscrew the seven window regulator mechanism mounting nuts
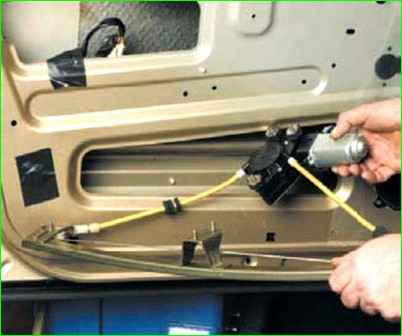
Remove the window regulator mechanism through the lower hole in the inner door panel
Install the mechanism in the reverse order.
Removing the front door
Disconnect the wire from the negative terminal of the battery.
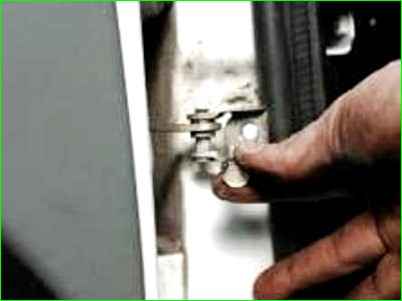
Remove the bolt securing the limiter to the body.
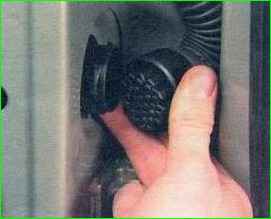
Turn along the axis and disconnect the wiring harness block from the door.
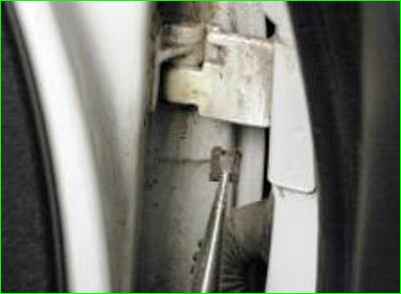
Remove the door hinge axle retaining clips.
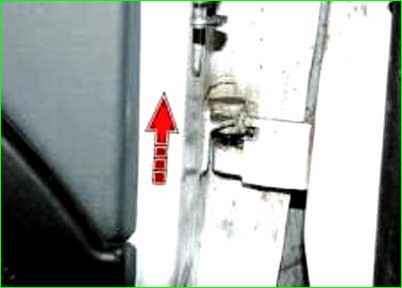
Remove the door by moving it upwards
Install the front door in the reverse order of removal.


