If the engine cylinder head installed on the vehicle needs repair, remove it as described in the article "Replacing the Niva Chevrolet Cylinder Head Gasket"
In most cases, cylinder head repair involves grinding or replacing valves, replacing valve guides, replacing or grinding valve seats.
In case of such faults as a loss of tightness of the cooling system jacket channels and warping of the mating surface to the cylinder block, the cylinder head is replaced.
You will need: "13", "17", "21" spanners, spark plug wrench, screwdriver, round-nose pliers (tweezers), a device for compressing valve springs.
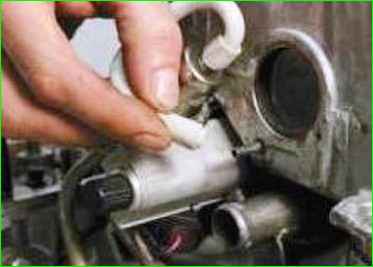
Disconnect the fuel pressure regulator hose from the pipe on the receiver.
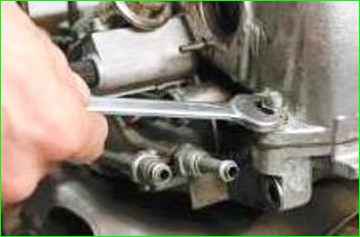
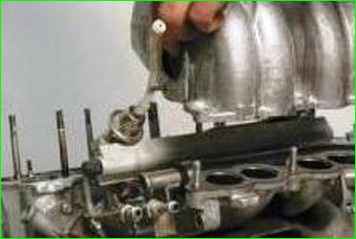
Unscrew the nuts securing the receiver to the intake manifold. pipe and remove the receiver and the gasket installed underneath it
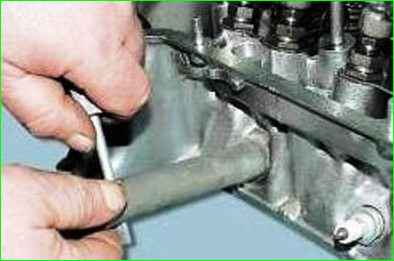
Remove all spark plugs
If you have a valve spring compressor that differs in design from the one shown (for example, a screw-type one that is screwed into the hole in the cylinder head under the hydraulic support), you may not need to remove the receiver.
Install the cylinder head on the workbench.
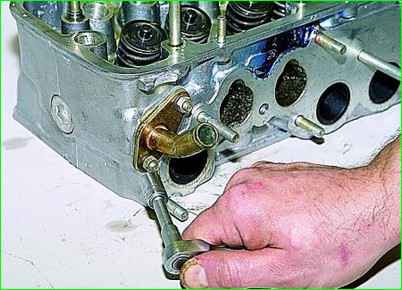
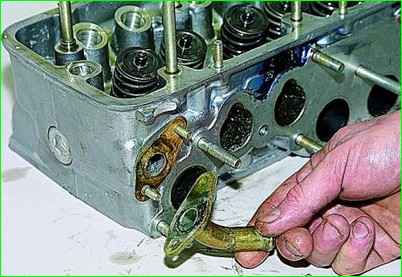
Using a 10 mm socket, unscrew the two nuts securing the heater radiator inlet pipe to the cylinder head and remove it.
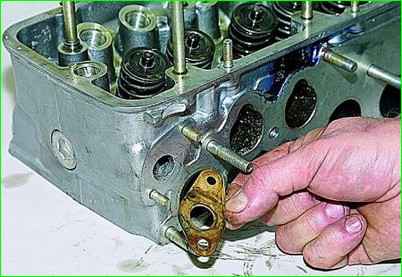
Remove the sealing gasket.
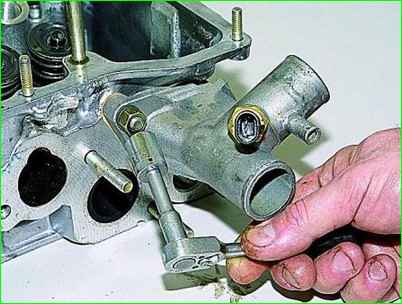
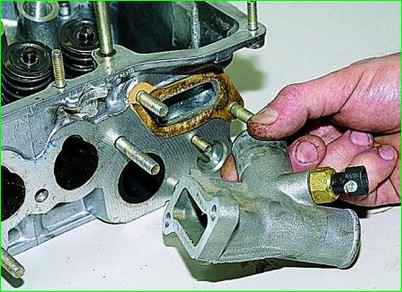
Head "on 13" unscrew the two nuts securing the outlet pipe of the cooling system jacket and remove the pipe with the injection system coolant temperature sensor
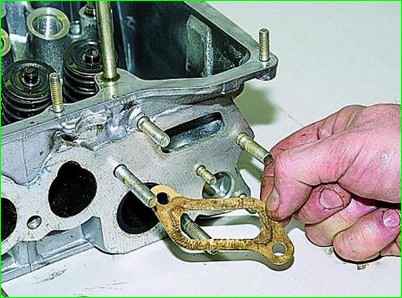
Remove the pipe sealing gasket.
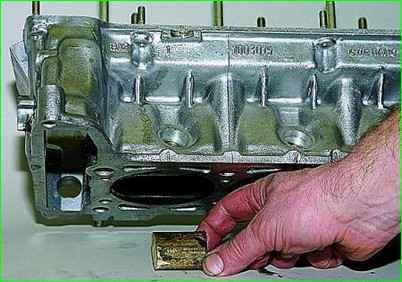
When disassembling the valve mechanism, place a stop - a wooden block - under the valve plate being decompressed.
For ease of work, you can remove the intake pipe and exhaust manifold, as well as other mounted units removed together with the head, however, if repair or replacement of these units is not required, with sufficient skill, you can repair the cylinder head without removing them.
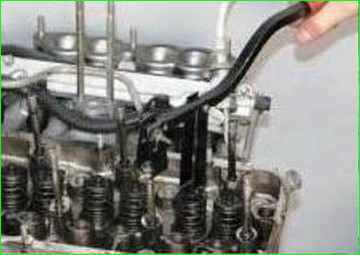
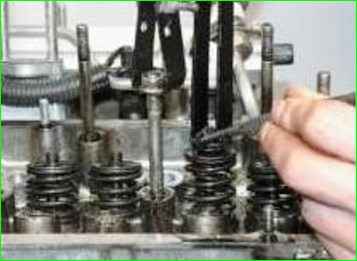
Install a valve spring compressor on the cylinder head, place a suitable stop (for example, a head from a tool kit) under the valve, compress the springs and remove the crackers from the spring plate.
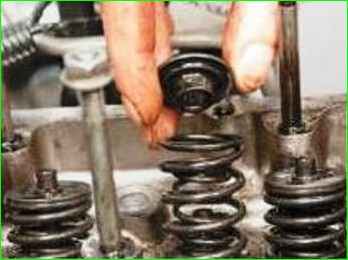
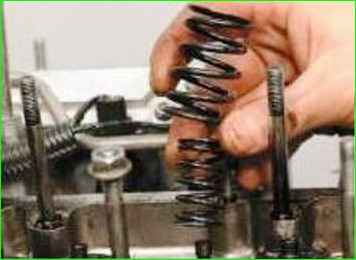
Remove the device, spring plate, springs, support washer of the inner and outer springs
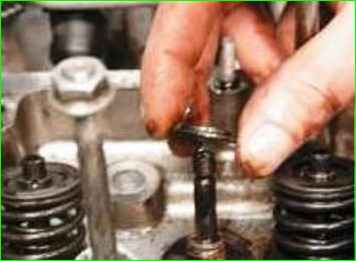
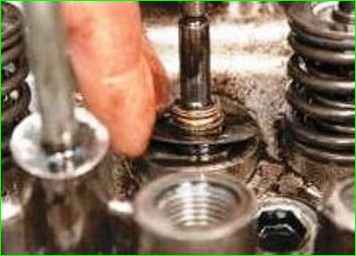
Remove the valve from the guide bushing.
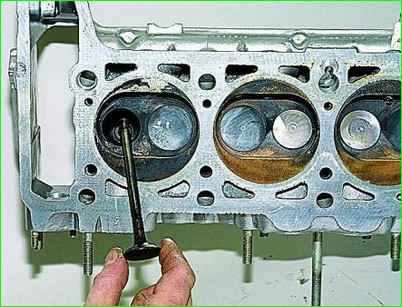
Remove the remaining valves in the same way.
Before installing the valves, clean them from carbon deposits and lubricate the valve stems with engine oil.
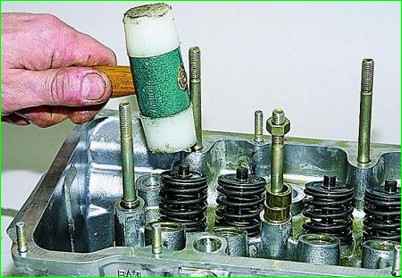
After assembling the valve mechanism, use a hammer with a plastic striker to strike the ends of the valves for more secure fixation of the crackers (the wooden stop must be removed from under the valve plate)
Assemble the cylinder head in the reverse order of disassembly, using new or defective parts.
Replace all gaskets with new ones.


