The vehicle speed sensor is installed on the gearbox
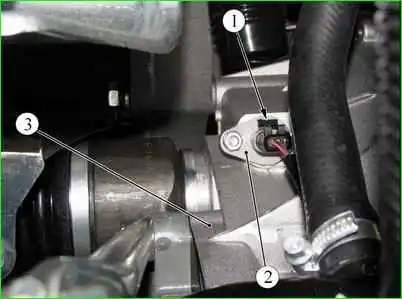
The operating principle of the sensor is based on the Hall effect.
Using the pulses generated by the sensor, the ECU calculates the vehicle speed.
When the drive wheels rotate, the speed sensor generates 6 pulses per 1 meter of vehicle travel, and the ECU determines the vehicle speed based on the pulse frequency.
The signal from the sensor is also sent to the speedometer.
If the sensor fails, the dynamic qualities of the vehicle may deteriorate in modes using maximum power (engine acceleration during acceleration).
To complete the work you will need a multimeter (in voltmeter mode).
Removal and inspection
Remove the negative terminal from the battery.
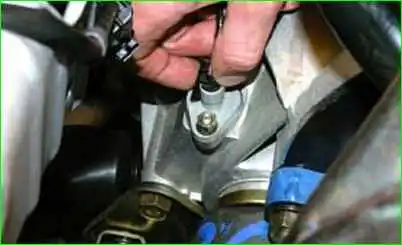
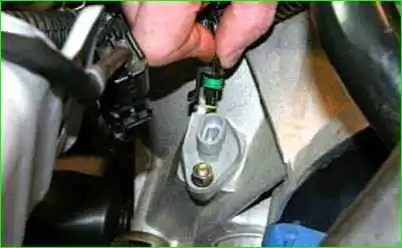
Having released the lock, disconnect the wiring harness block from the vehicle speed sensor.
Connect the negative probe of the voltmeter to ground (to the engine).
With the ignition turned on, use a voltmeter to measure the supply voltage at terminal “1” of the wiring harness block (the terminal designation is on the sensor).
The voltage at the output must be at least 12 V.
If the voltage does not reach the block or it is less than 12 V, it means that the battery is discharged, the power circuit is faulty, or the ECU is faulty.
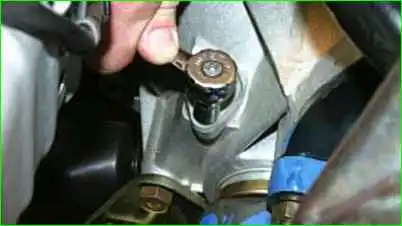
Use a 10 mm socket to unscrew the sensor mounting nut.
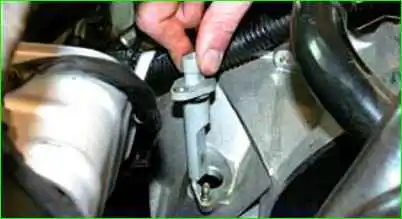
Remove the speed sensor.
Install the sensor in the reverse order of removal.
You can verify that the speed sensor is faulty by replacing it with a known good one.
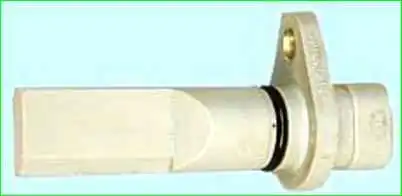
This is what the speed sensor of a car with a manual transmission looks like
Car with automatic transmission
Preparing the car for the task
Turn off the ignition and disconnect the negative terminal of the battery
Clean adjacent surfaces from dirt
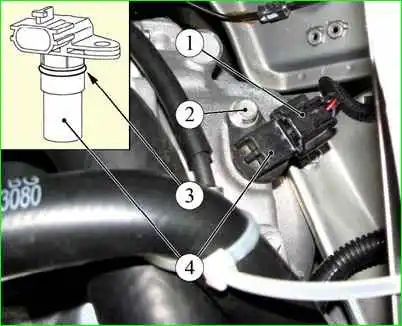
Disconnect block 1, wiring harness from vehicle speed sensor 4
Using a 13mm socket, unscrew the 2nd fastening bolt and remove the 4th speed sensor
Installing the sensor in reverse order
Install a new gasket 3 on the speed sensor and lubricate it with oil, which we pour into the automatic transmission
Bolt tightening torque 6 Nm


