When the engine is idling, the controller controls the air supply using the idle speed control (PXX)
The regulator consists of a two-pole stepper motor and a cone valve connected to it.
According to a signal from the electronic engine control unit, the electric motor moves the valve, thereby changing the flow area of the air channel.
The idle air control is non-separable and must be replaced if it fails.
You will need: Phillips screwdriver, tester.
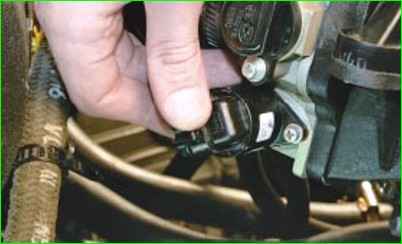
Press the clamp of the wiring harness block
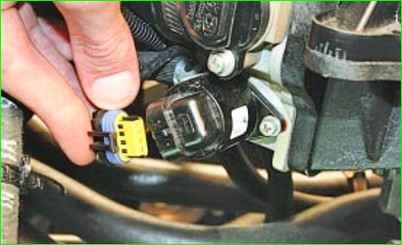
Disconnect the block from the idle air control.
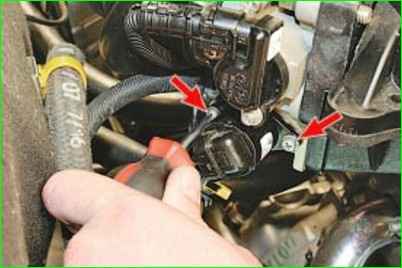
Unscrew the two screws securing the regulator to the throttle assembly
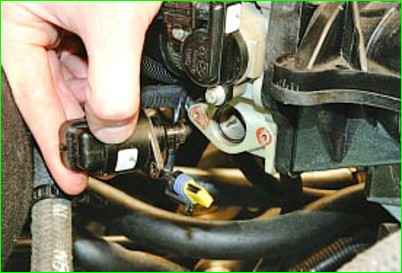
Remove the regulator from the hole in the throttle assembly
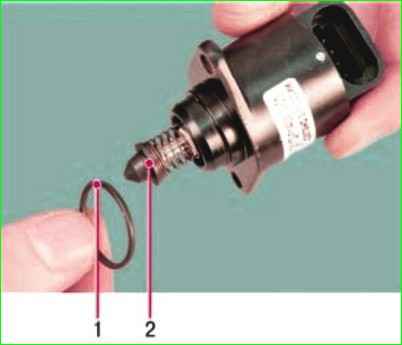
Please note: the connection is sealed with rubber ring 1.
Do not try to pull out or push in valve 2 of the regulator, as this may damage the regulator
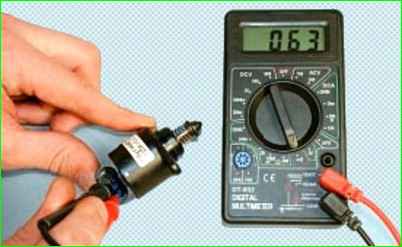
Switch the tester to ohmmeter mode and measure the resistance between terminals “A” and “B” of the regulator, and then between terminals “C” and “D”.
Resistance should be in the range of 0.040–0.080 kOhm.
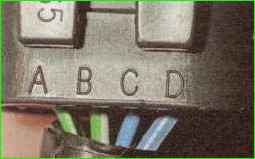
There are no terminal markings on the idle air control housing, but their location can be determined by the corresponding markings on the wiring harness block
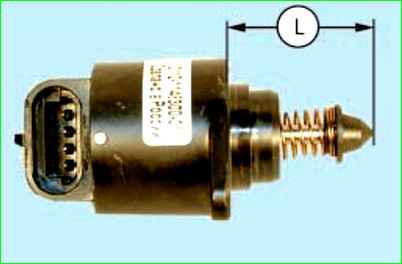
When replacing the regulator with a new one, pay attention to the distance “L” between the end of the valve needle and the mounting flange - it should be no more than 23 mm.
If this distance is greater, the regulator needle will rest against the throttle assembly seat and the regulator will be damaged when tightening the fastening screws.
Before installing the regulator, clean the seat and air duct in the throttle assembly, as well as the surface under the regulator sealing ring, from dirt.
Lubricate the O-ring with engine oil and install the regulator in the reverse order of removal.
Tighten the regulator mounting screws to a torque of 3–4 Nm
PS. The vehicle's fuel system may have a different type of throttle assembly and the idle air regulator may be of a different design or may not be installed in the throttle assembly at all


